
STONE STEVEN'S NURSERY
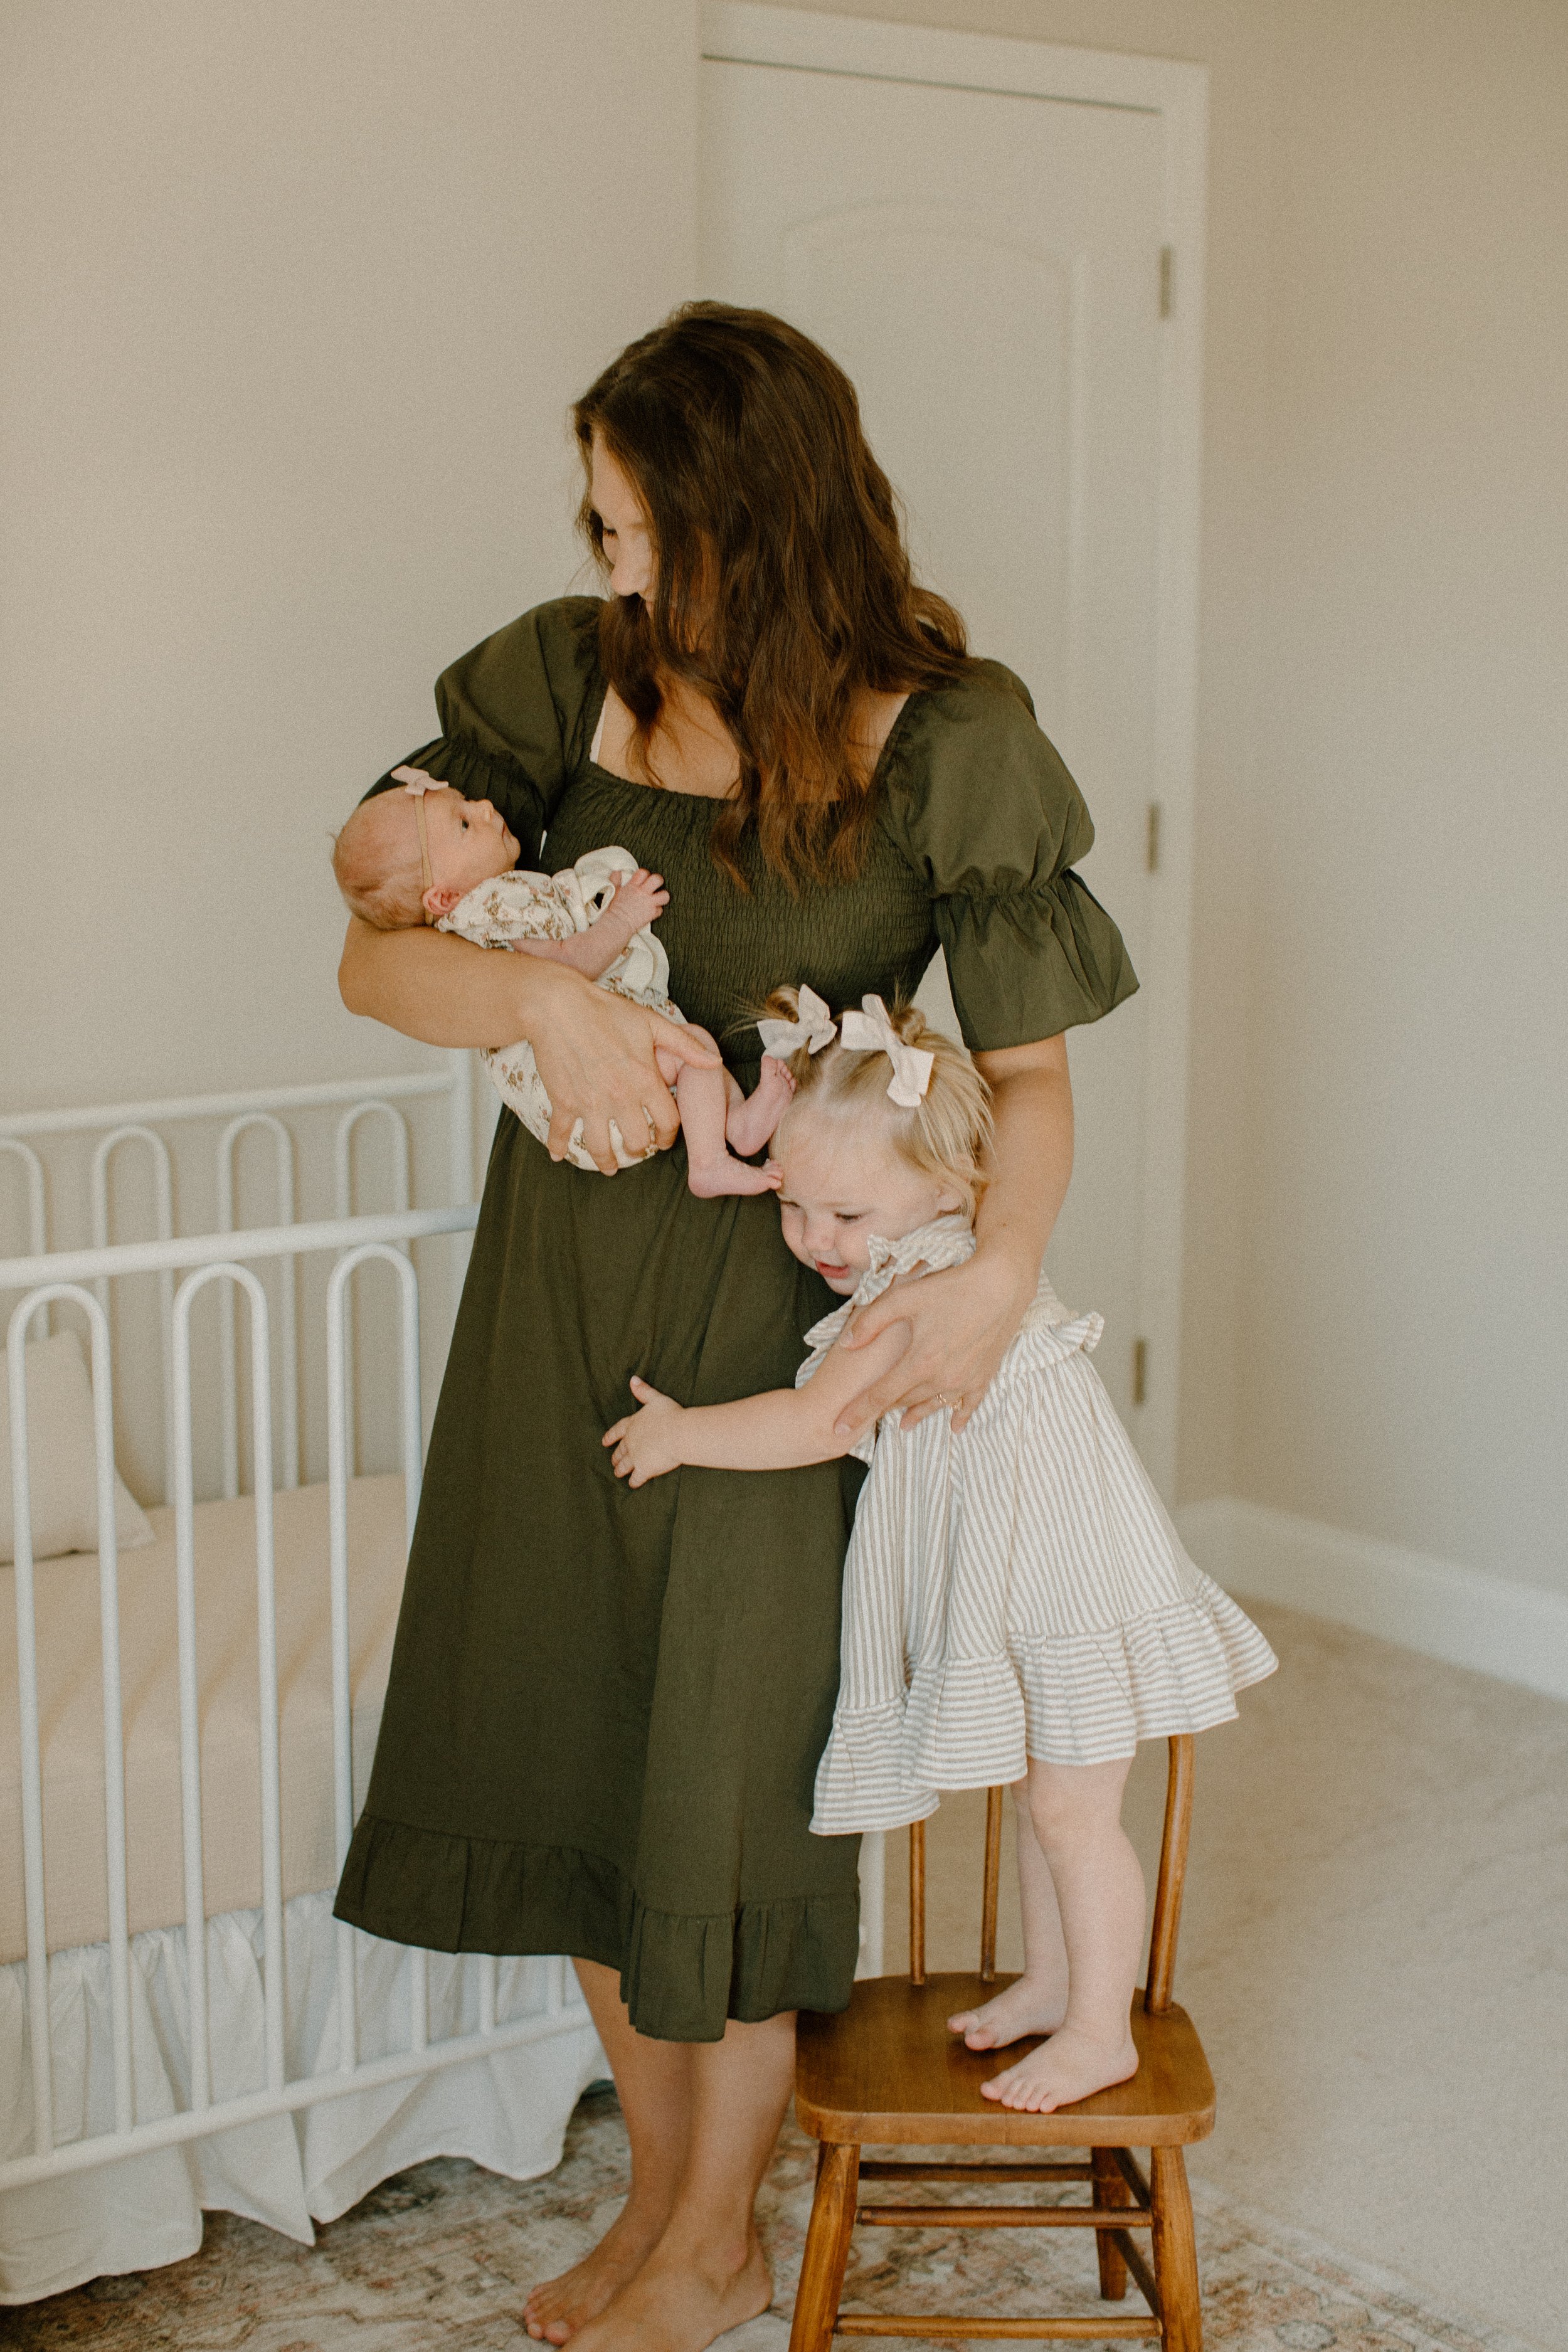
/It was such a fun challenge to turn my daughters nursery into my sons. It went from full on girl world to a tiny man cave in the best way.
*You will be able to find all the sources and links at the bottom of this post!
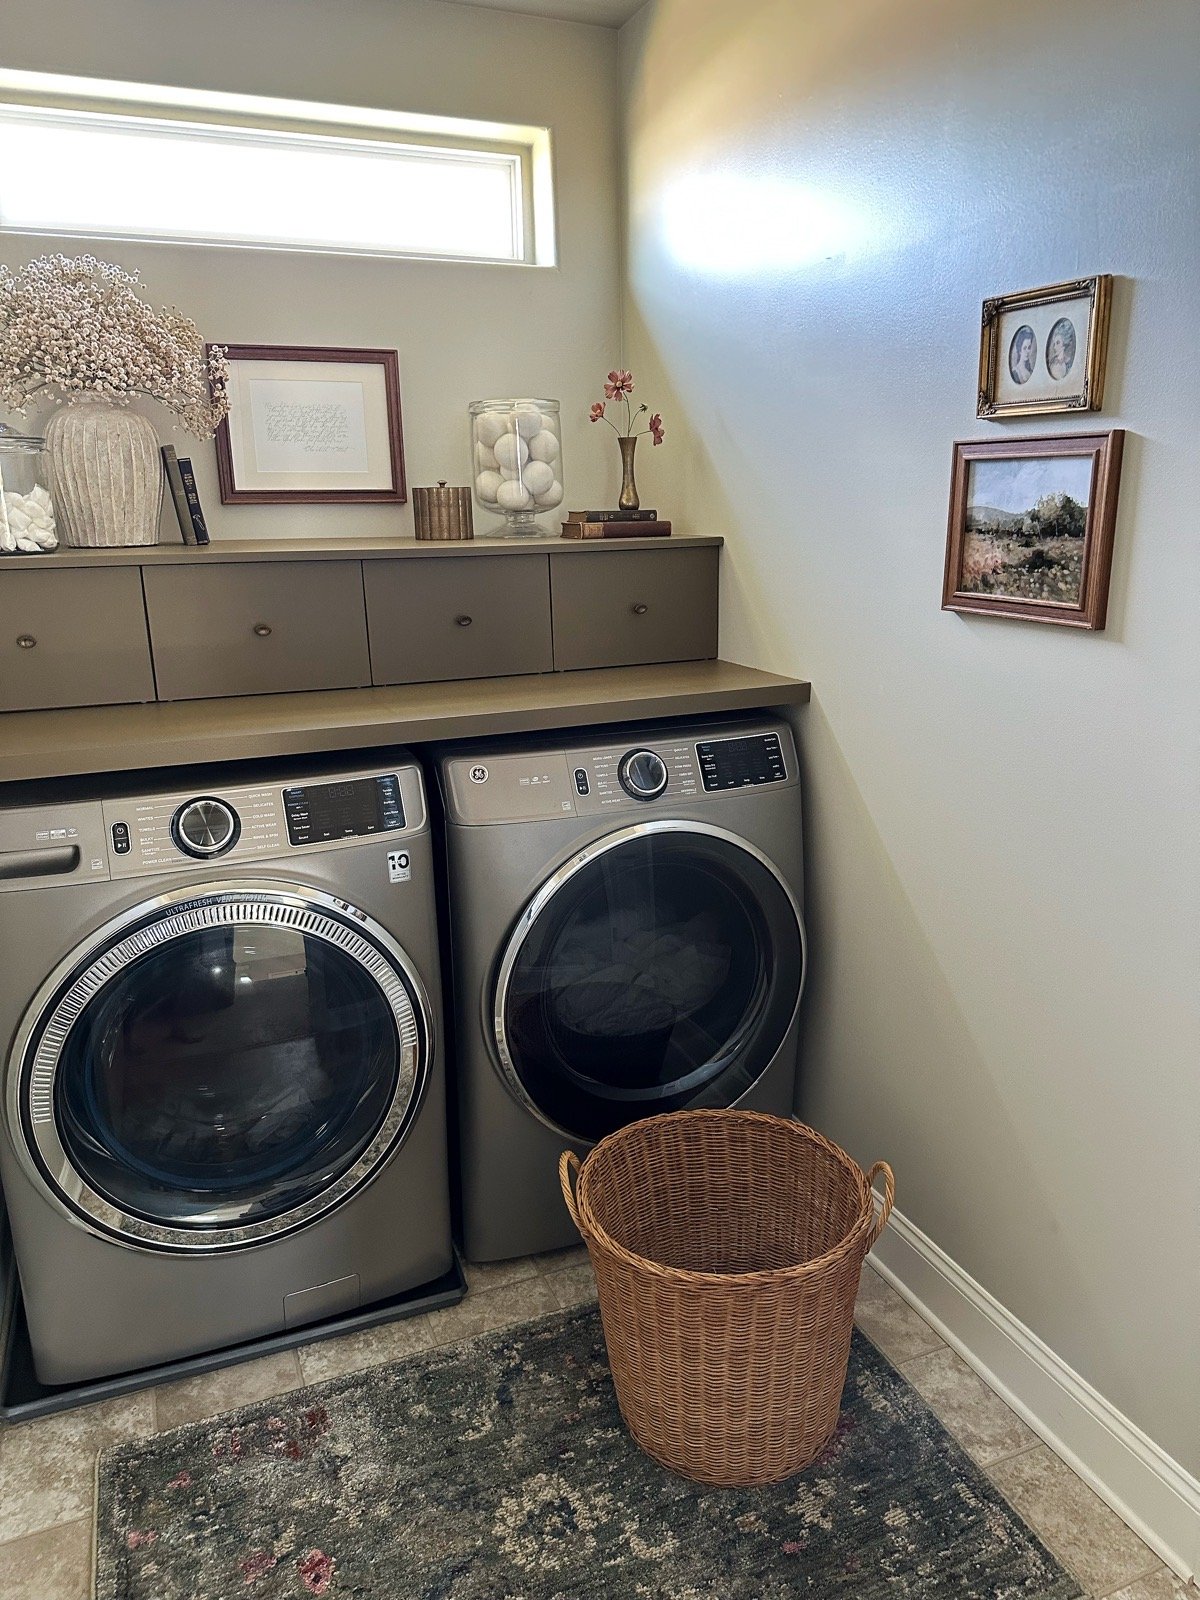
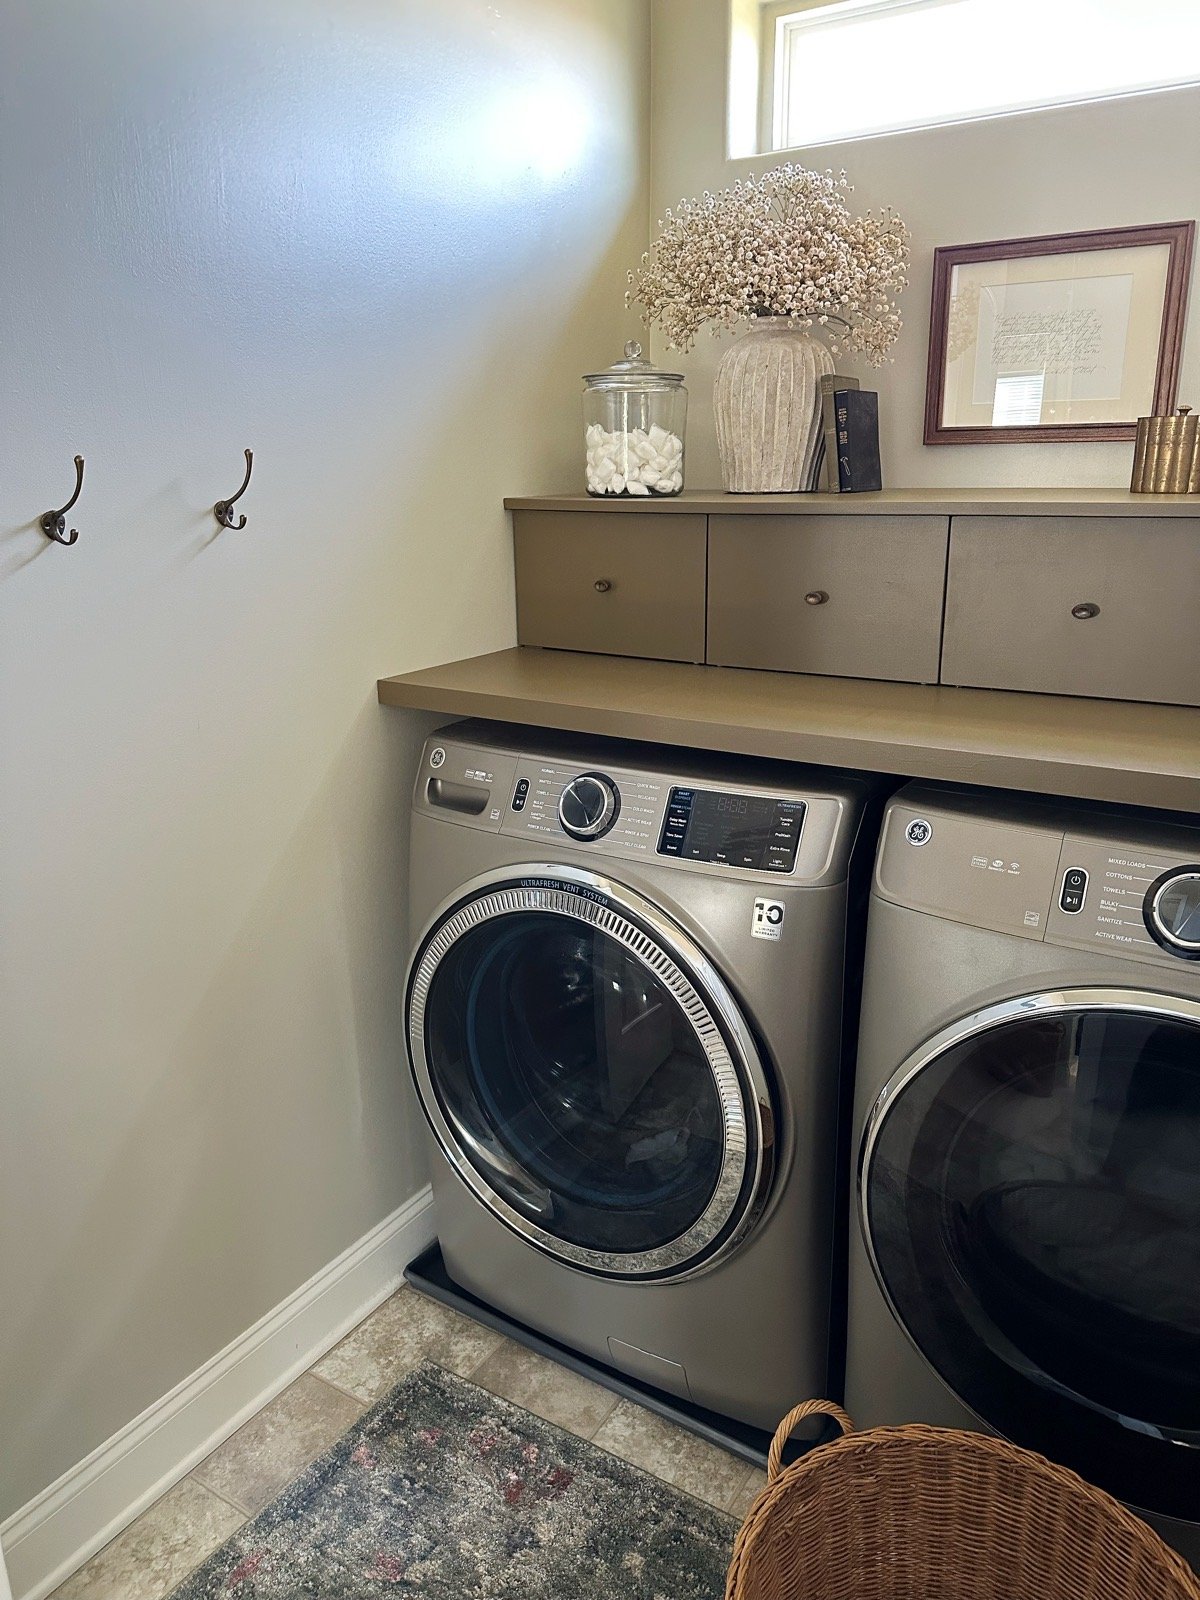
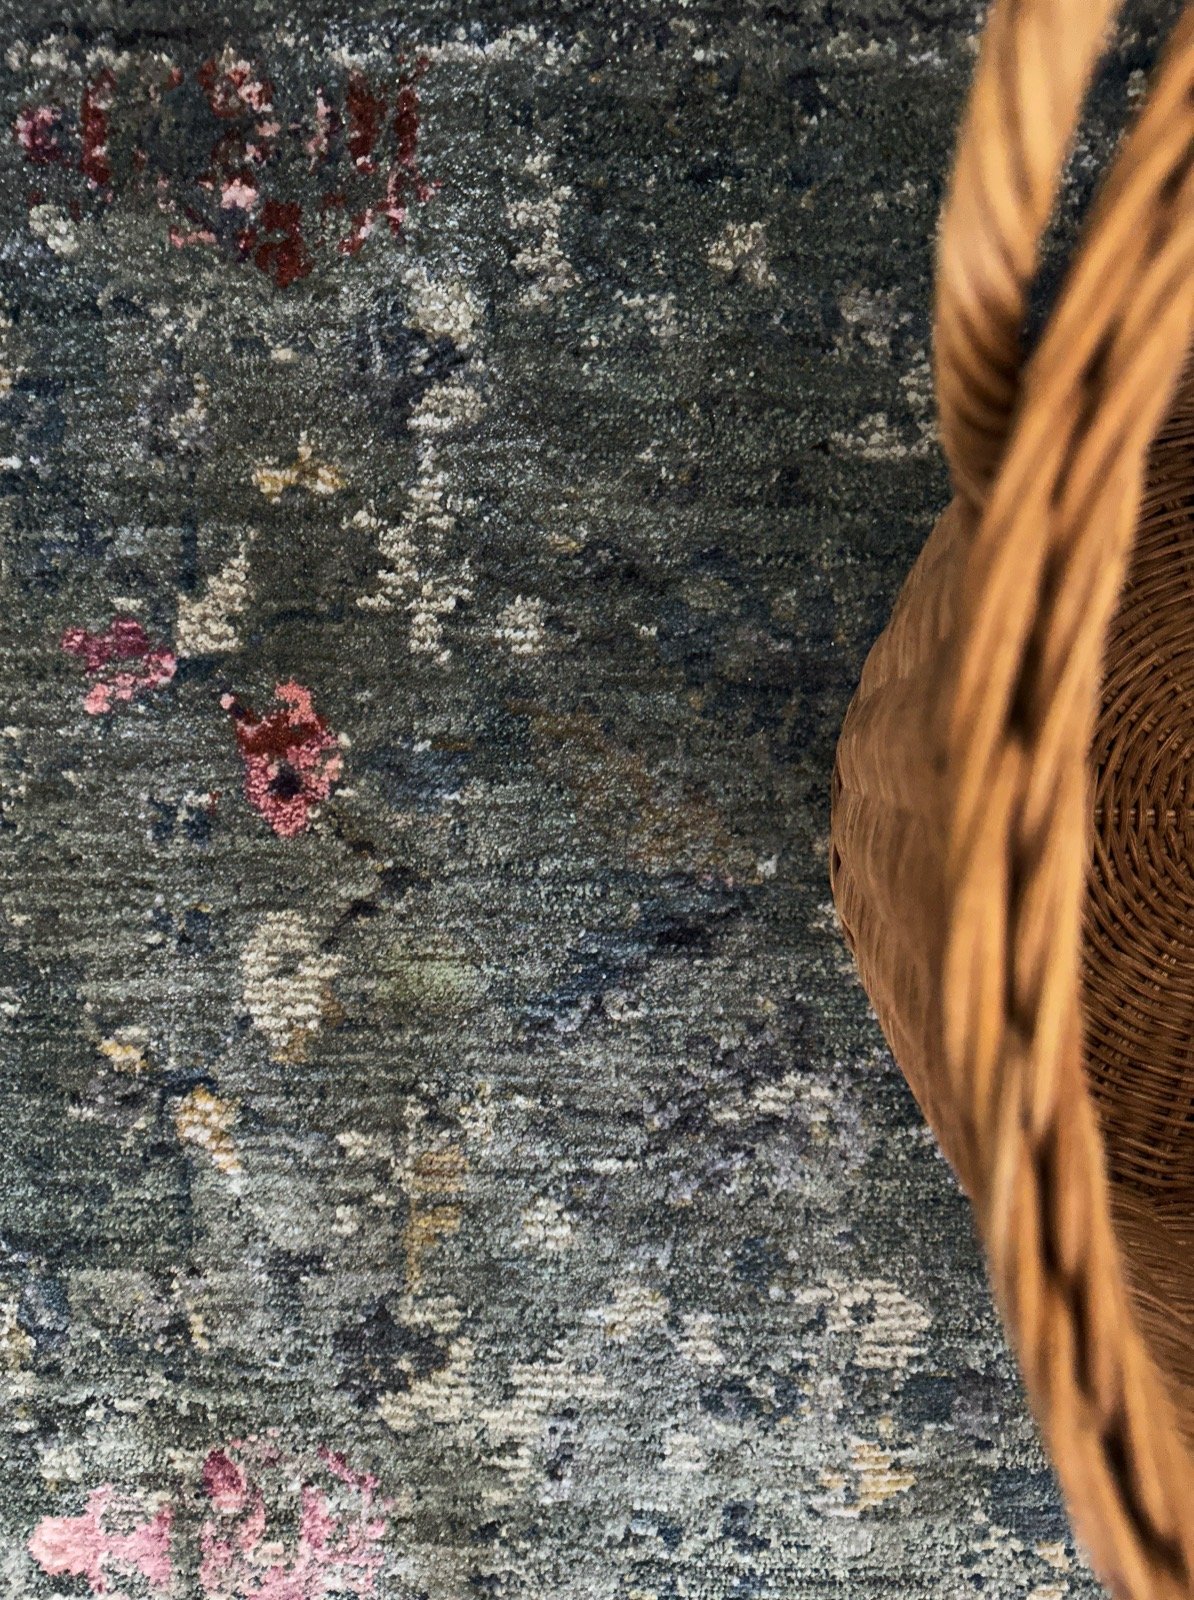
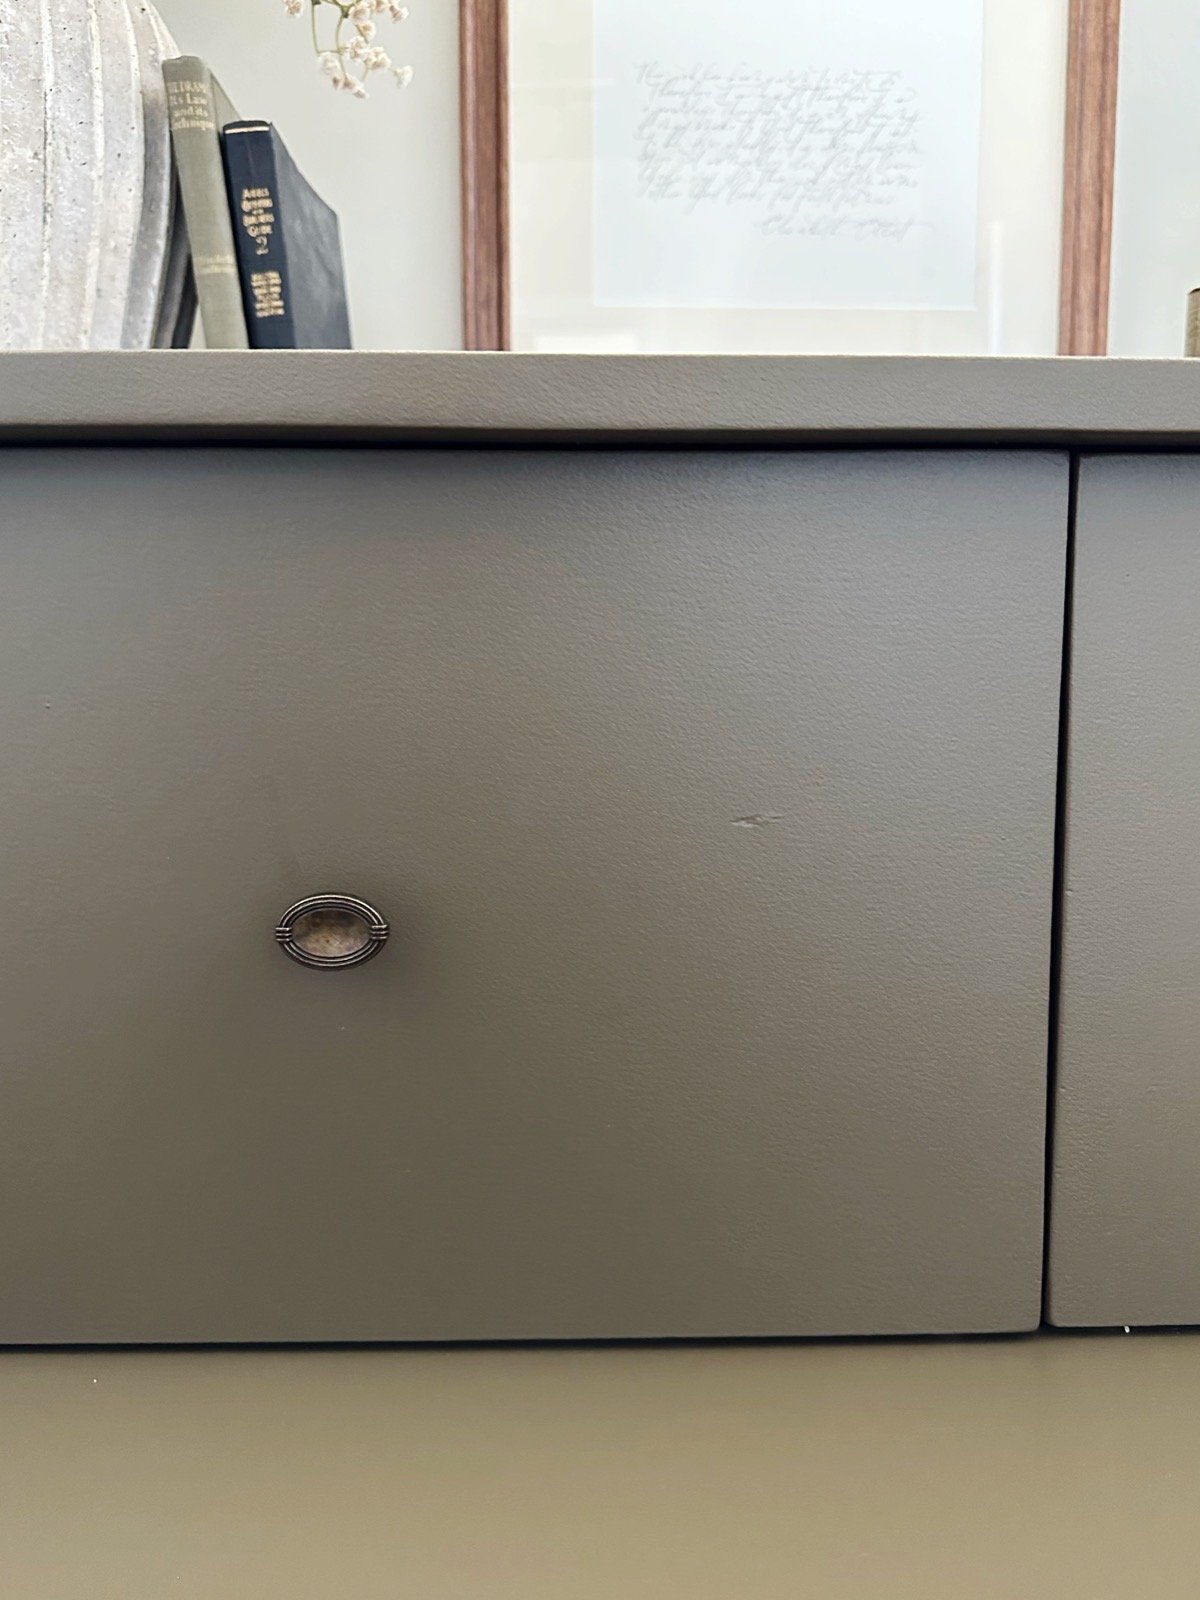
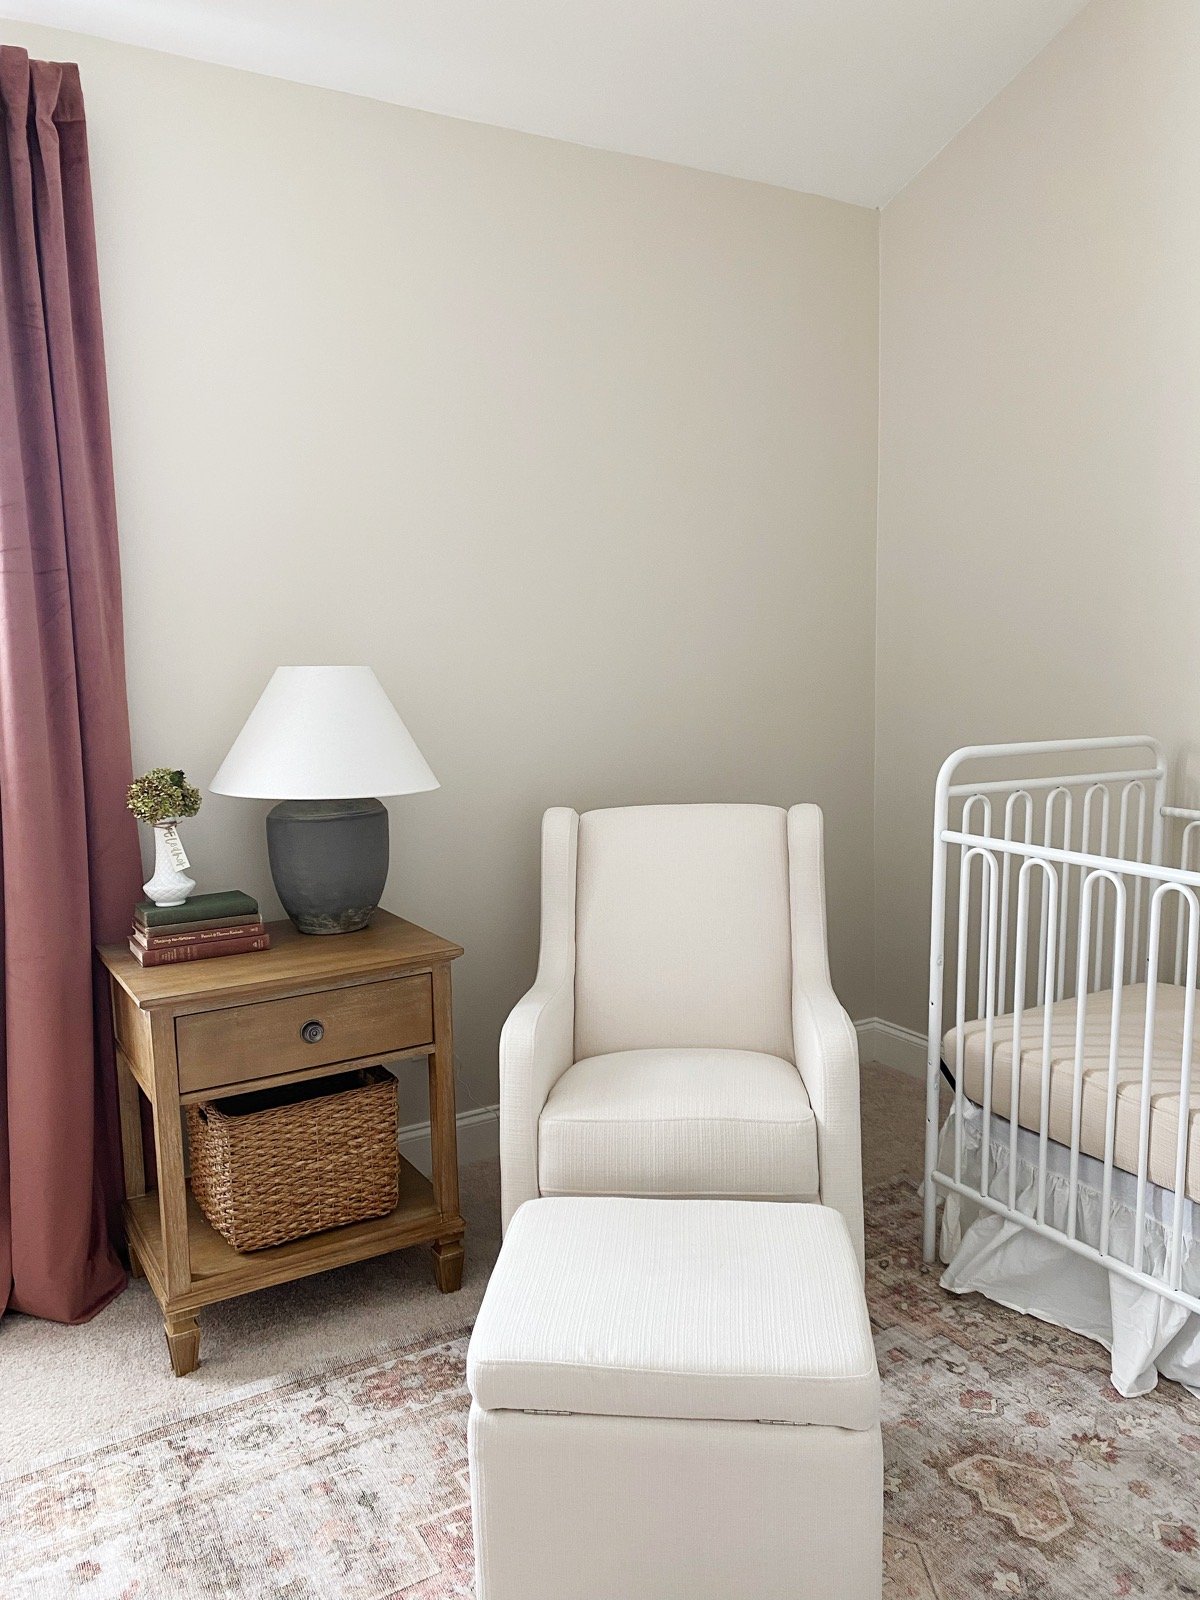
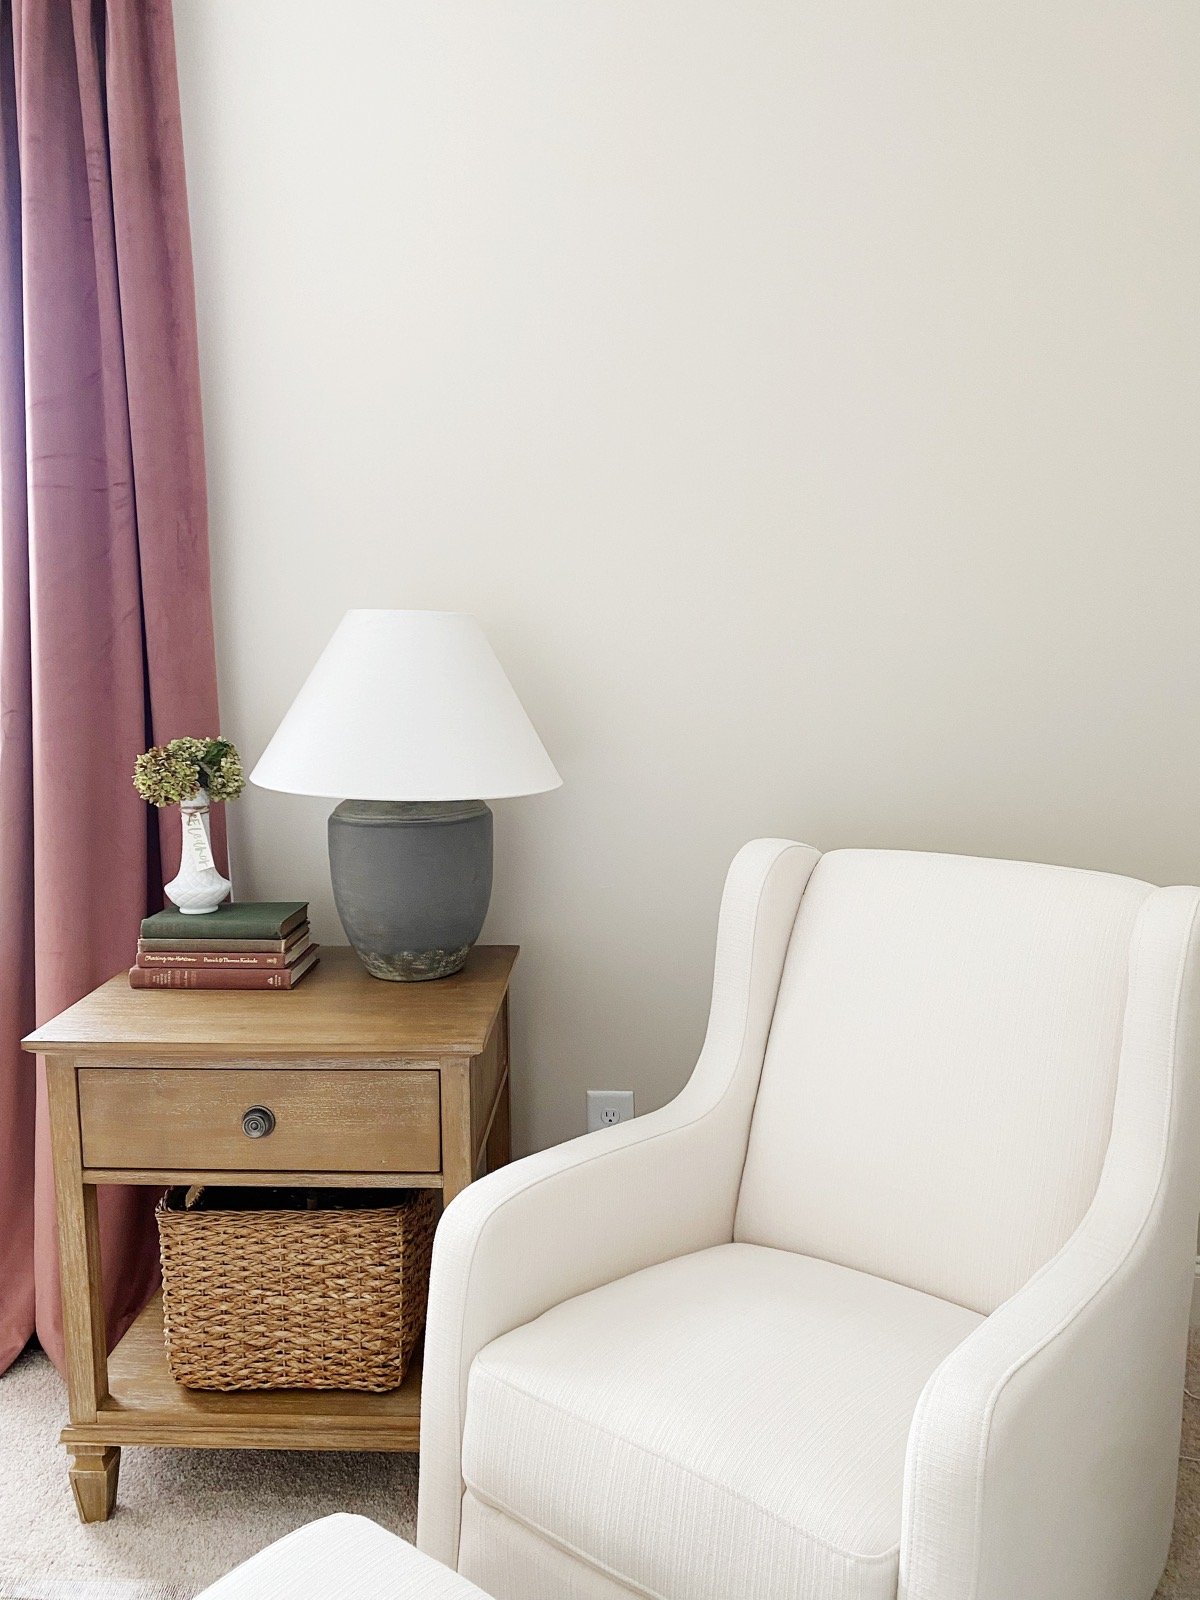
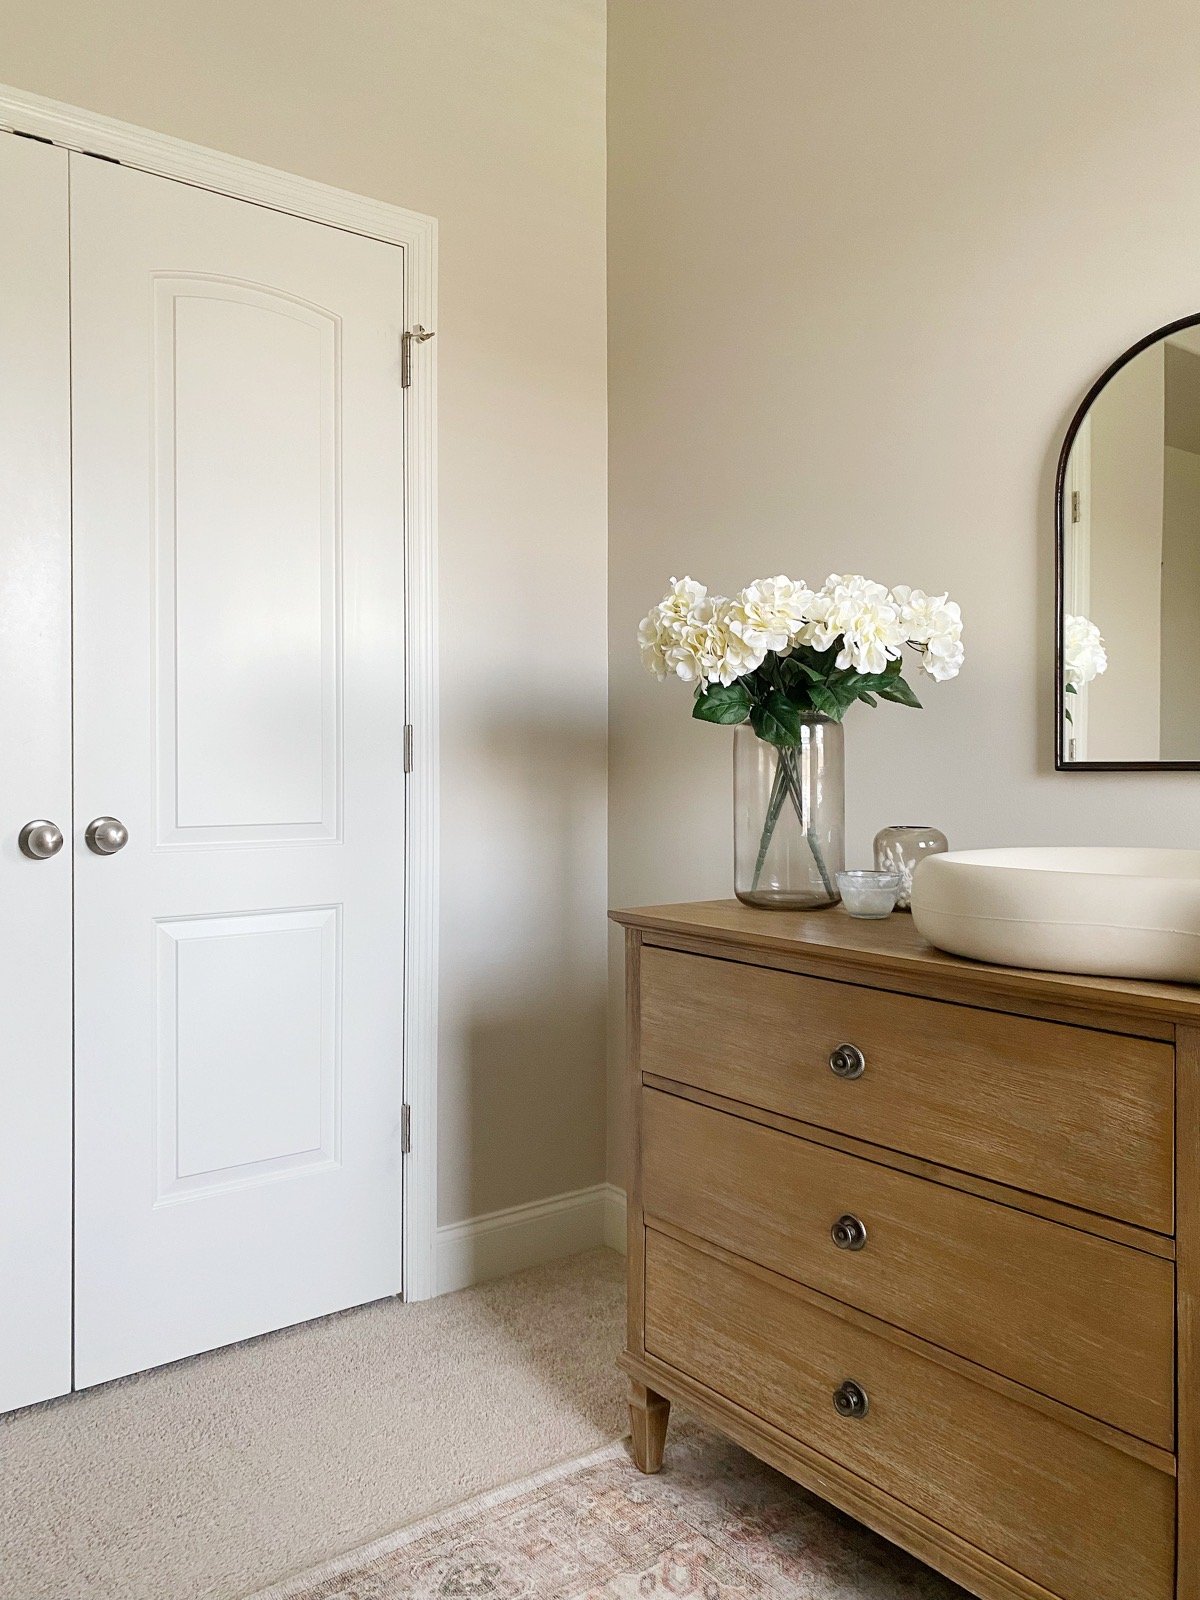
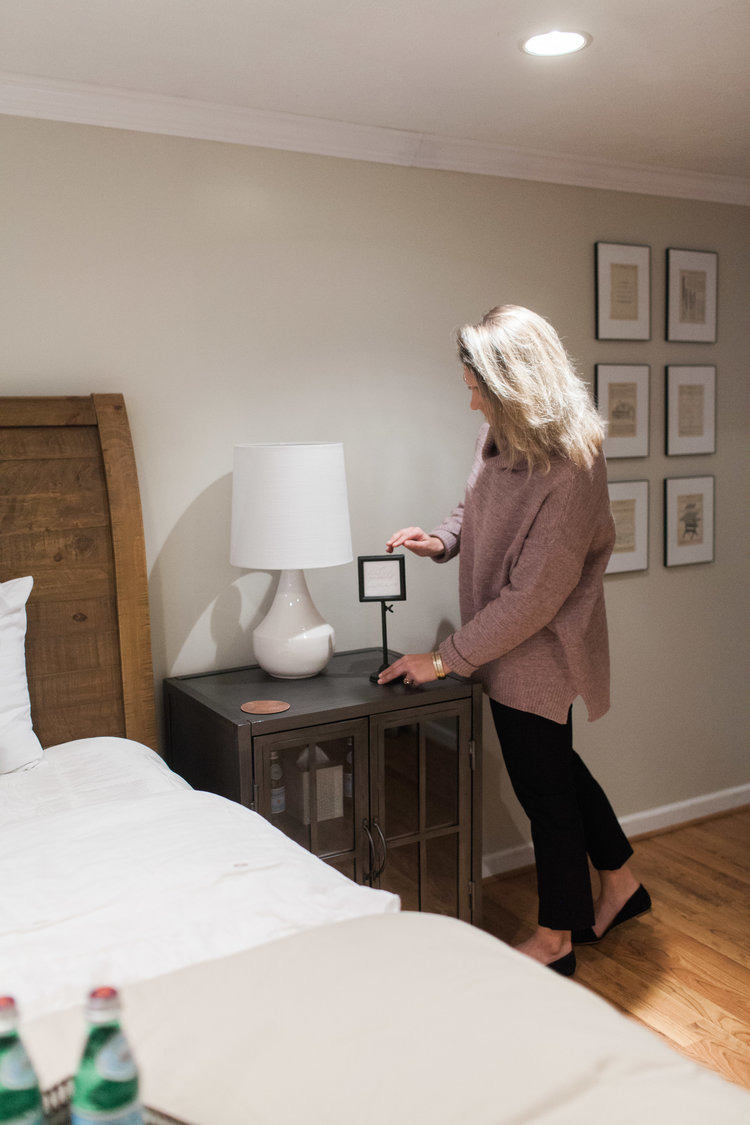
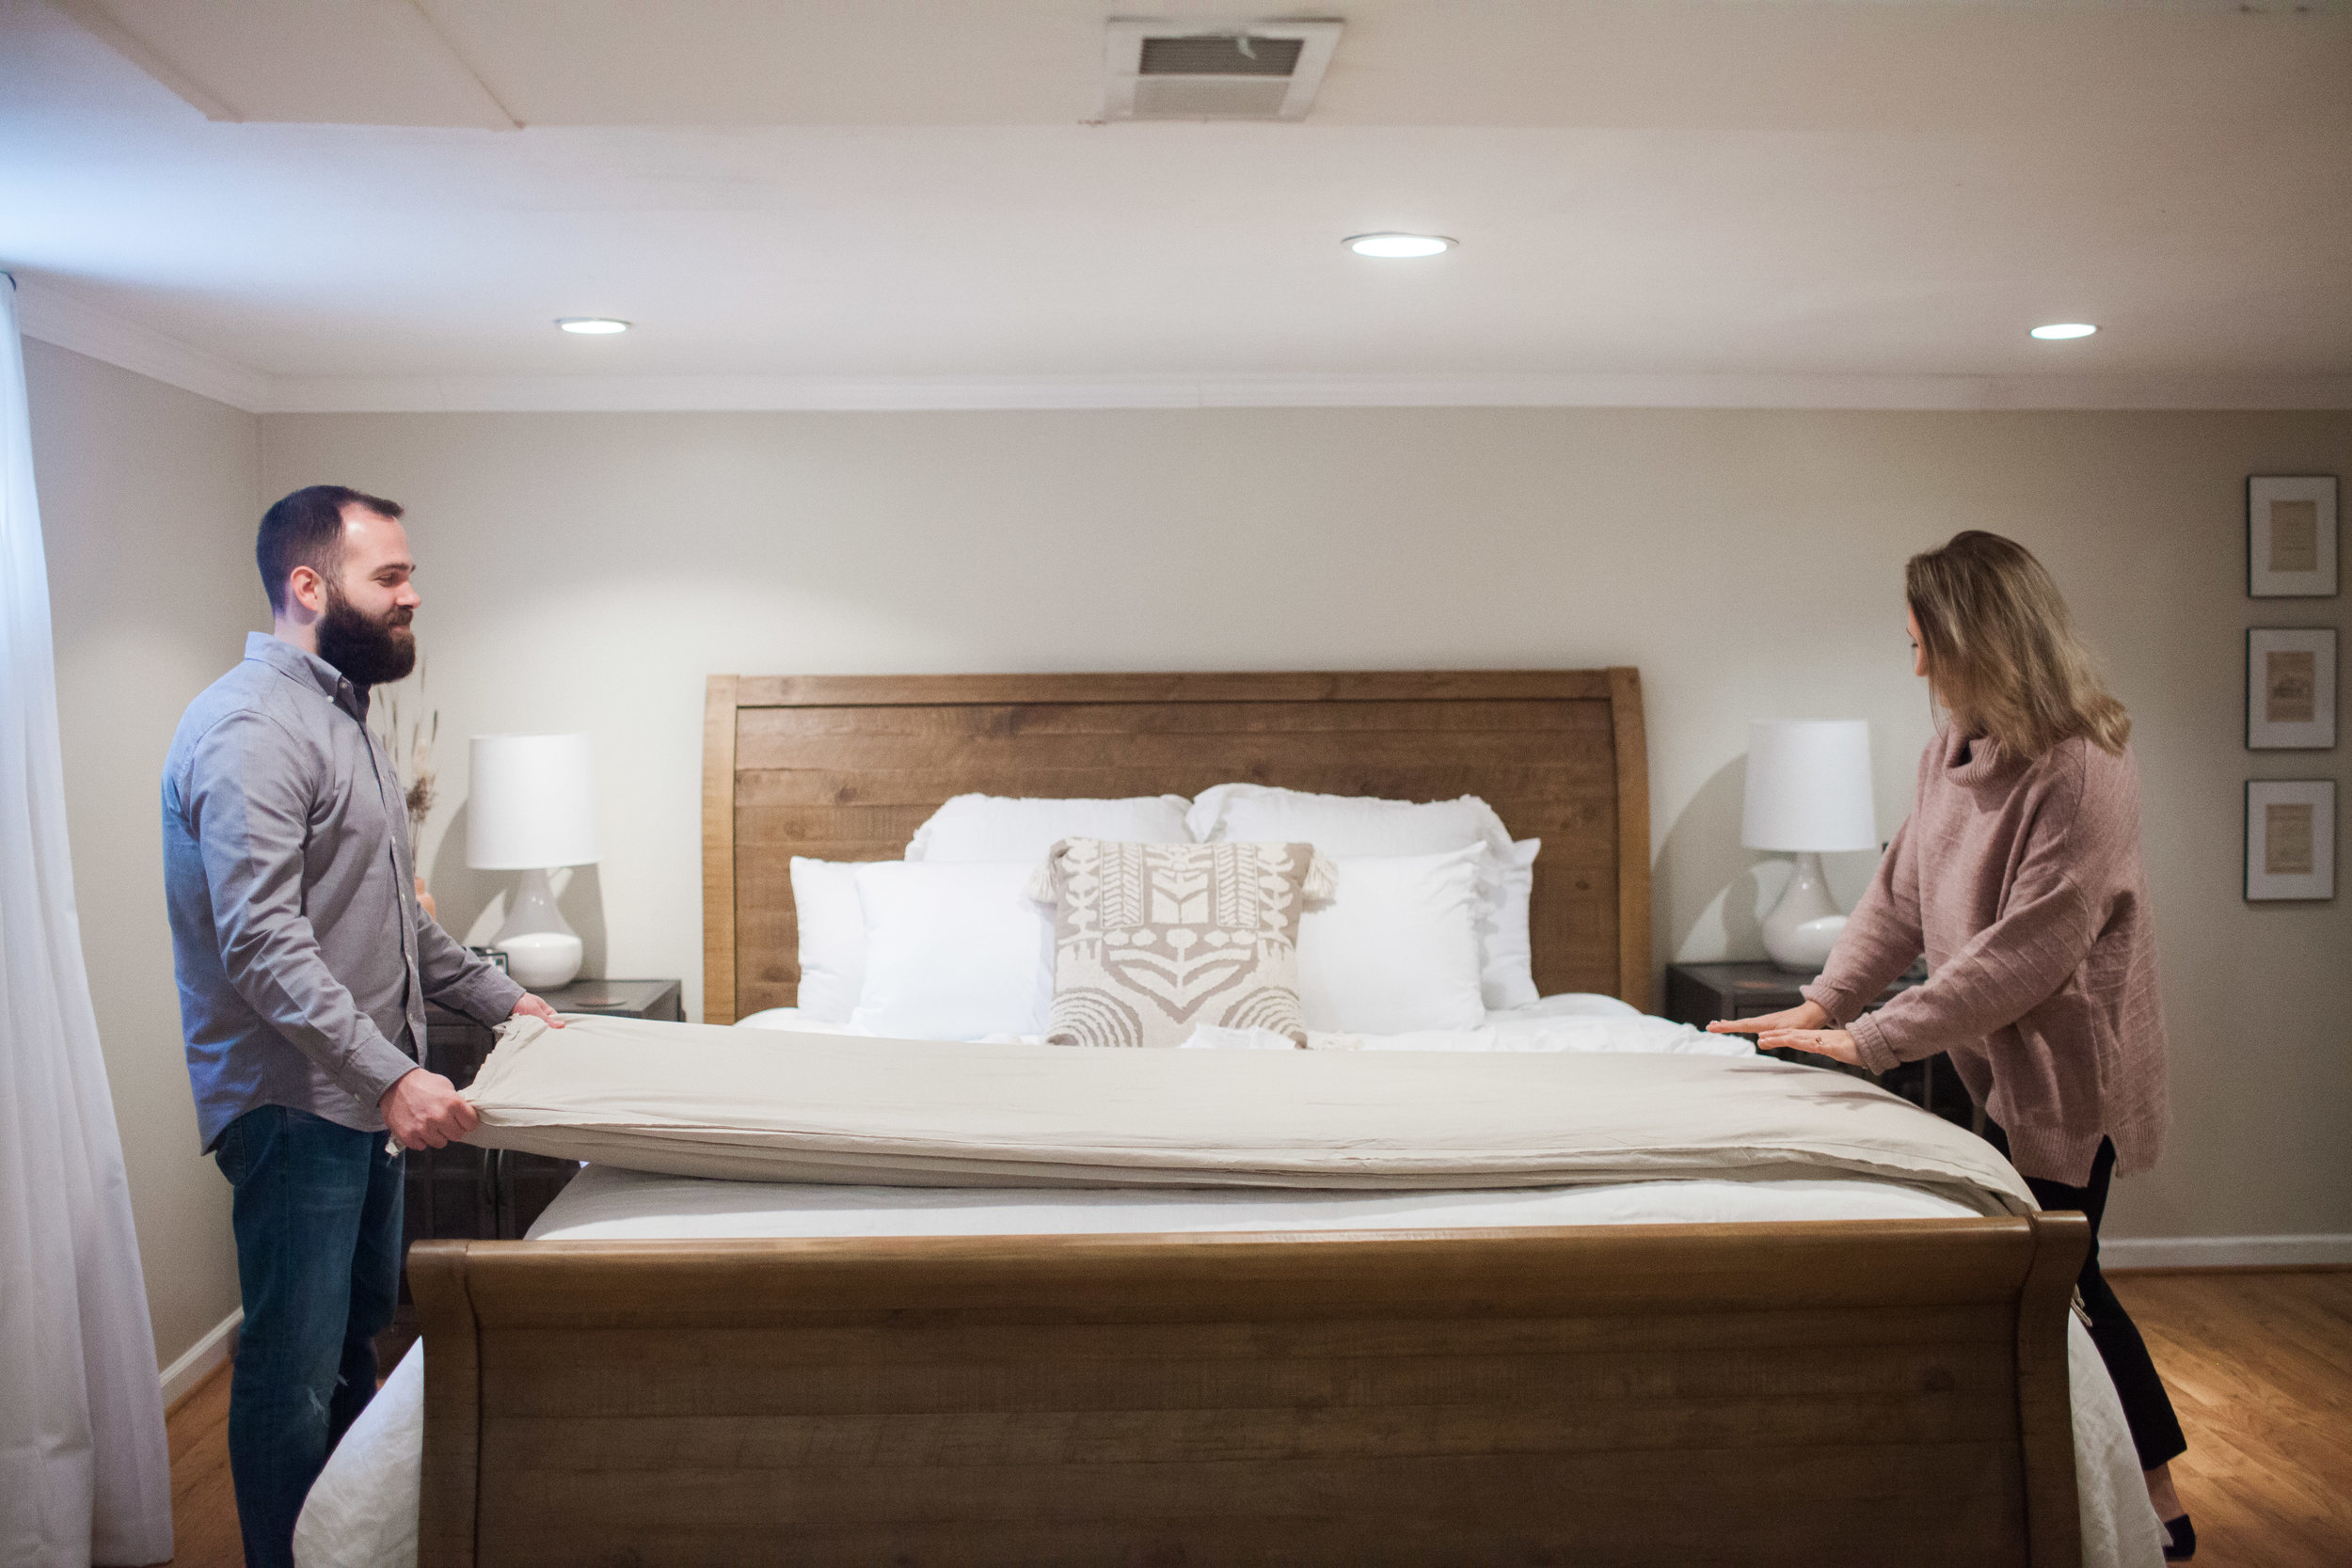
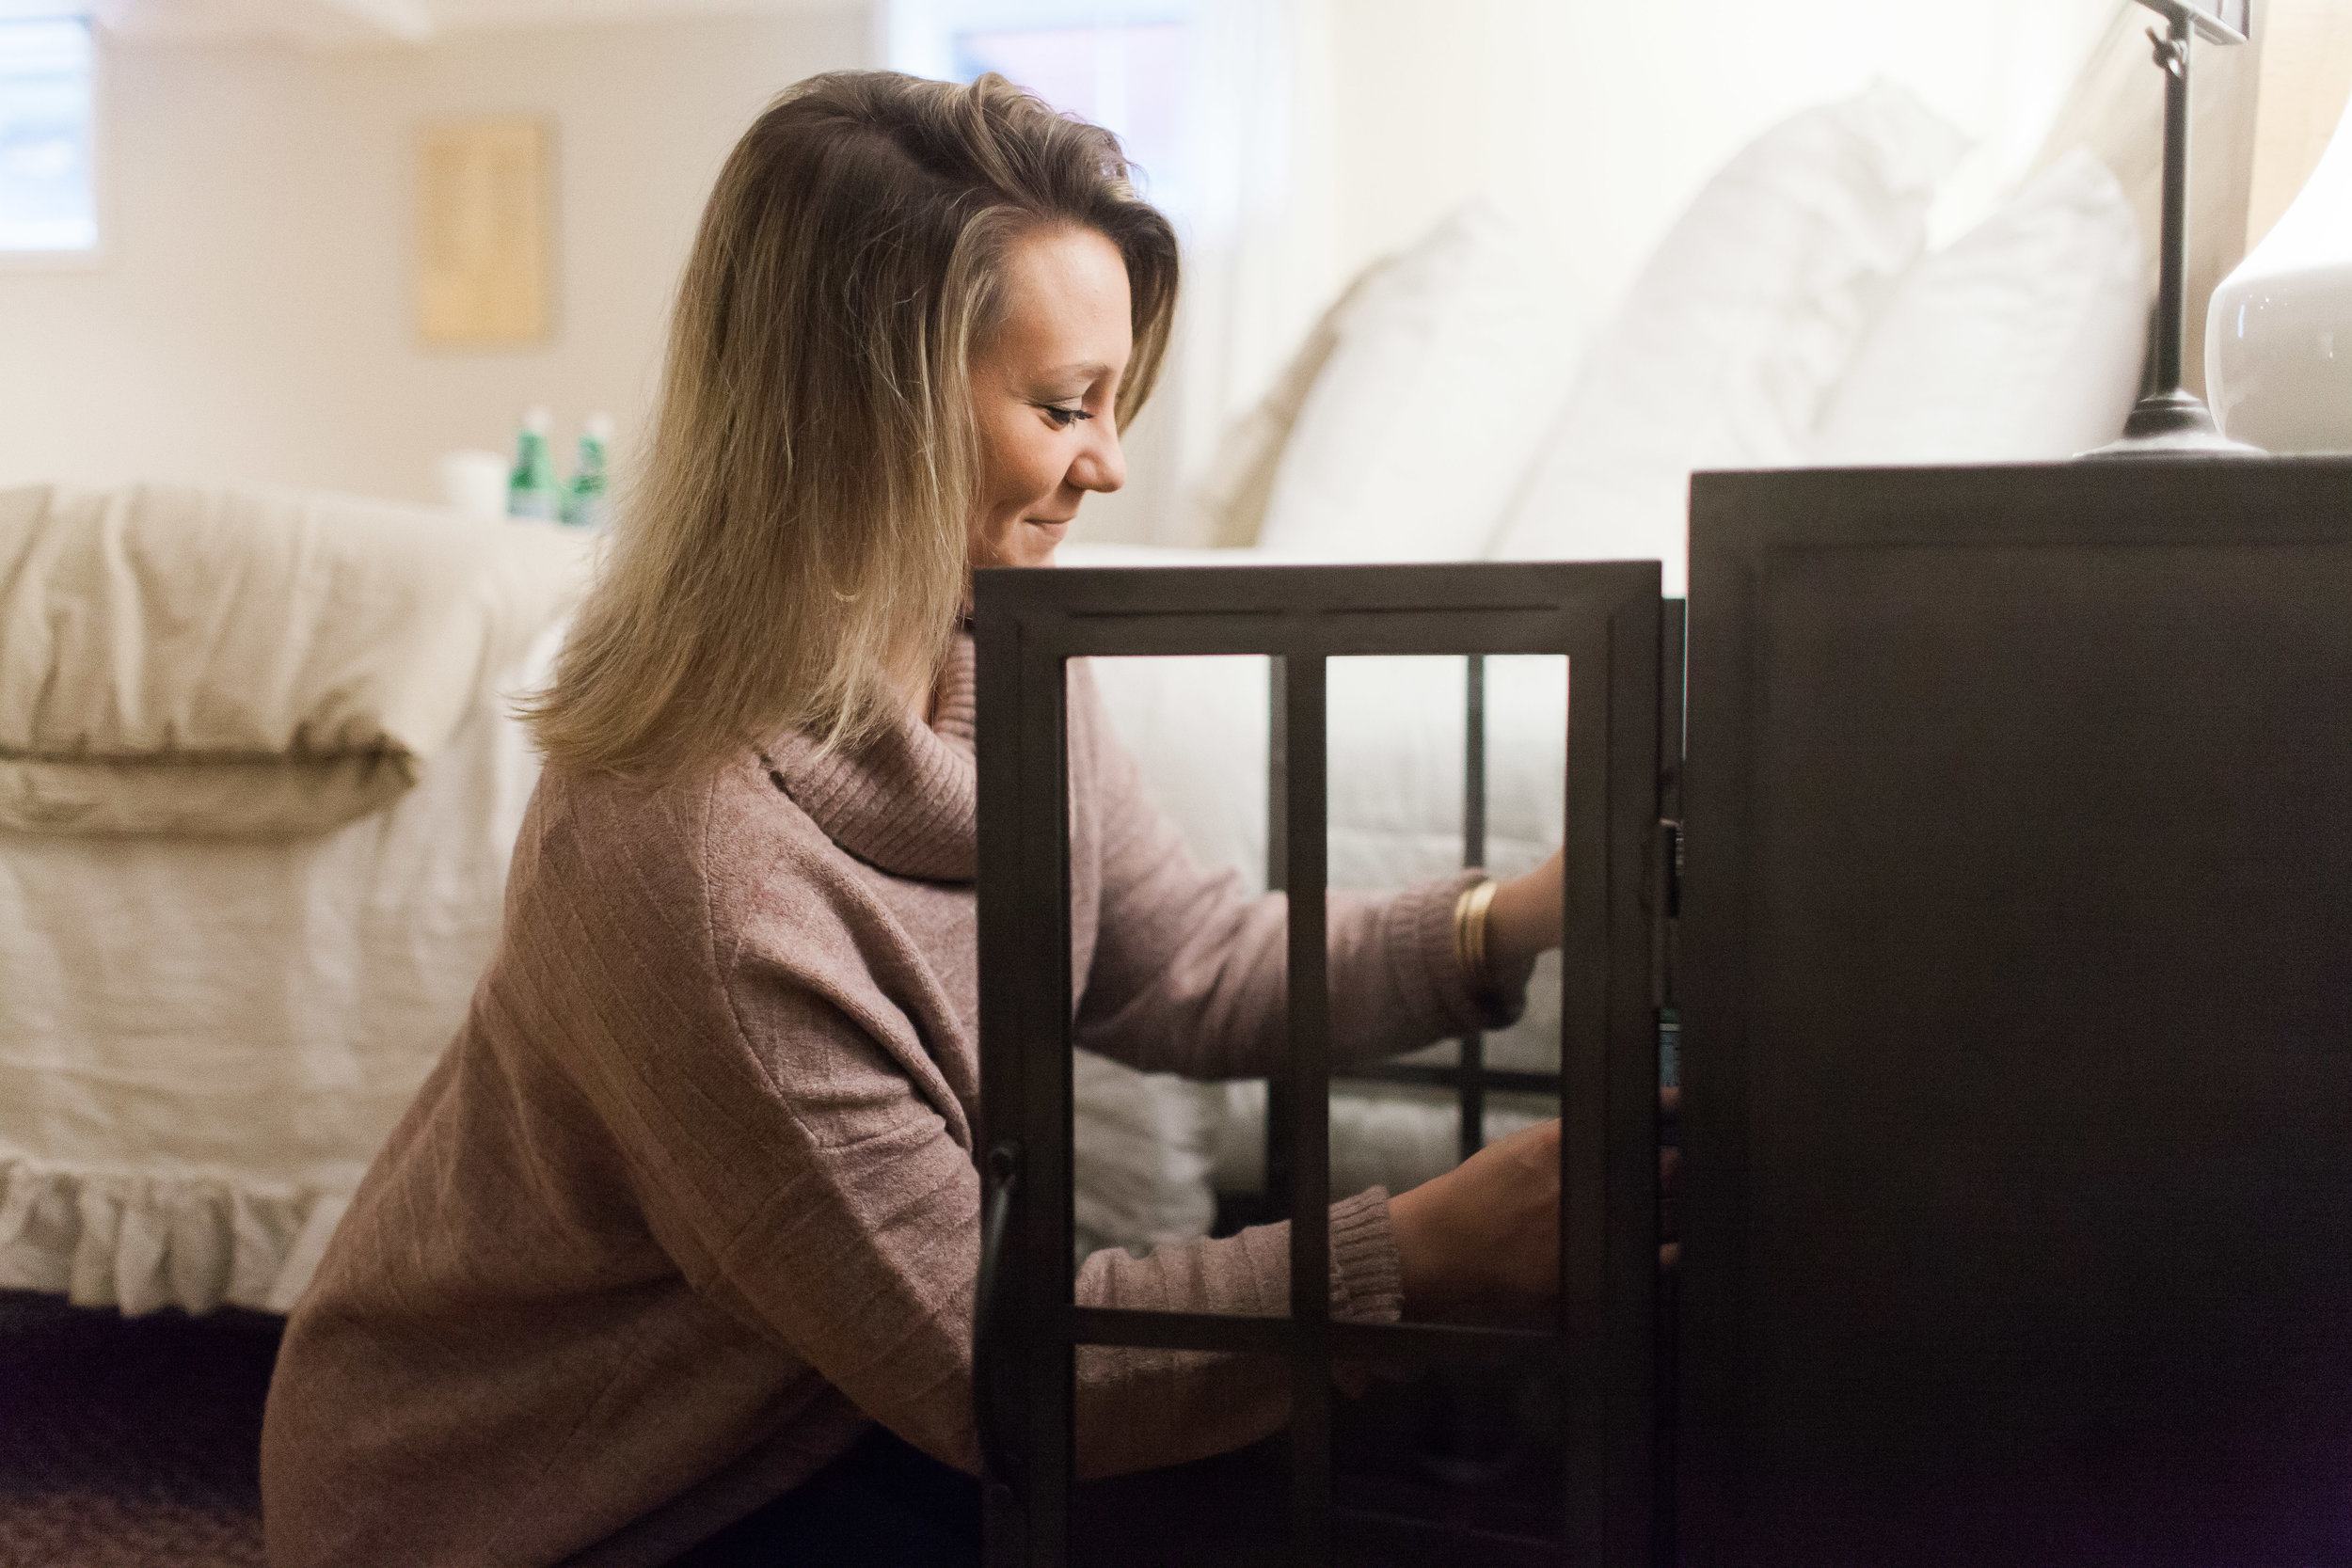
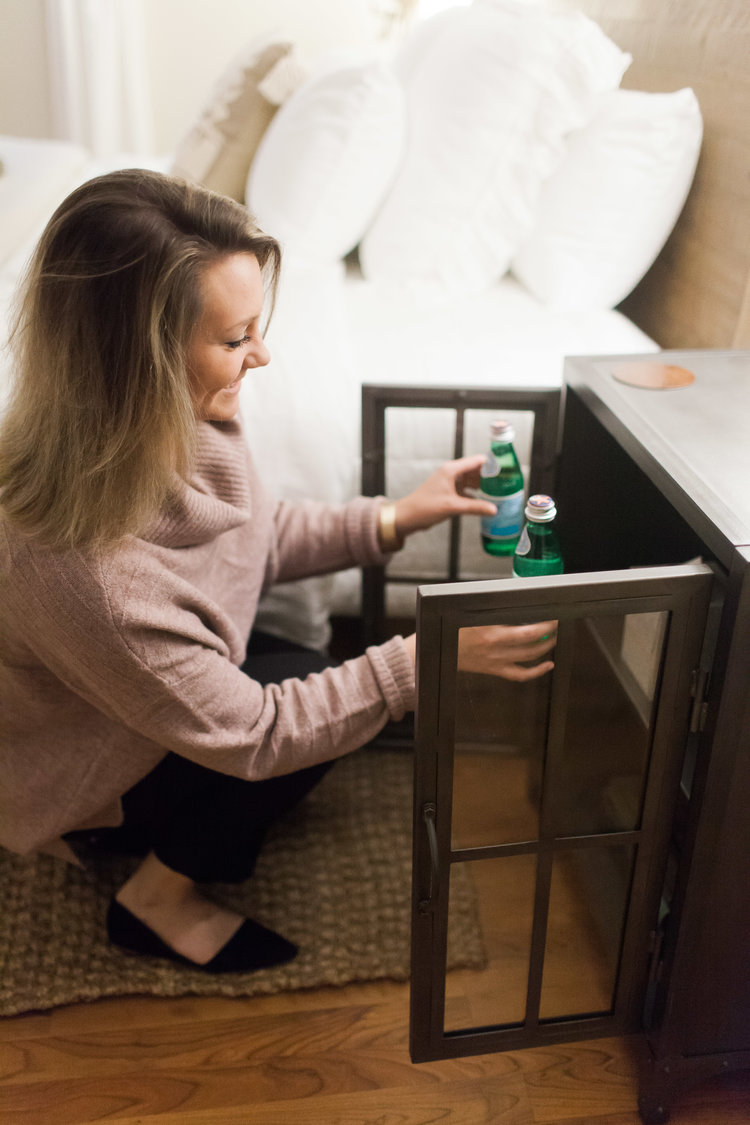
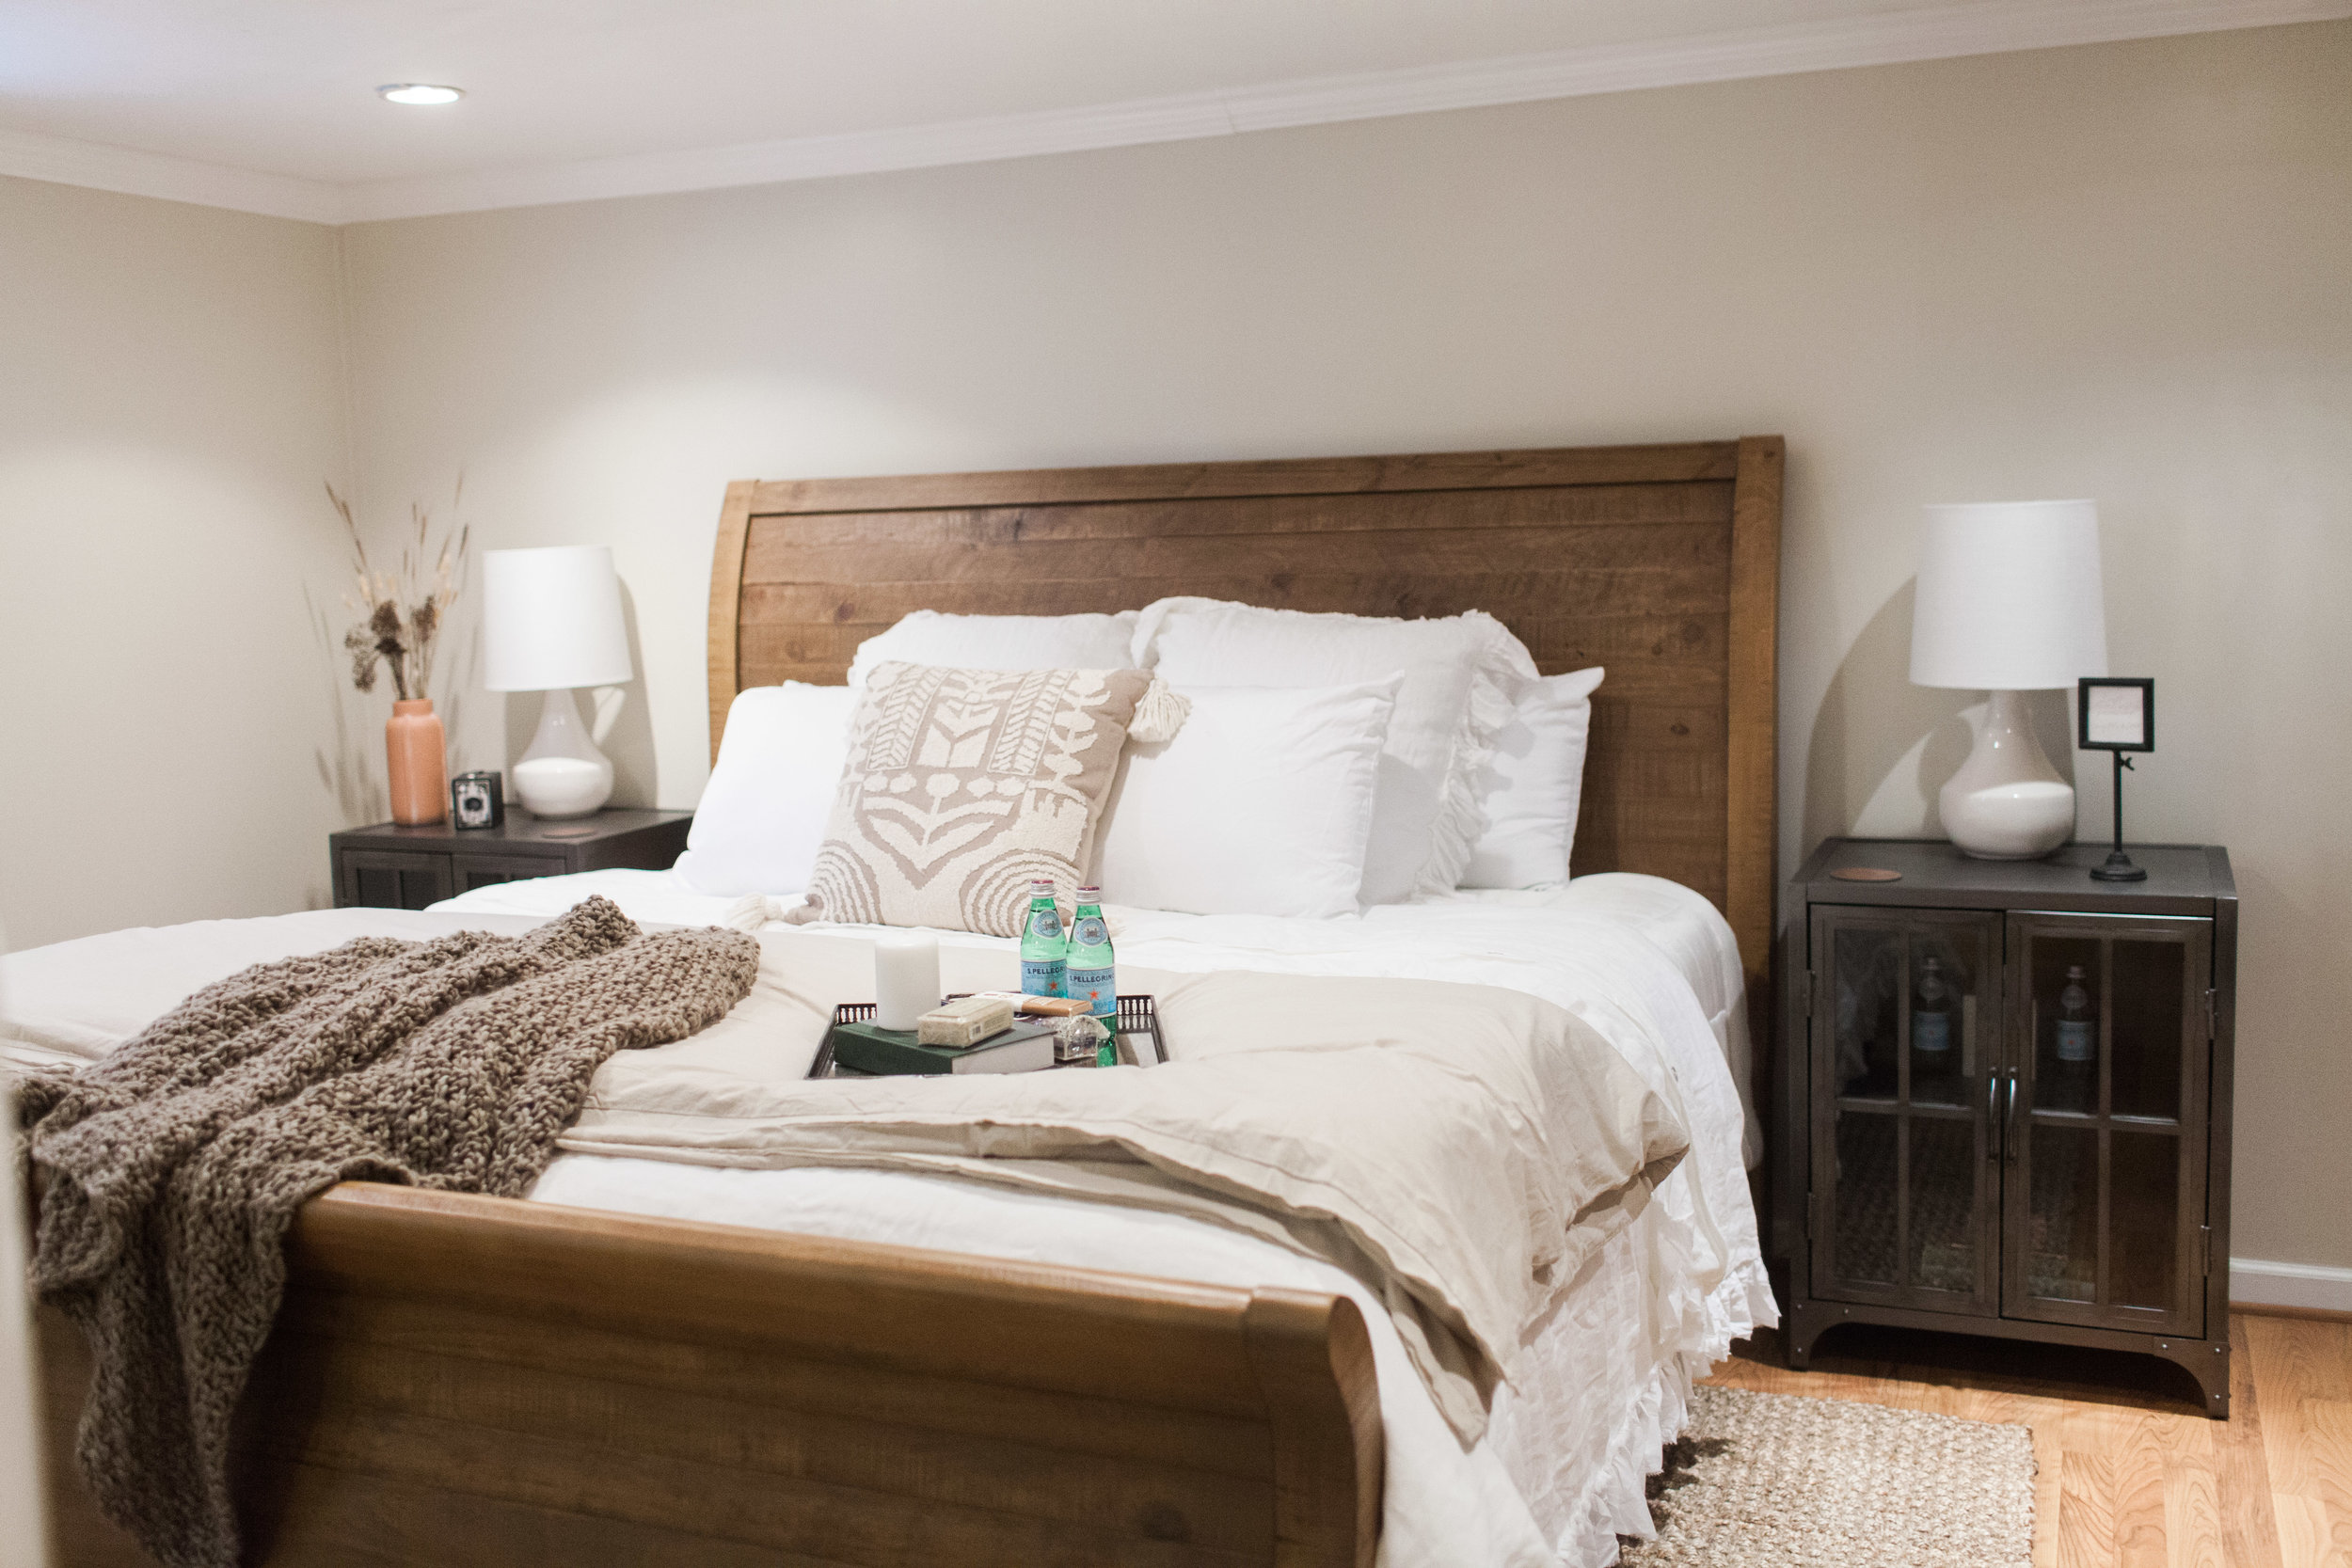
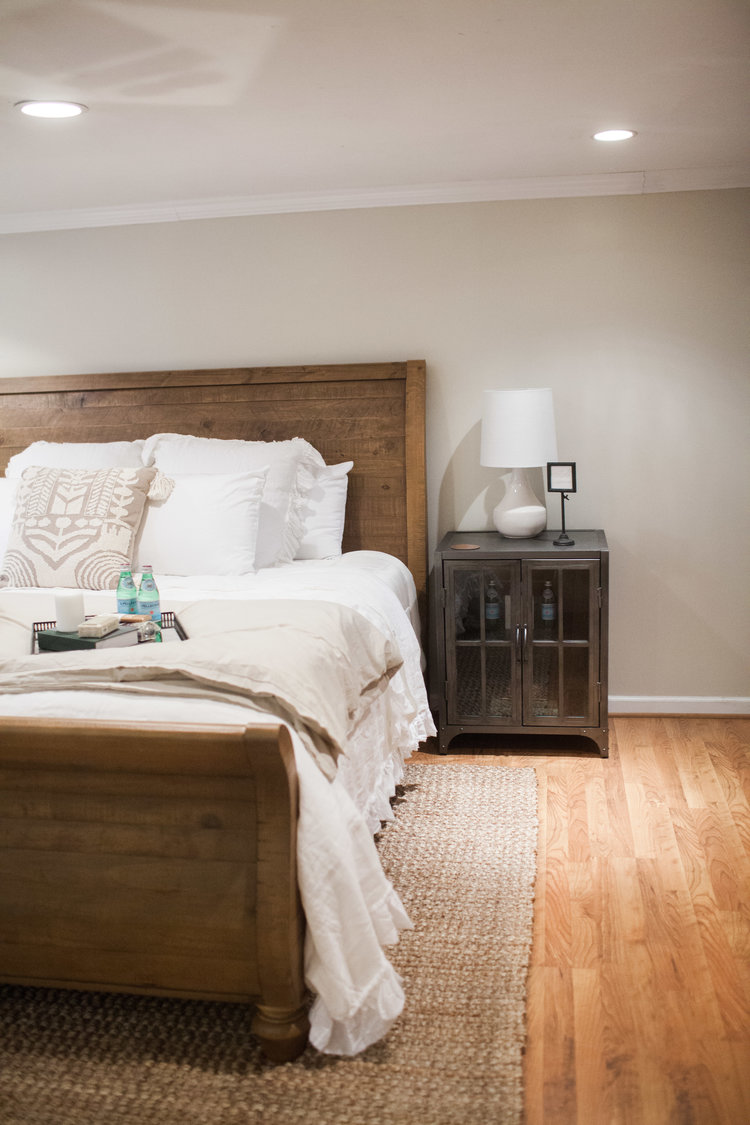
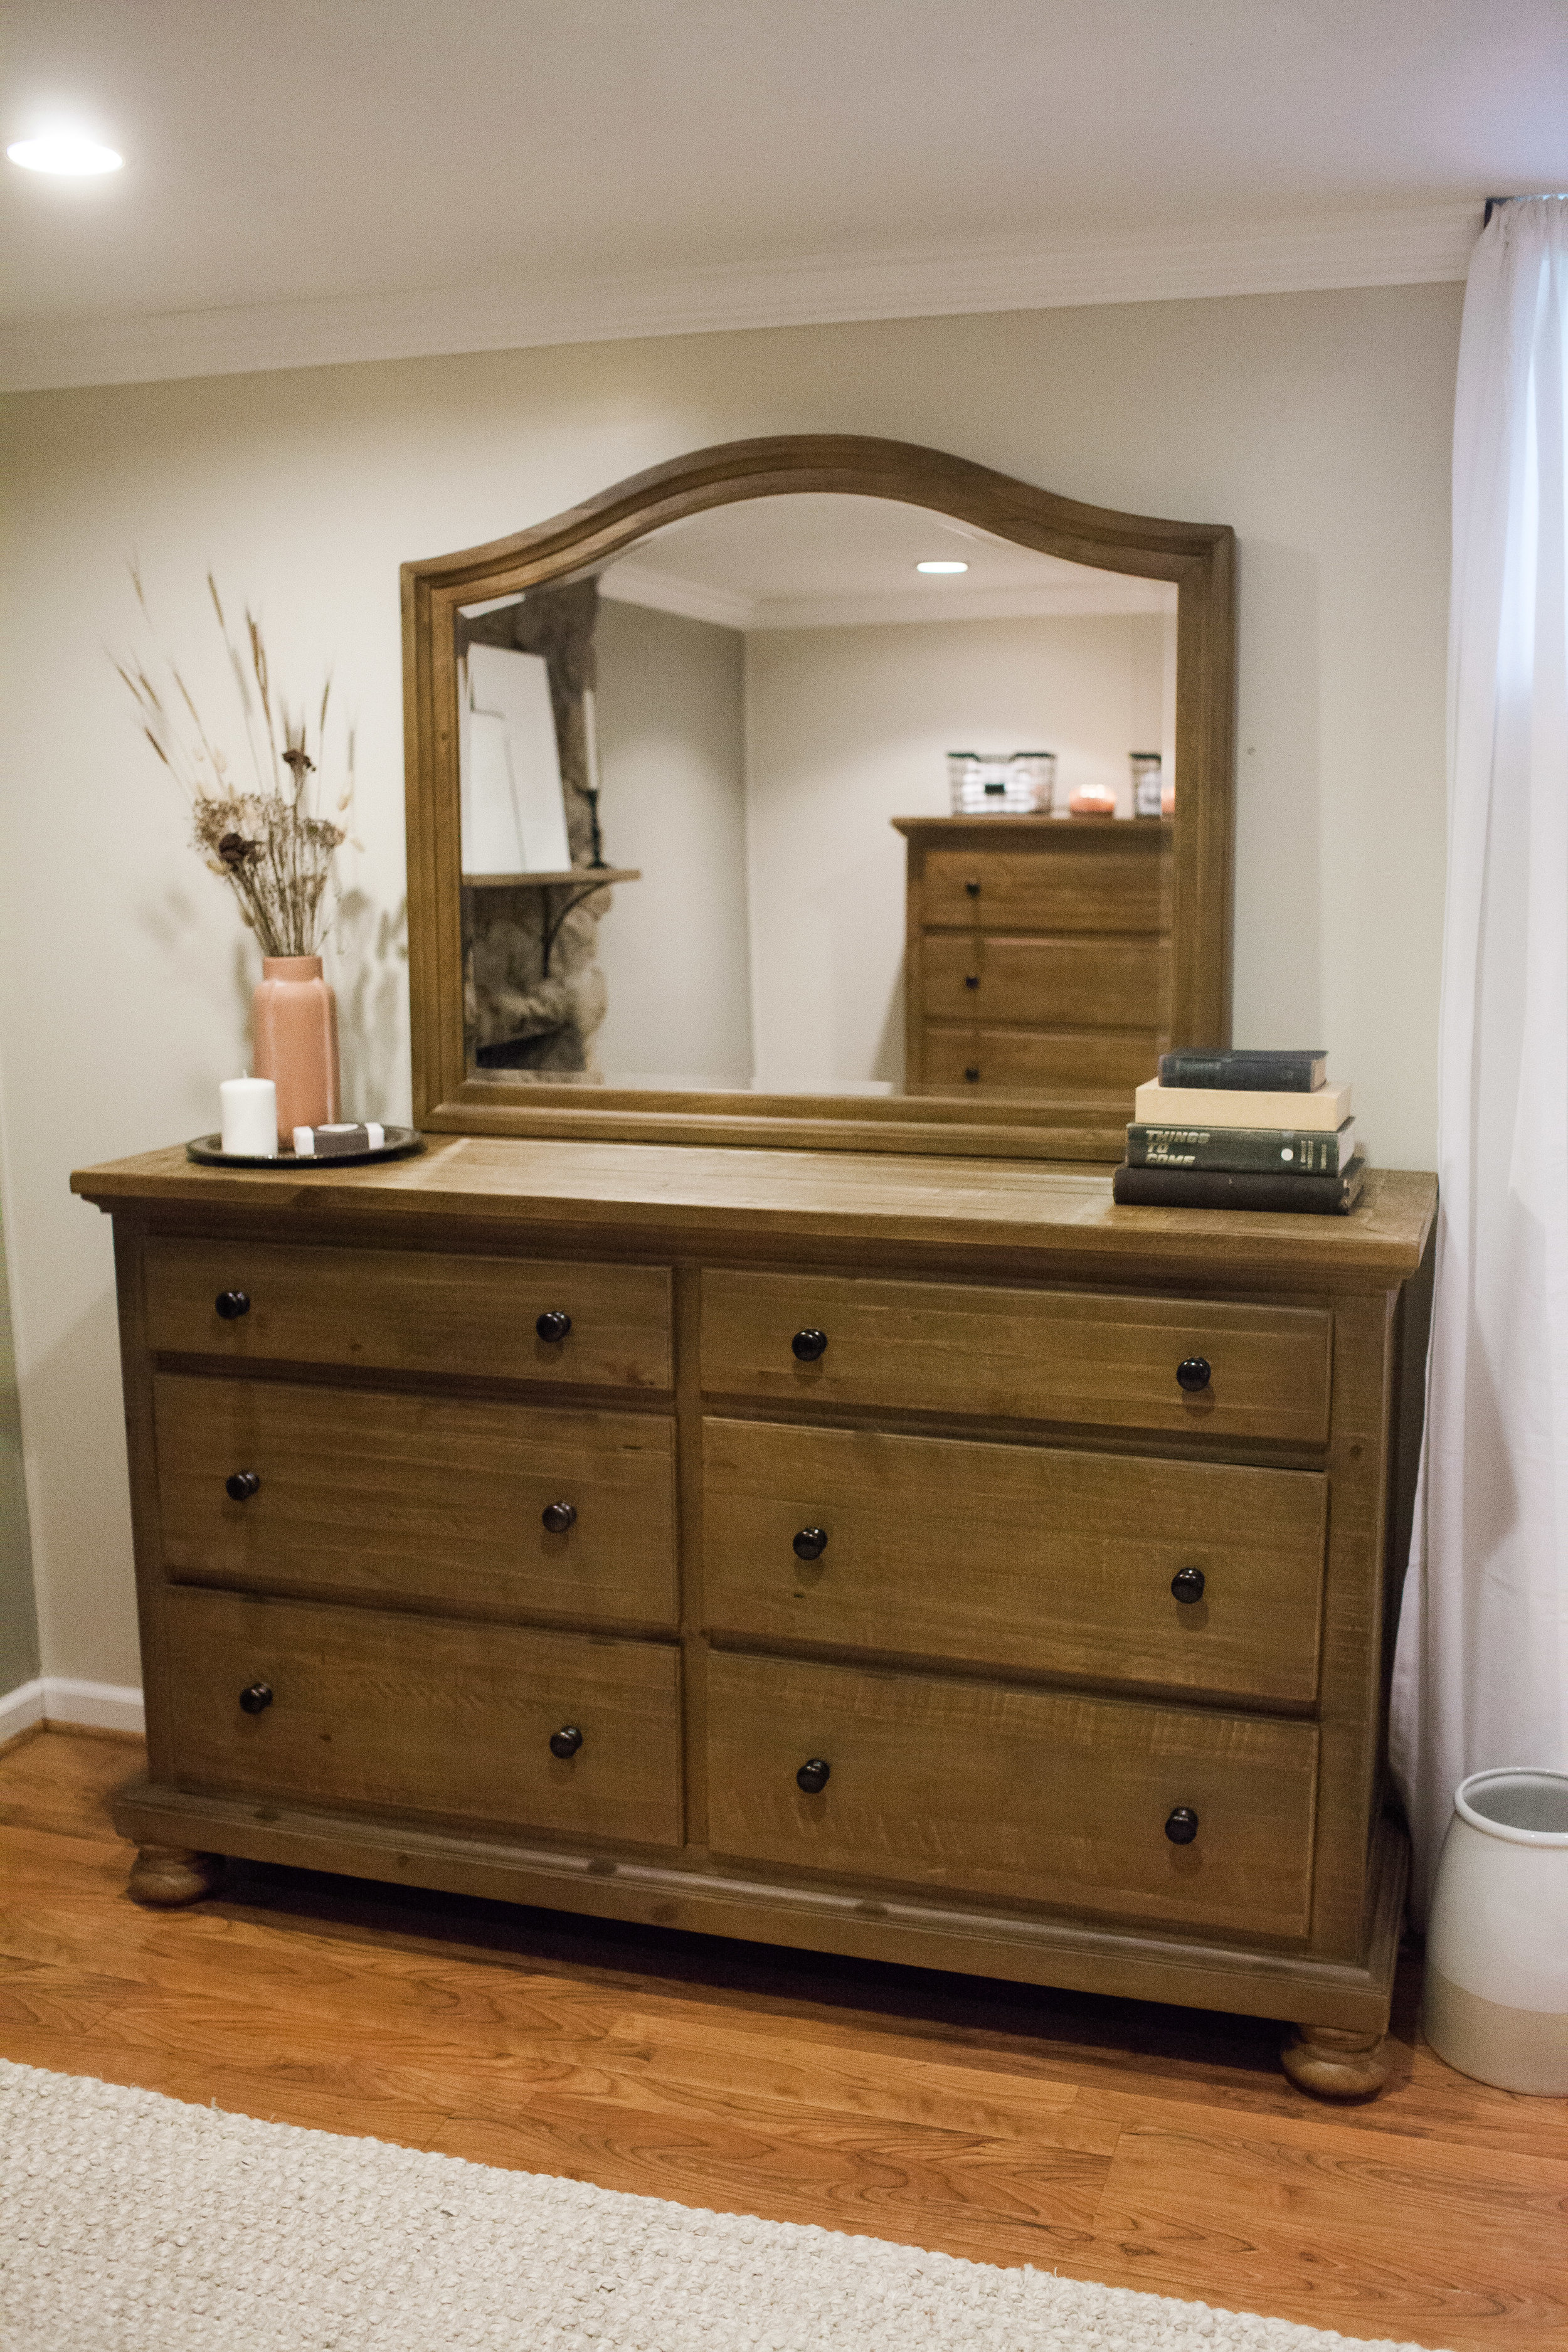
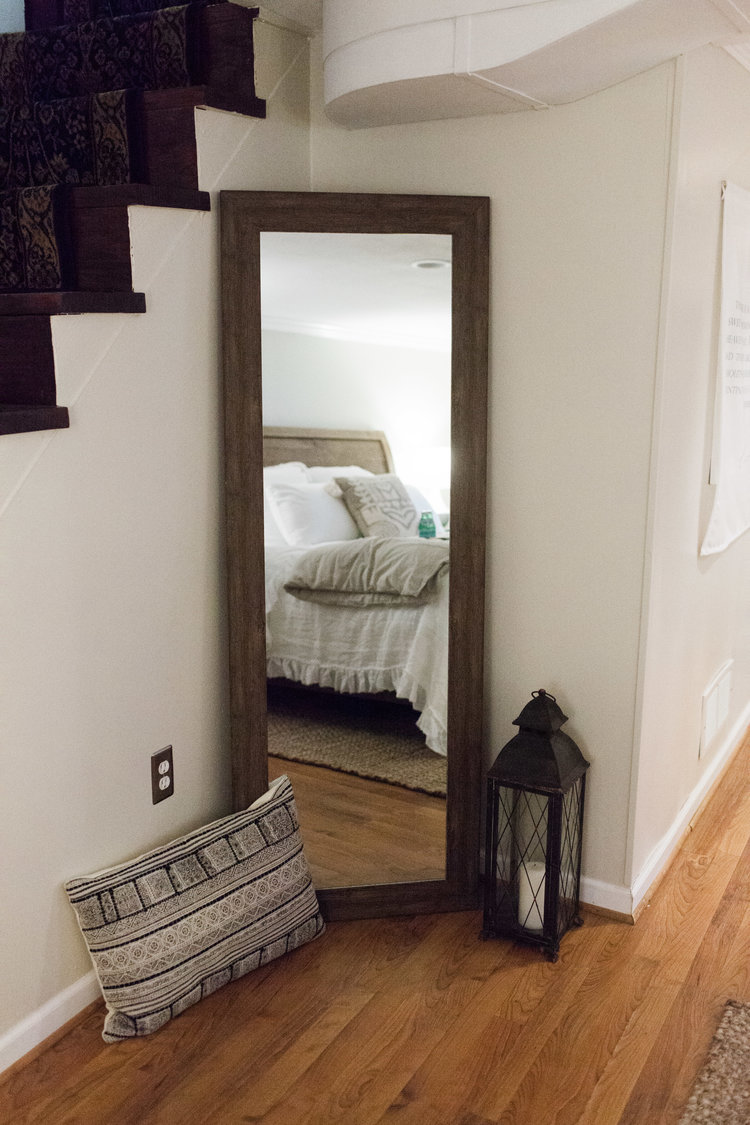
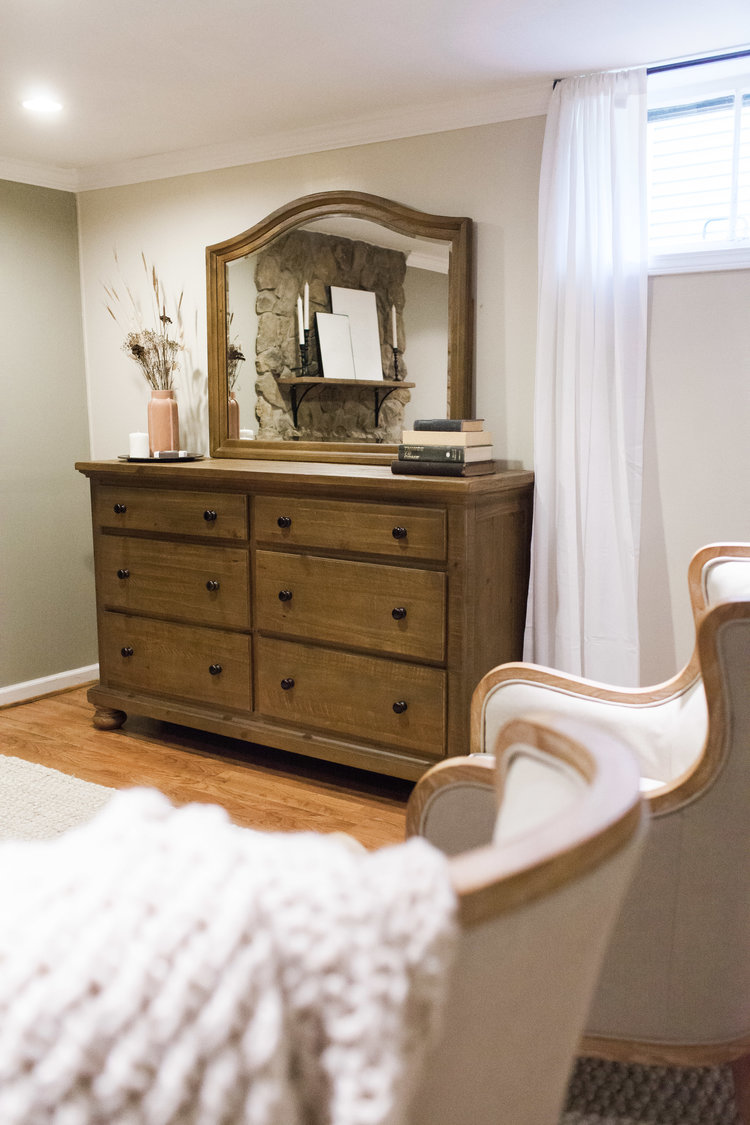
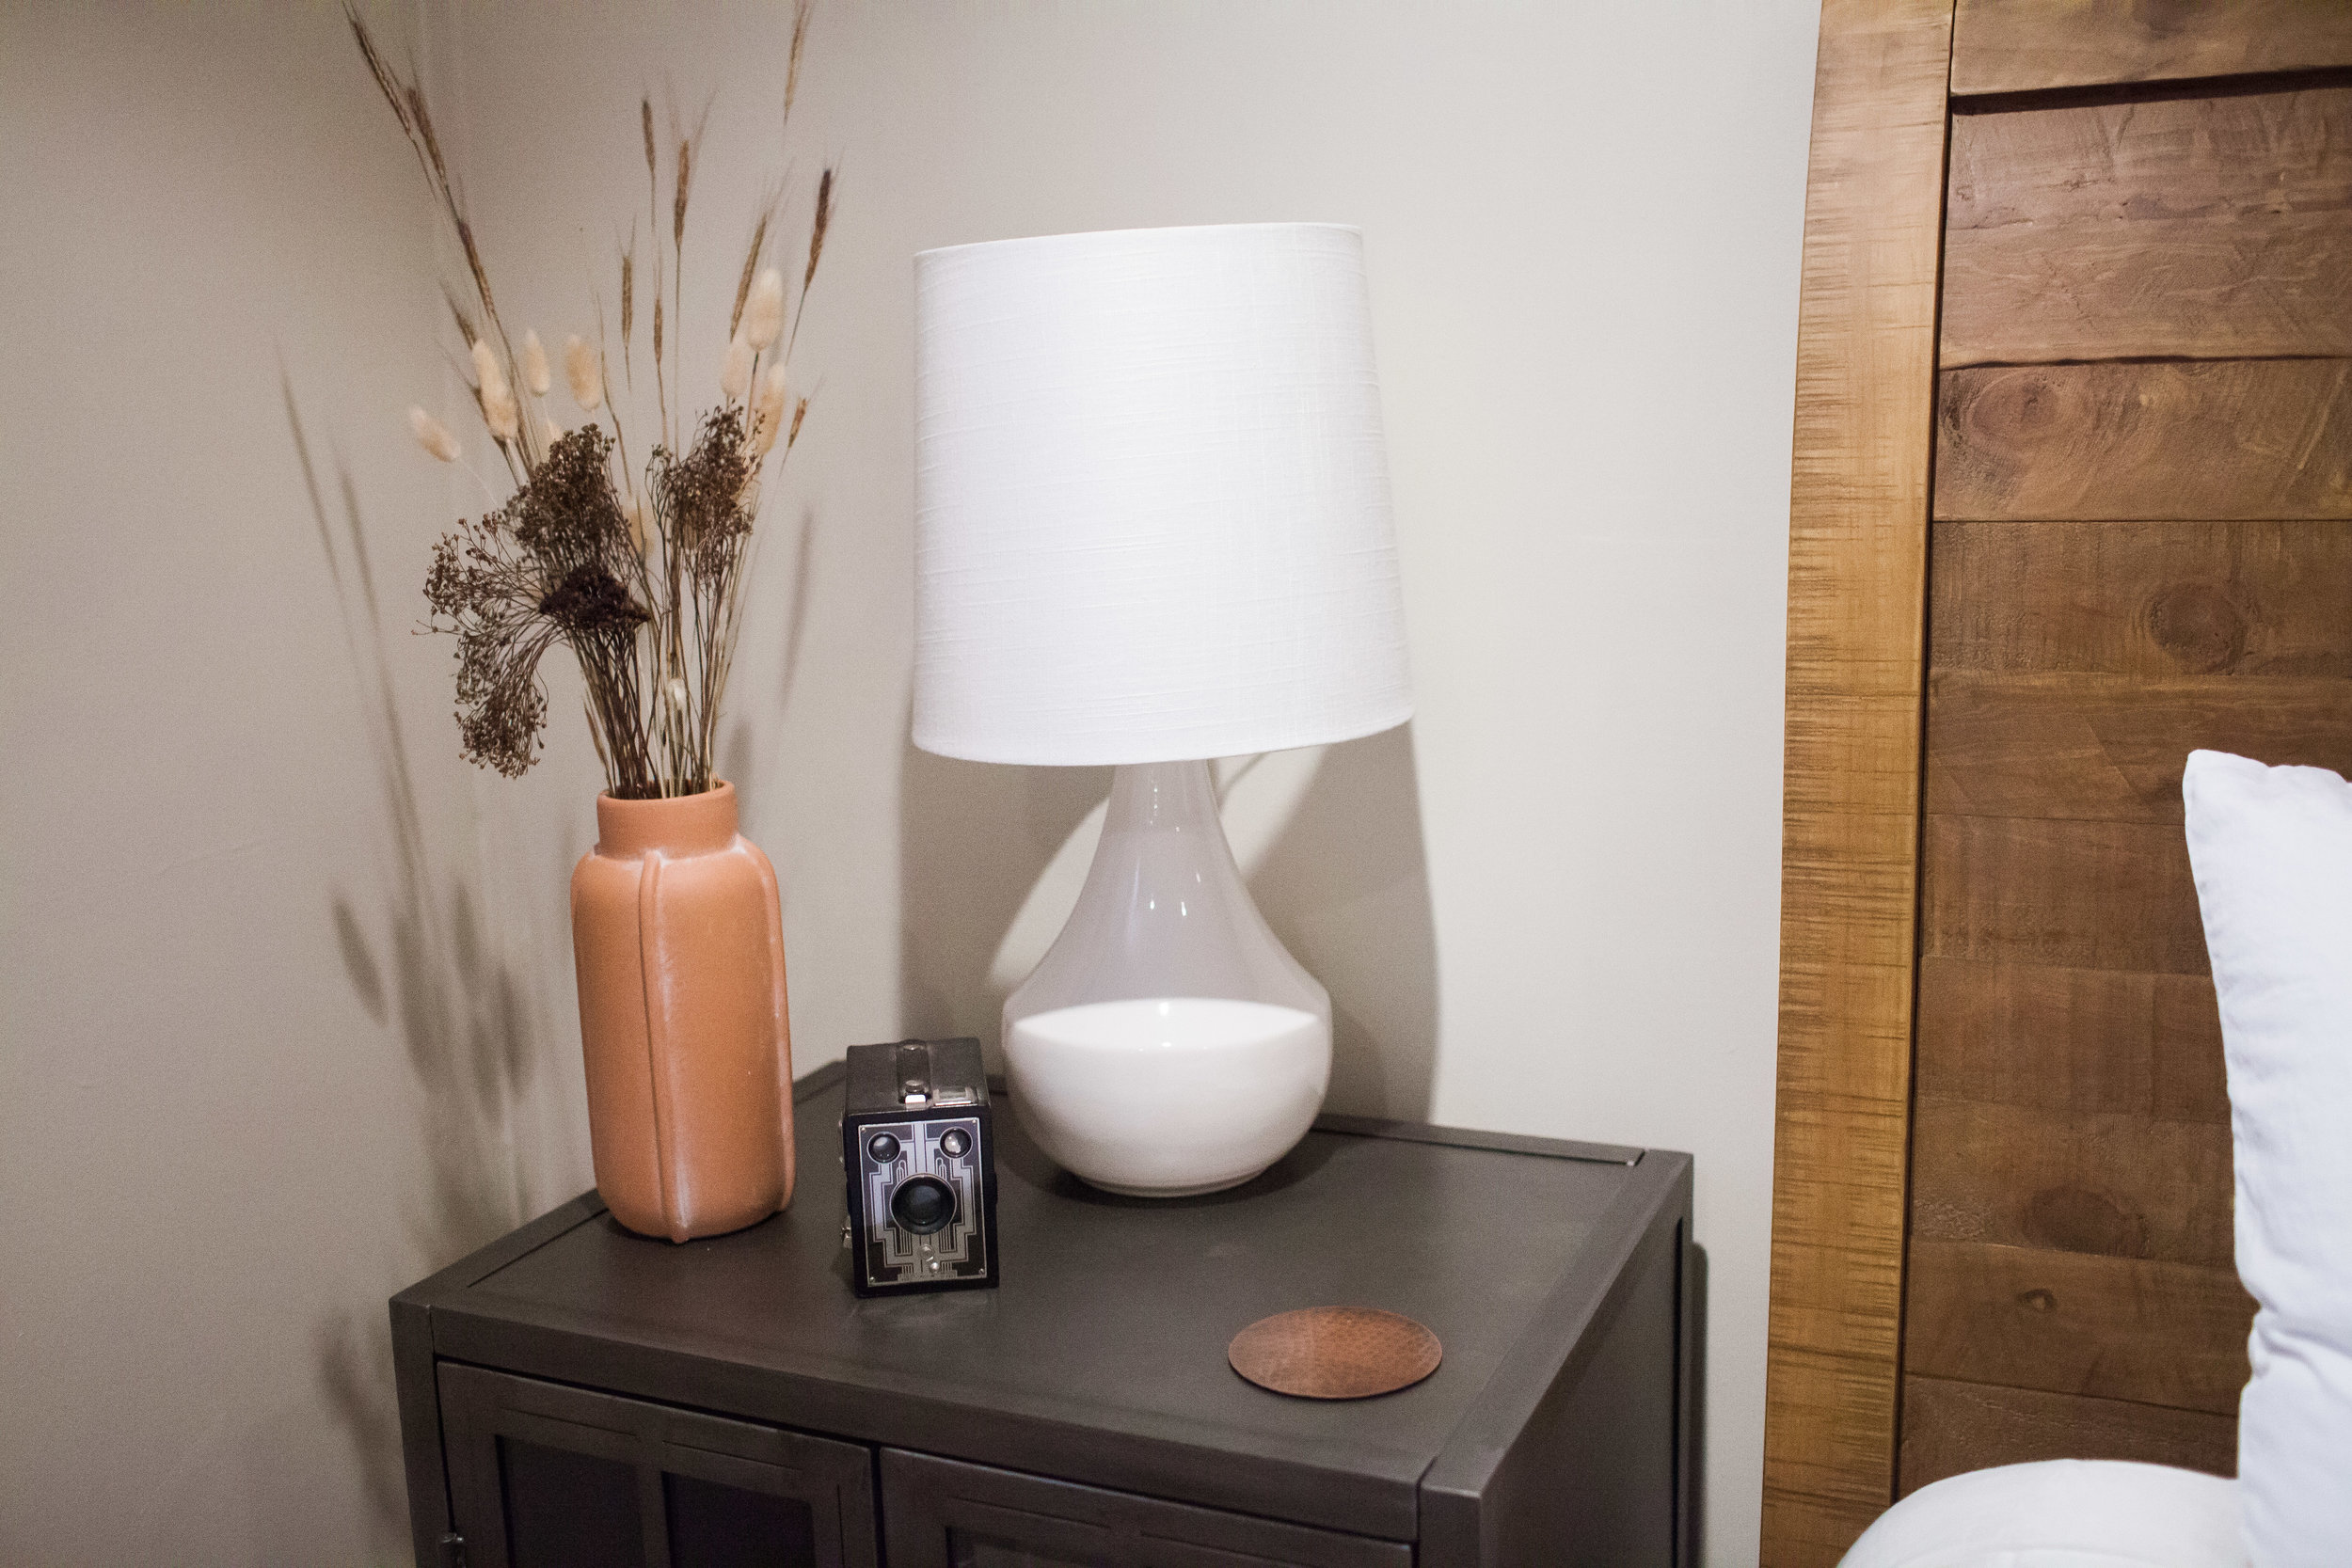
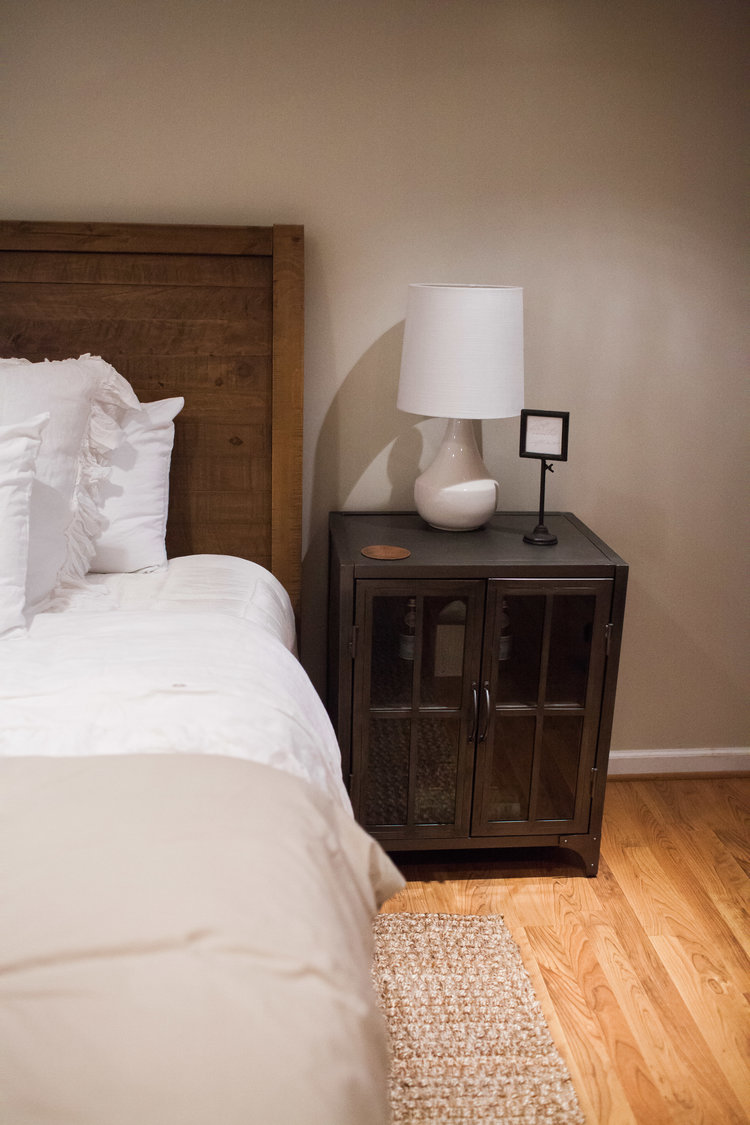
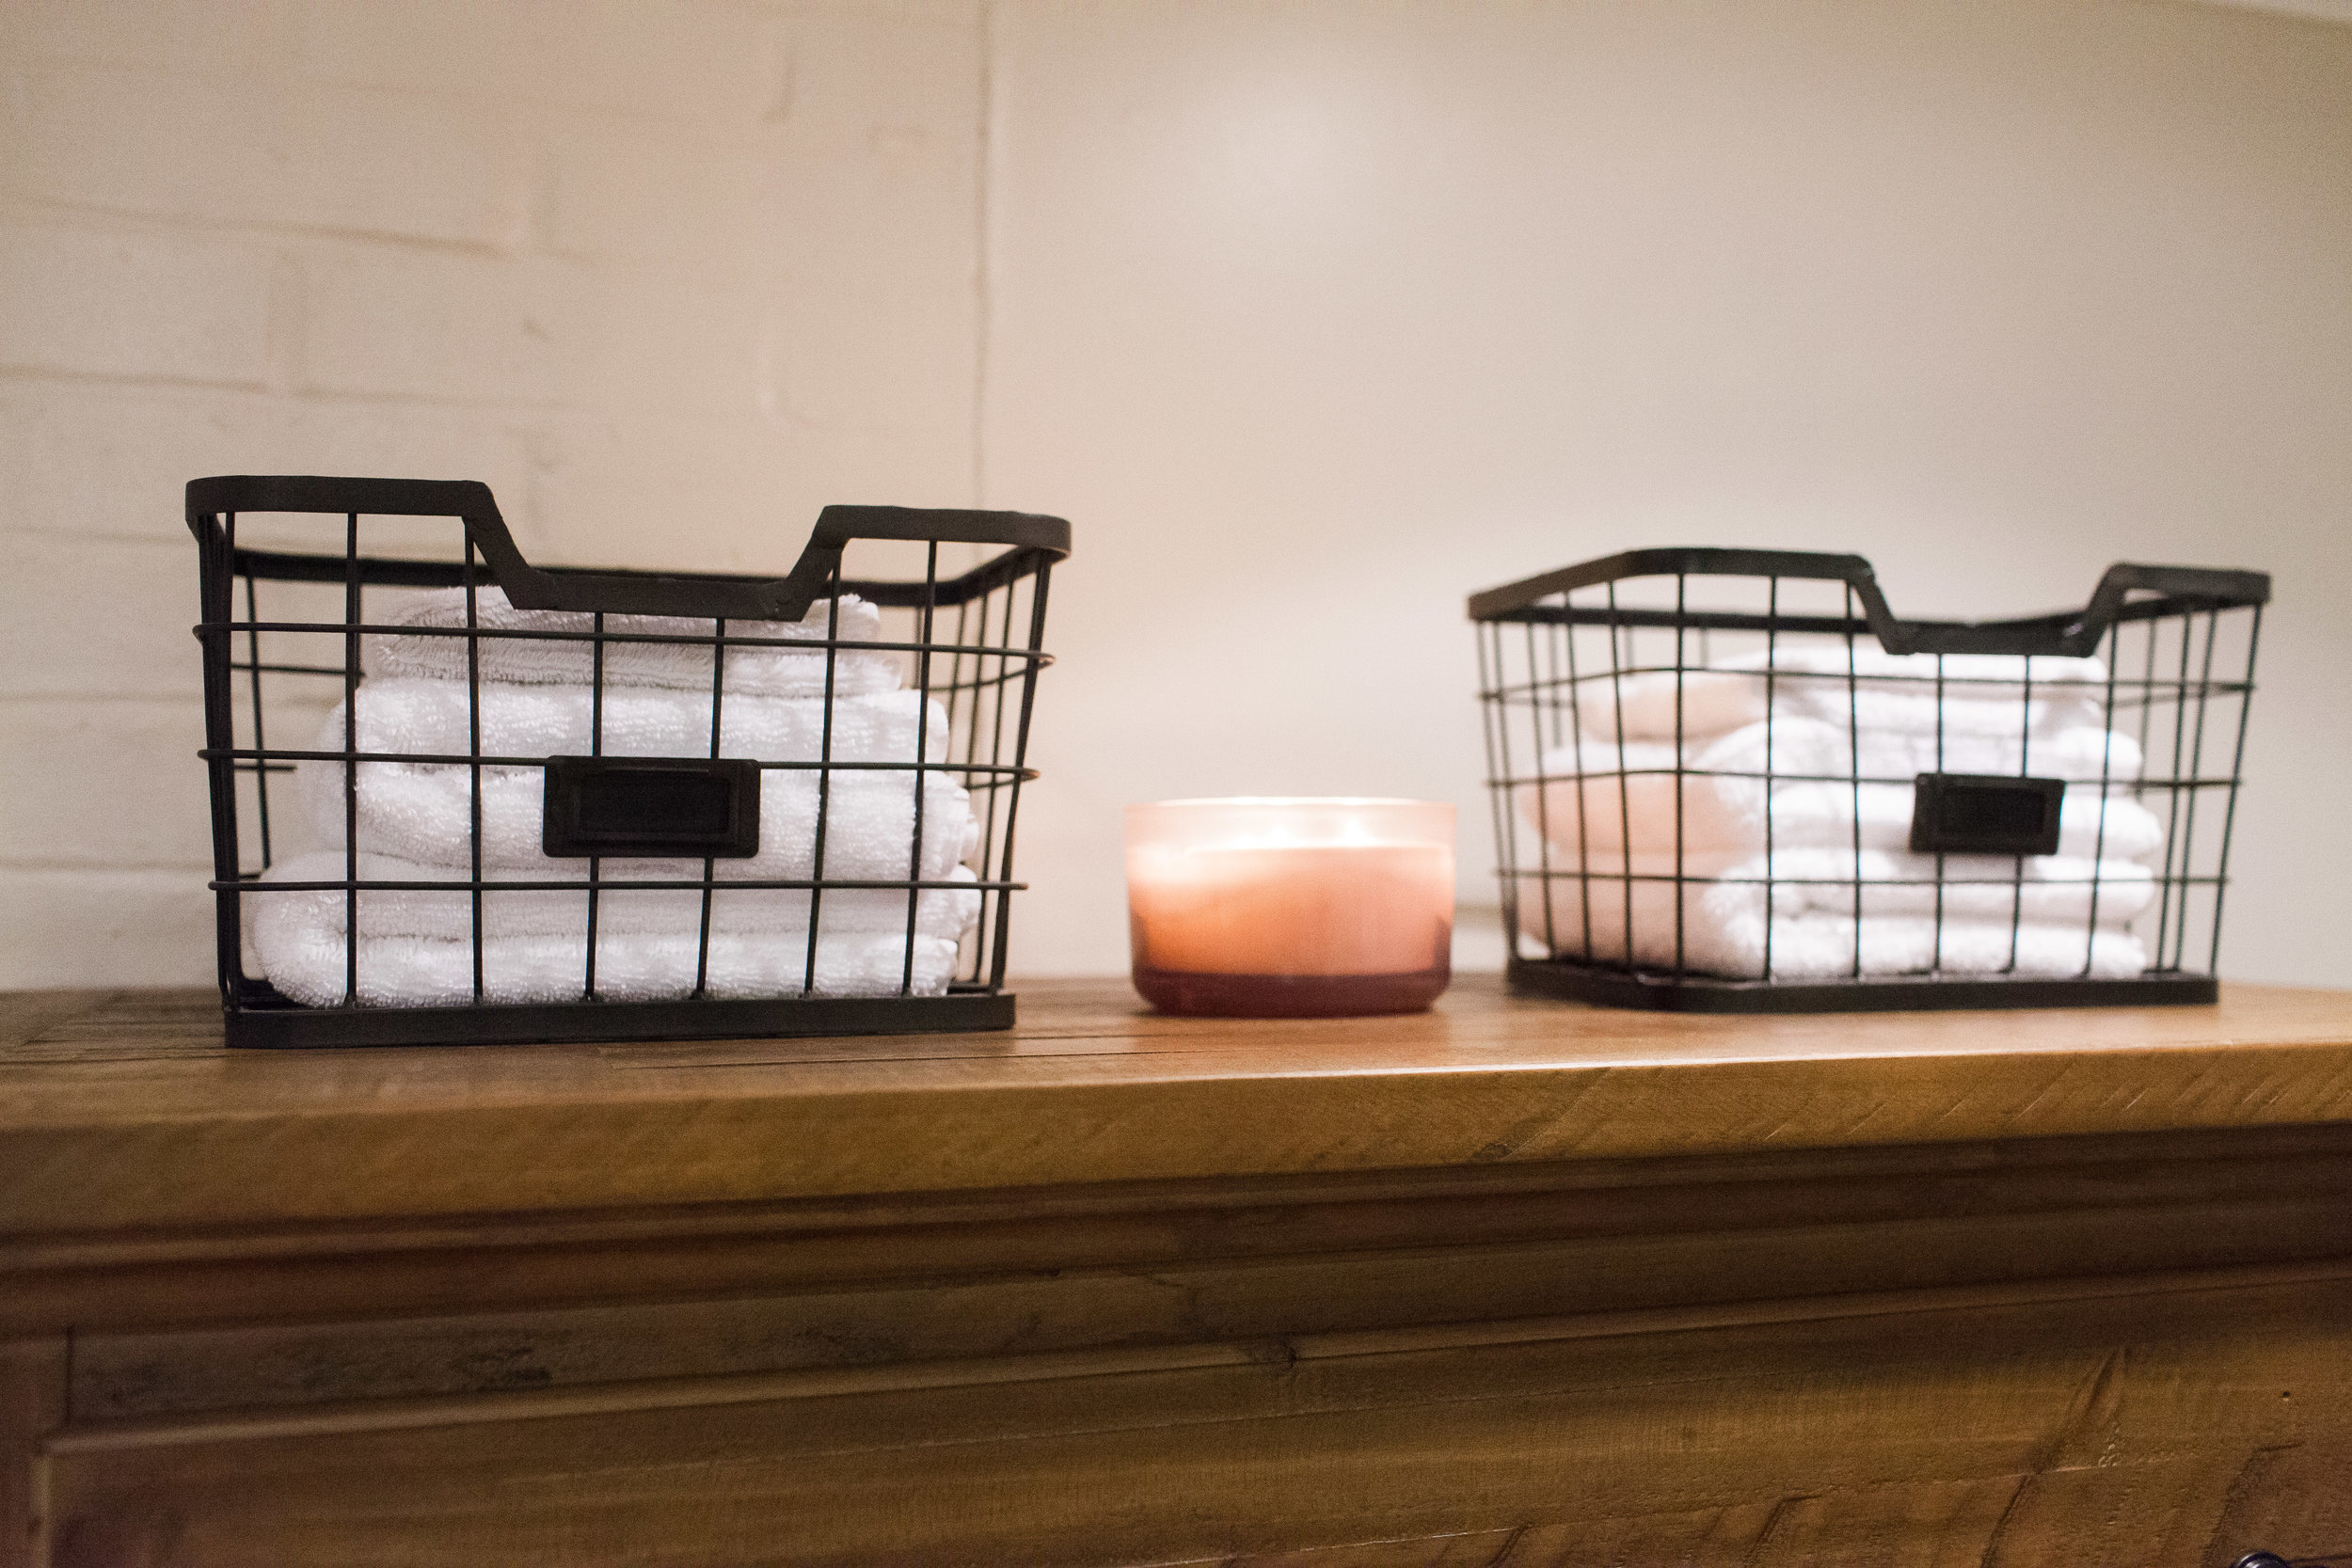
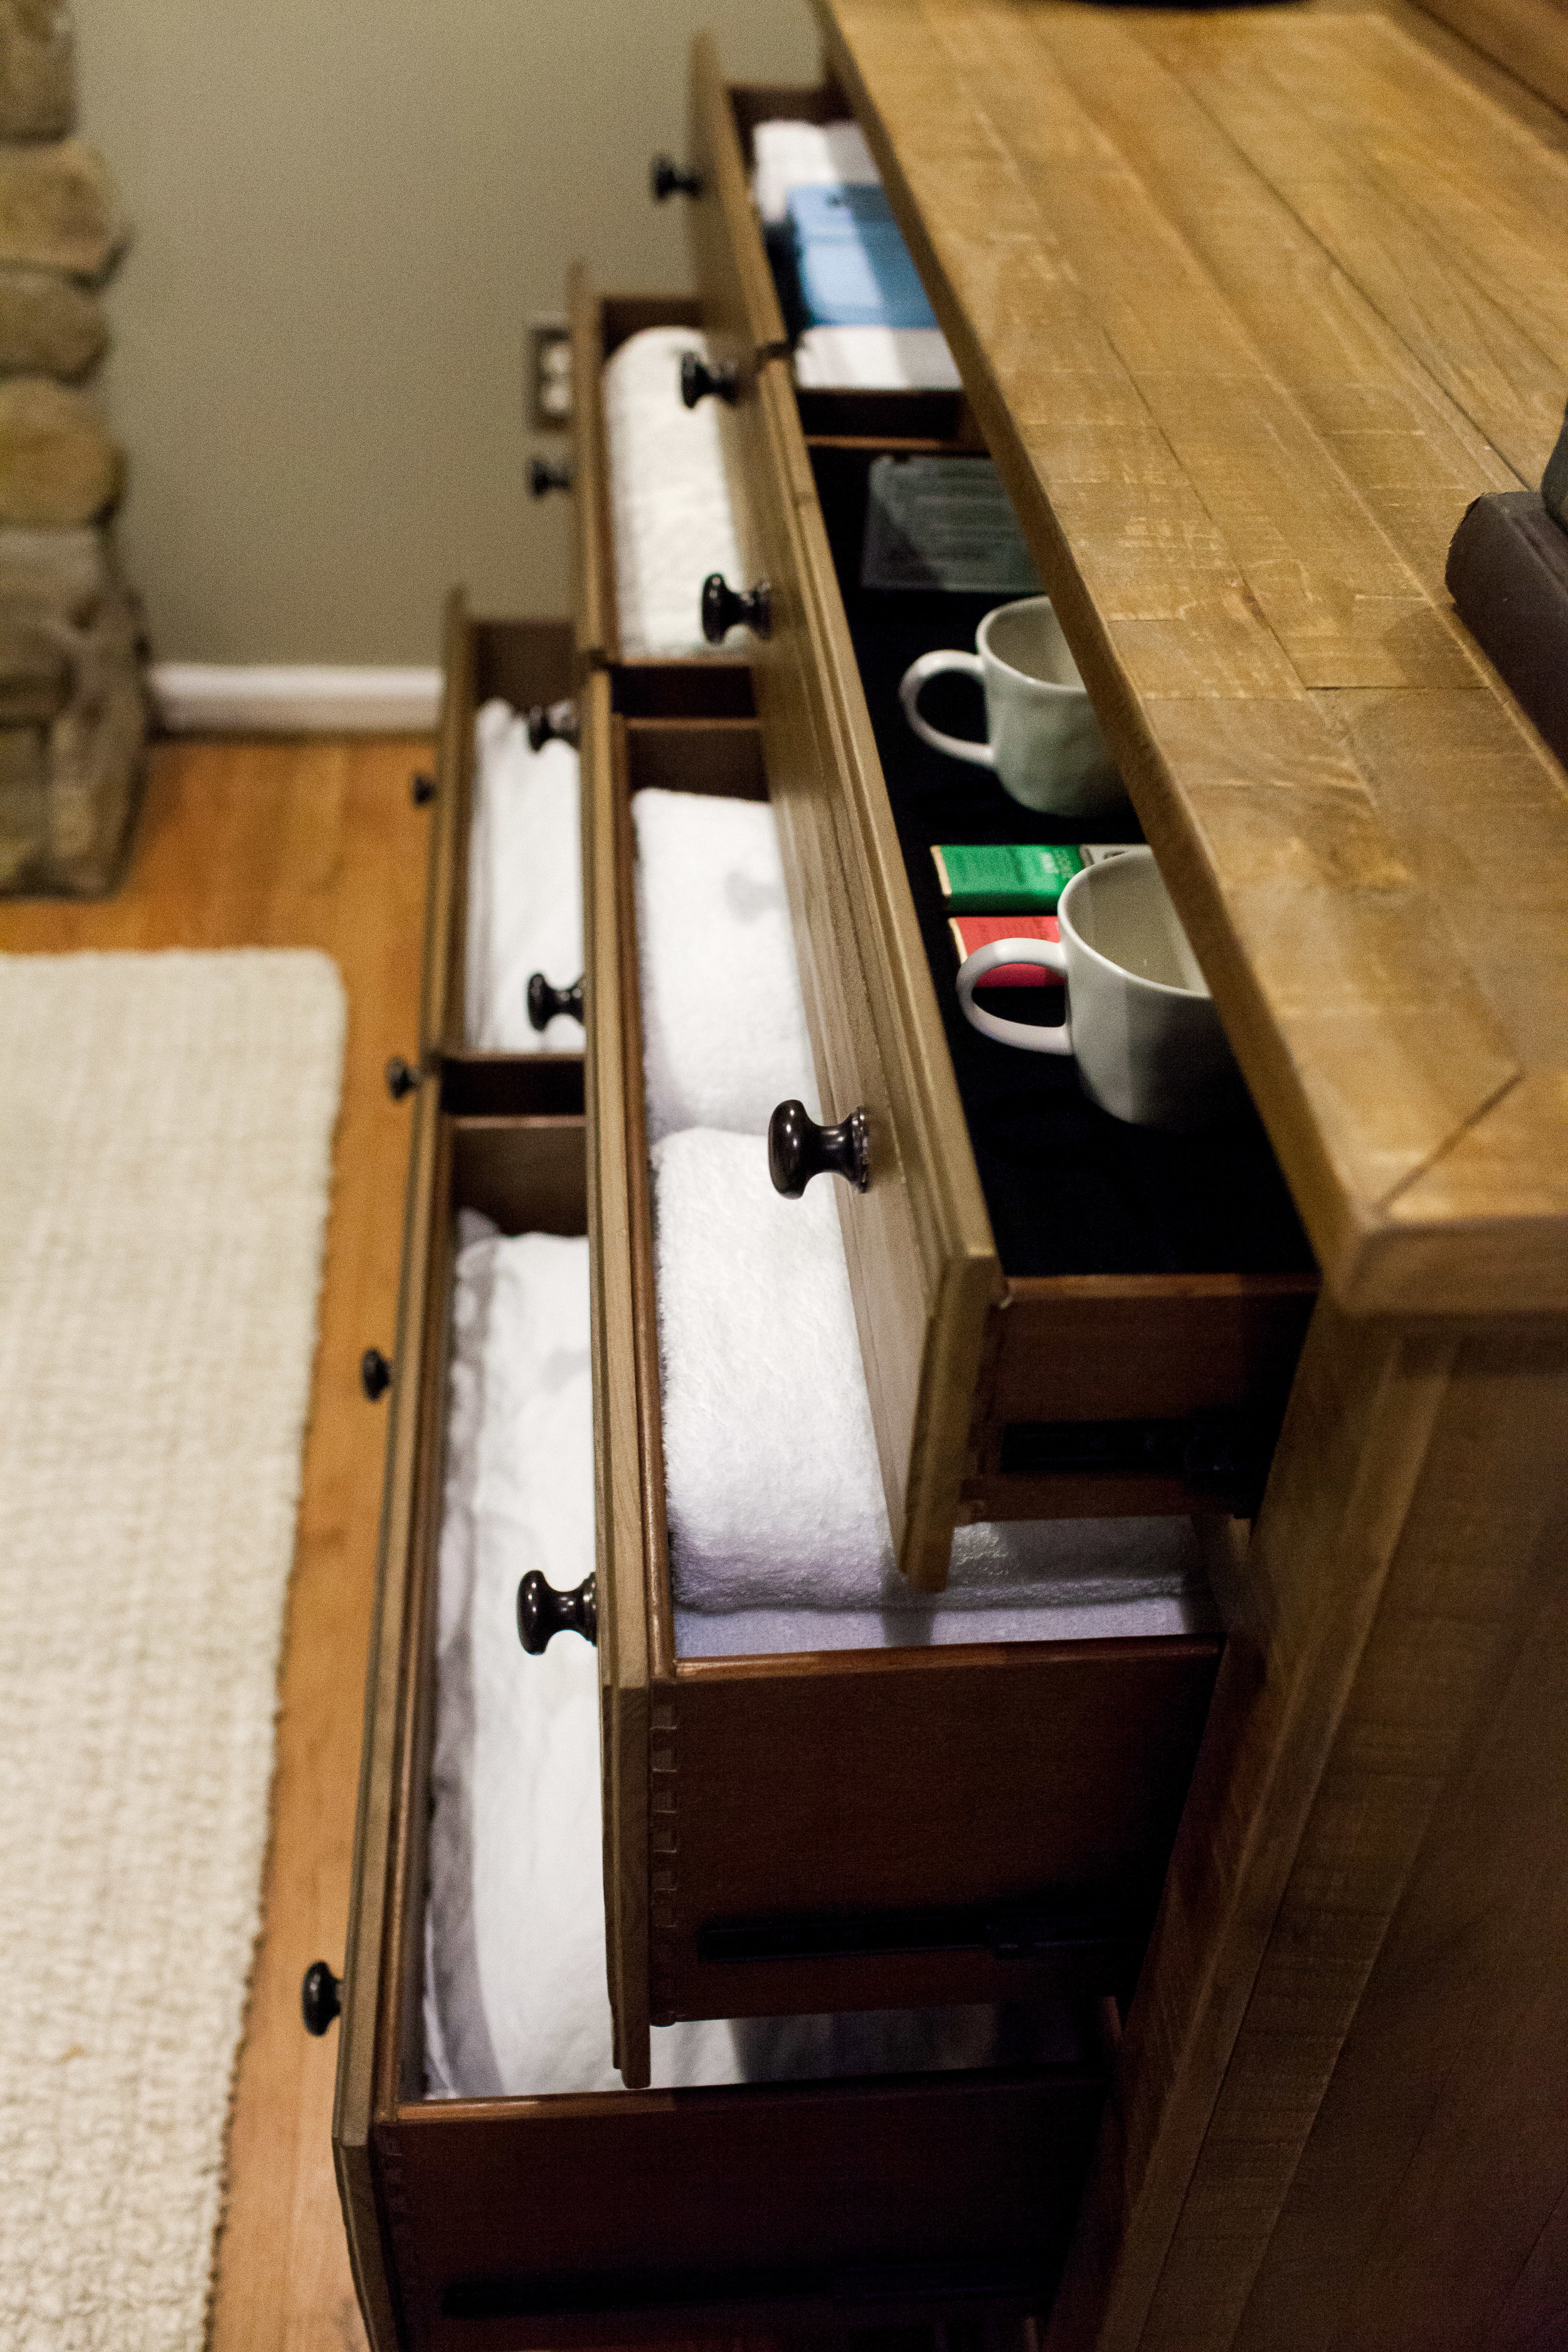
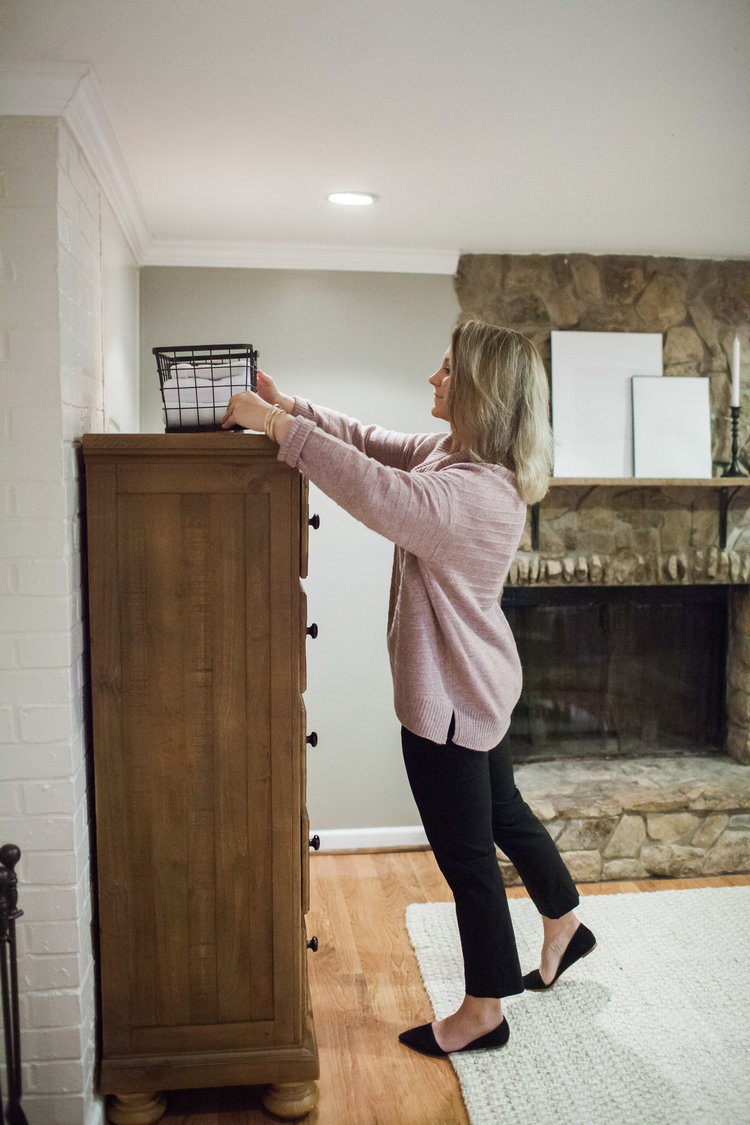
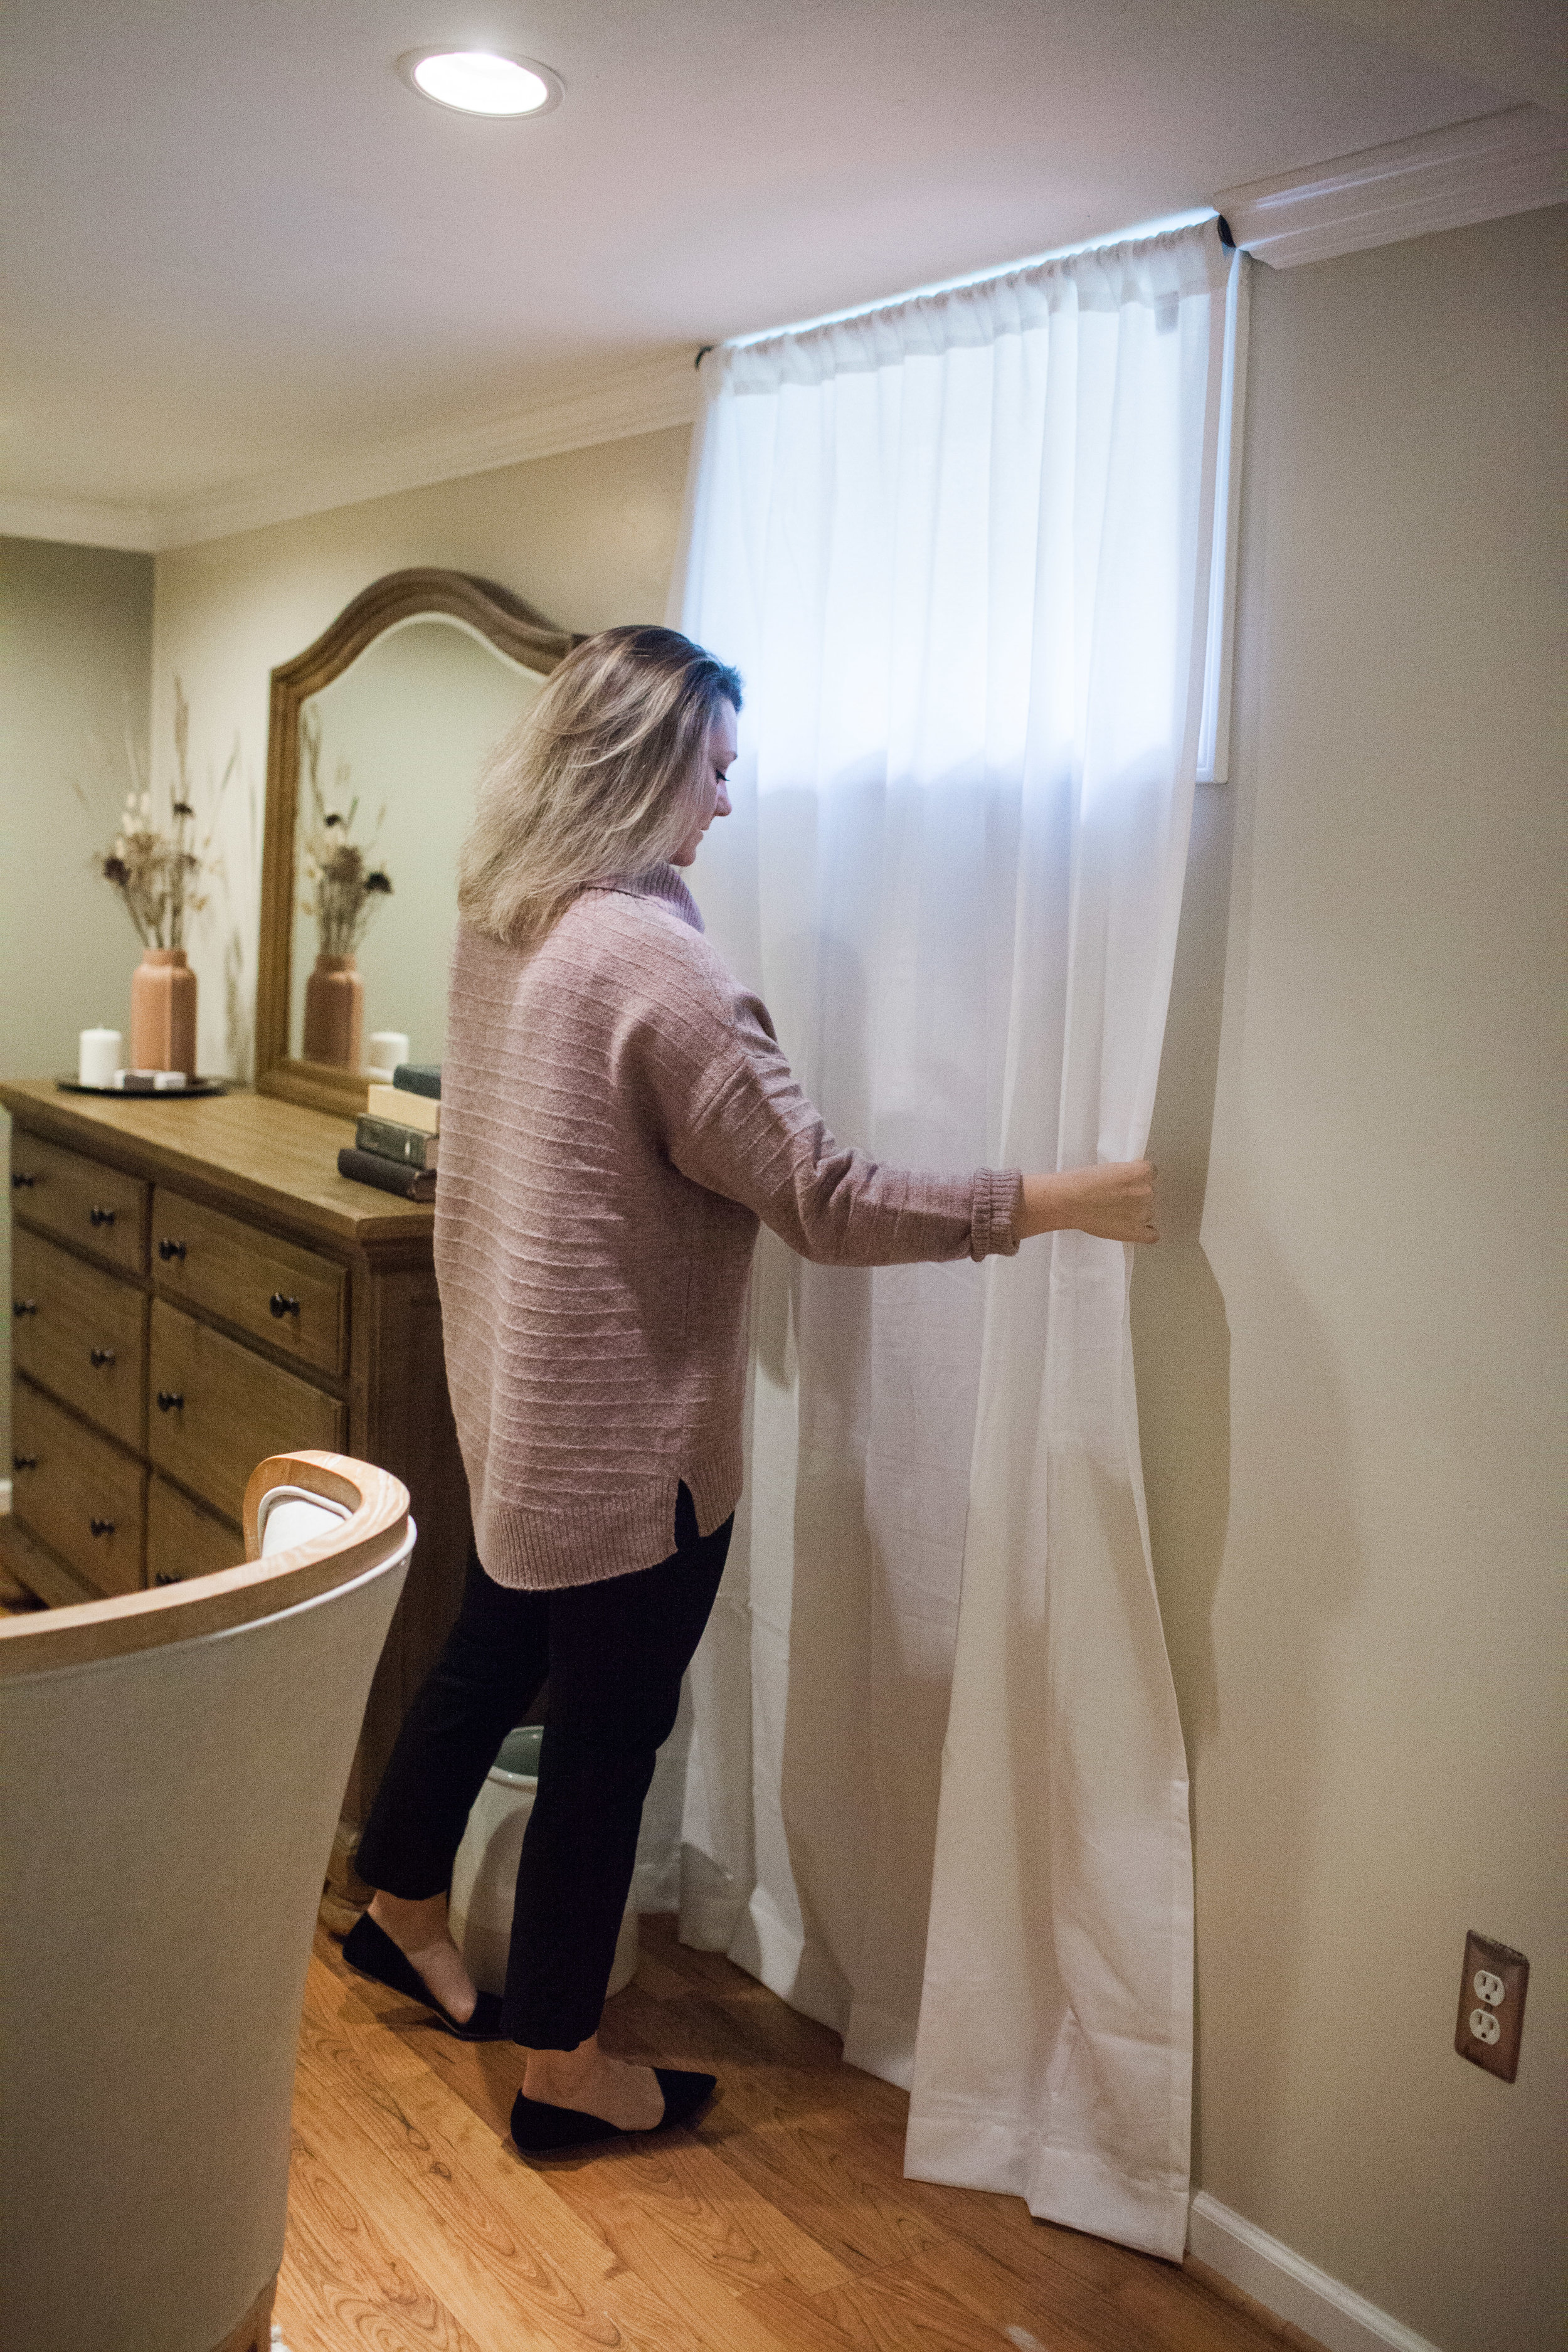
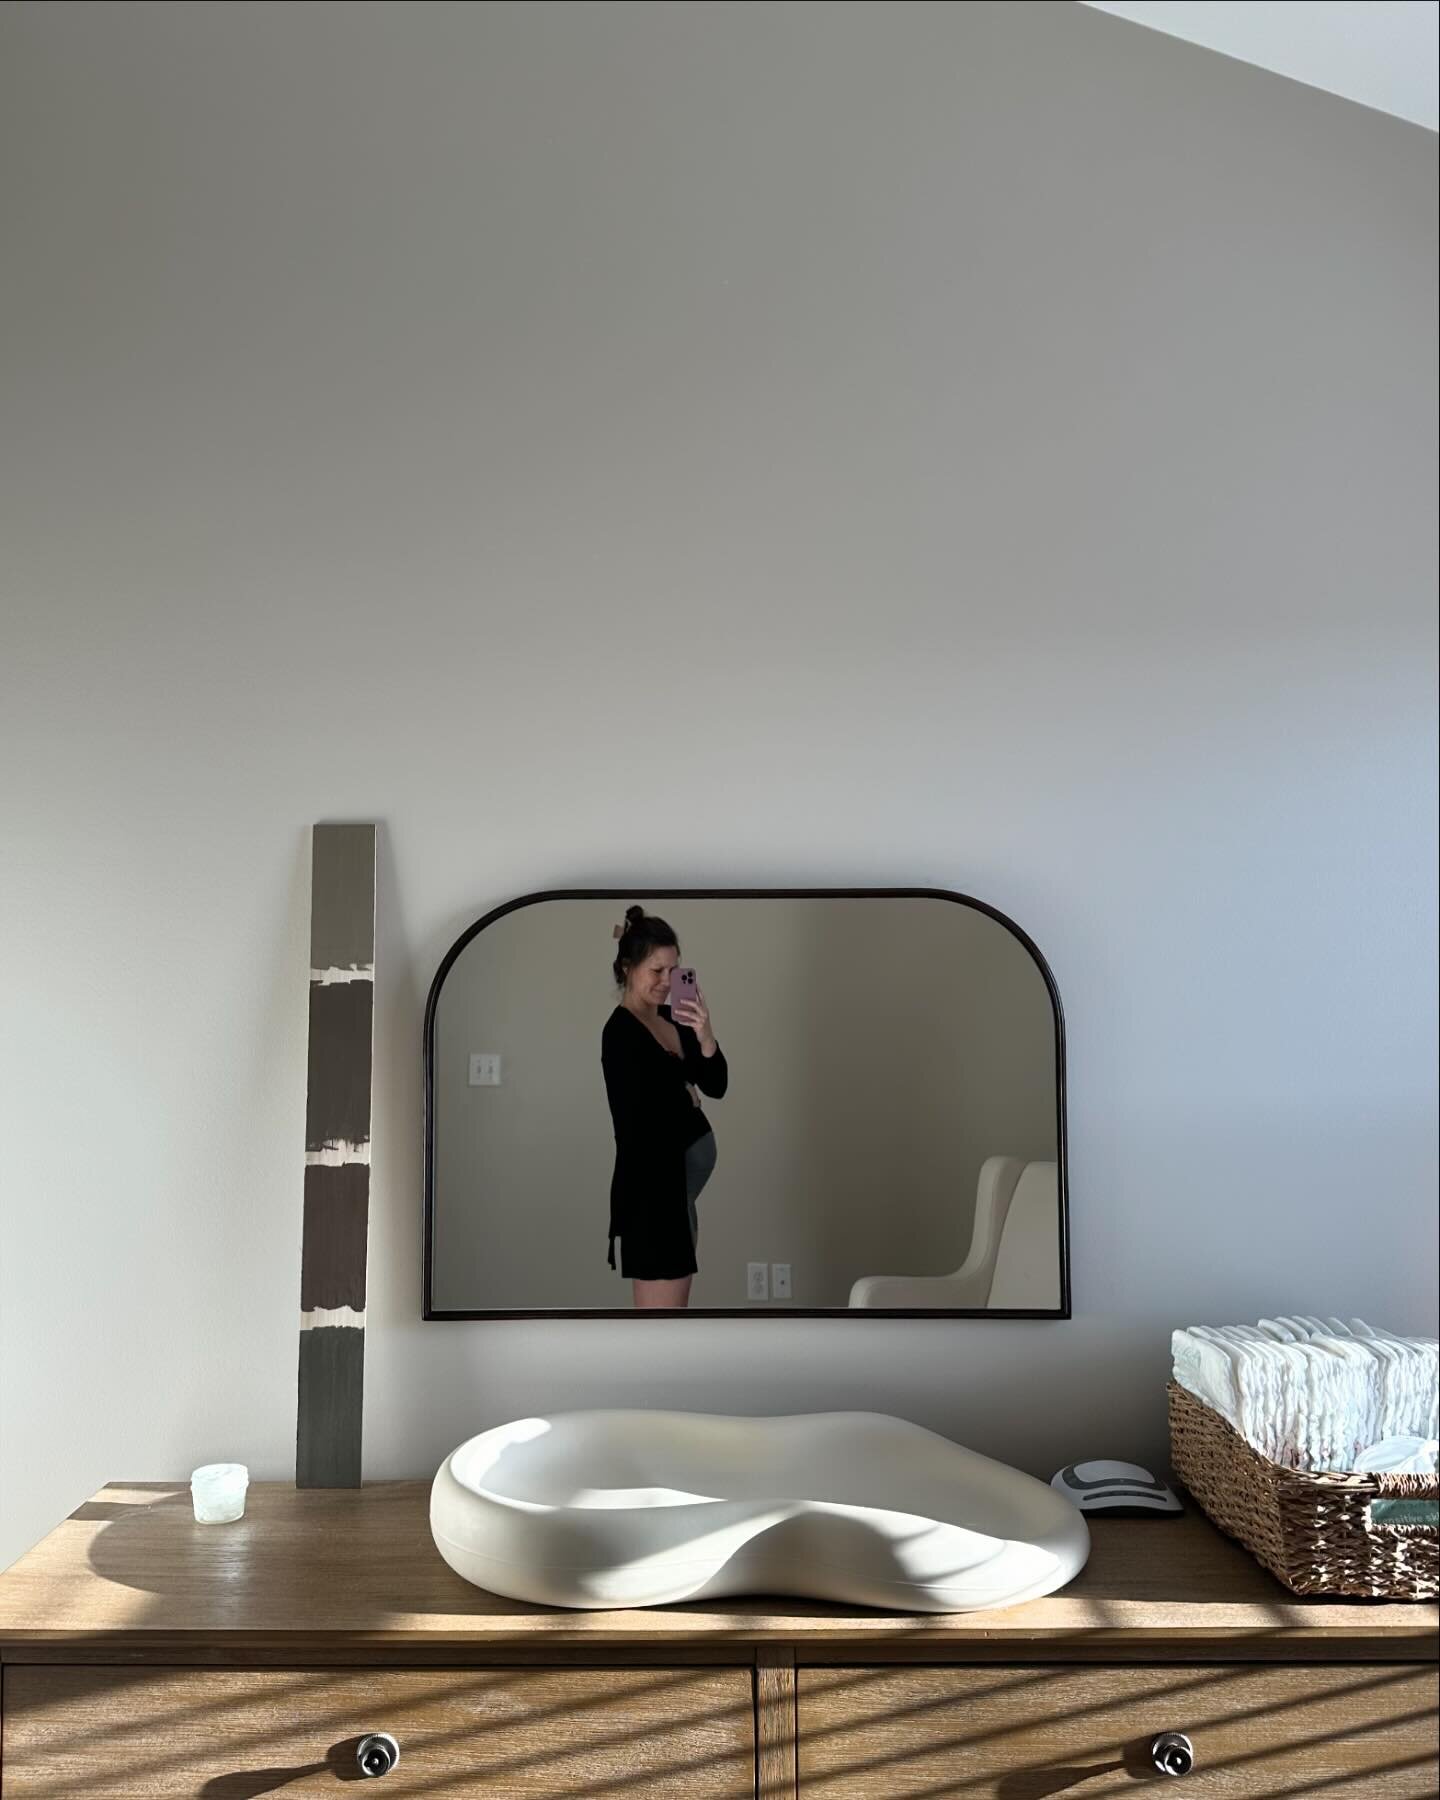
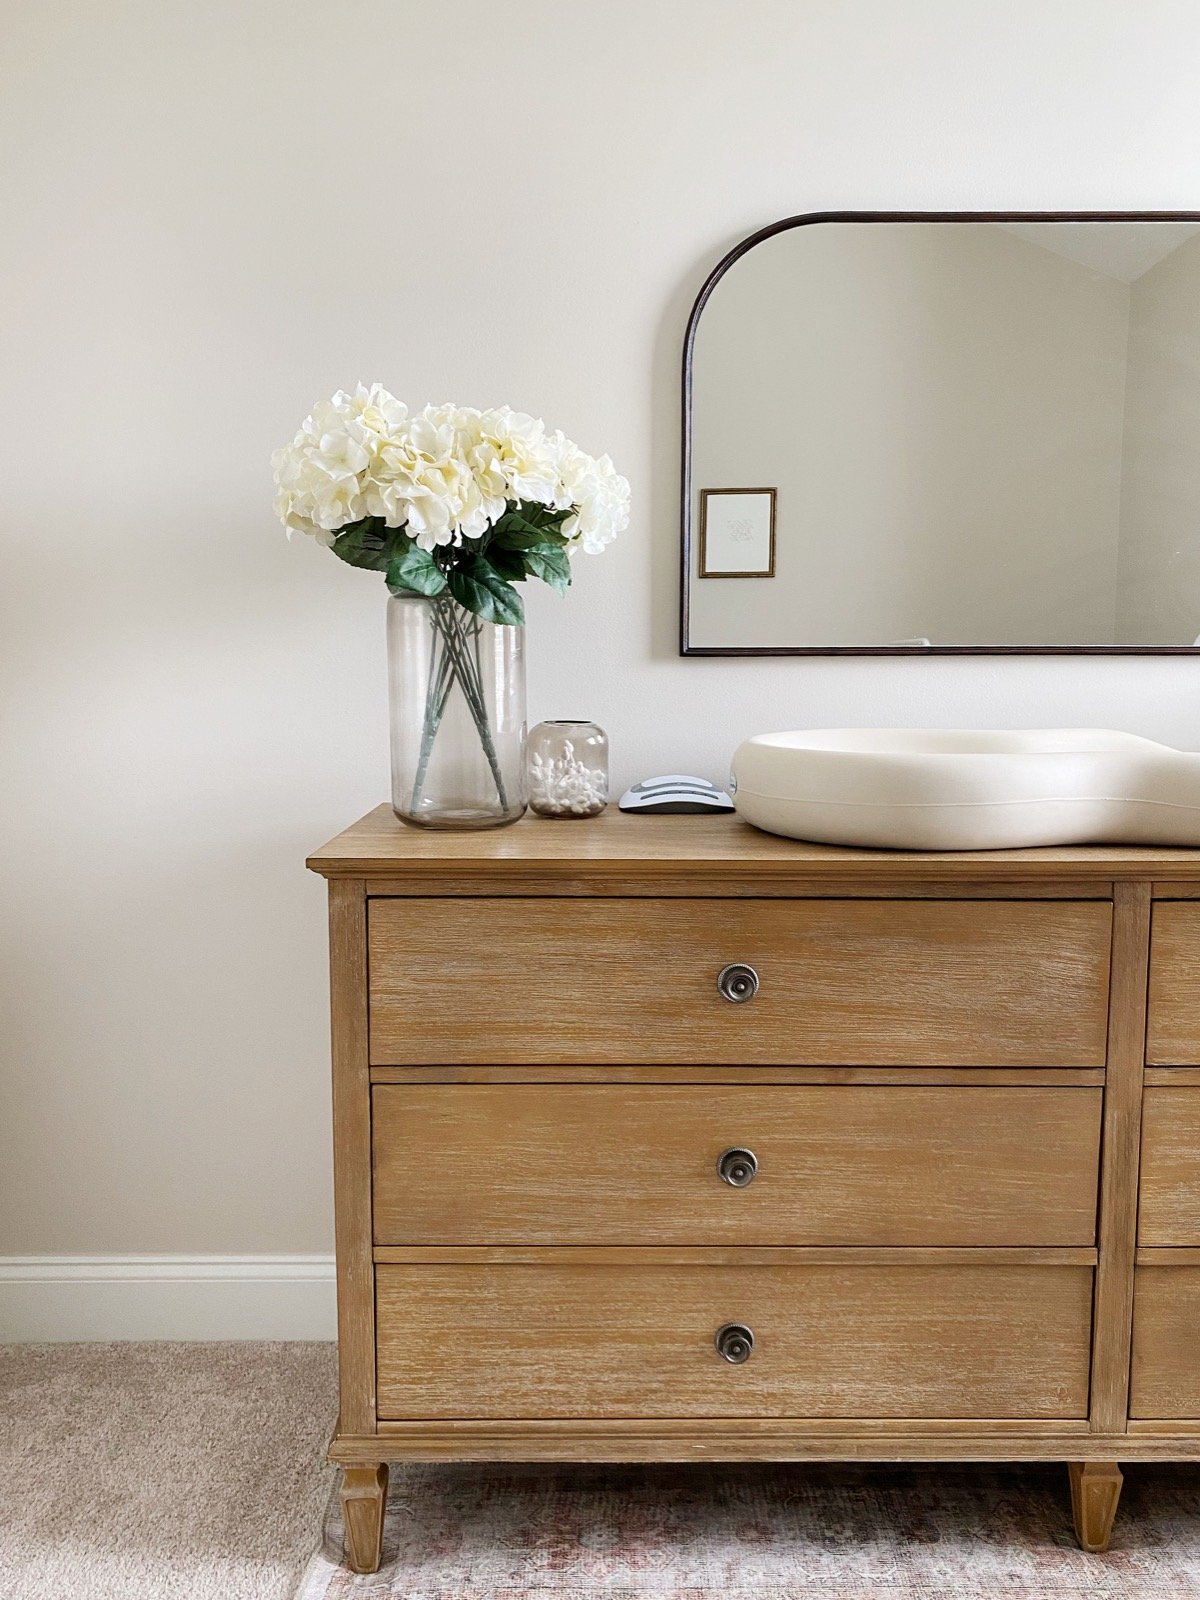
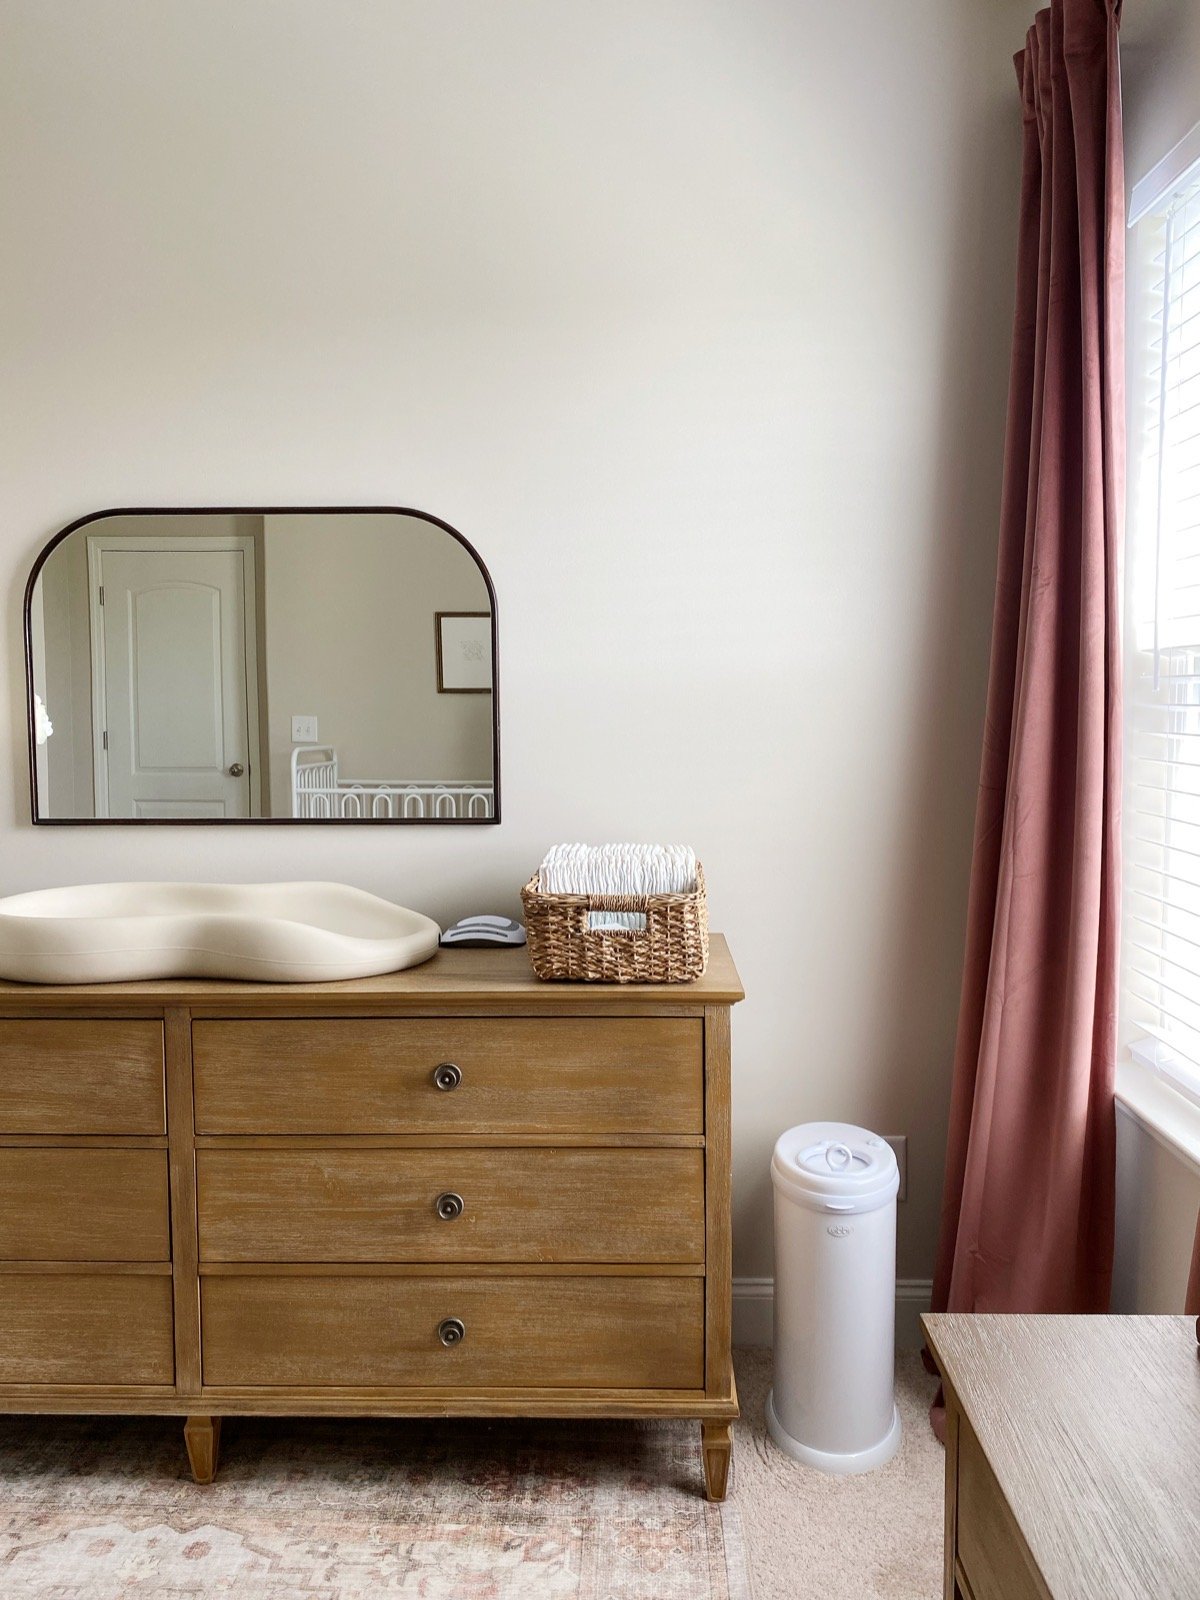
For my daughter, I intentionally purchased staple items that would be gender neutral, so we were able to keep most of the big items in her room and used them in his. We repurposed the dresser, nightstand, lamp, mirror, Keekaroo changer pad, rocker, and wicker baskets. Below is her sweet nursery, and the room I would turn into my sons! This is the starting point.
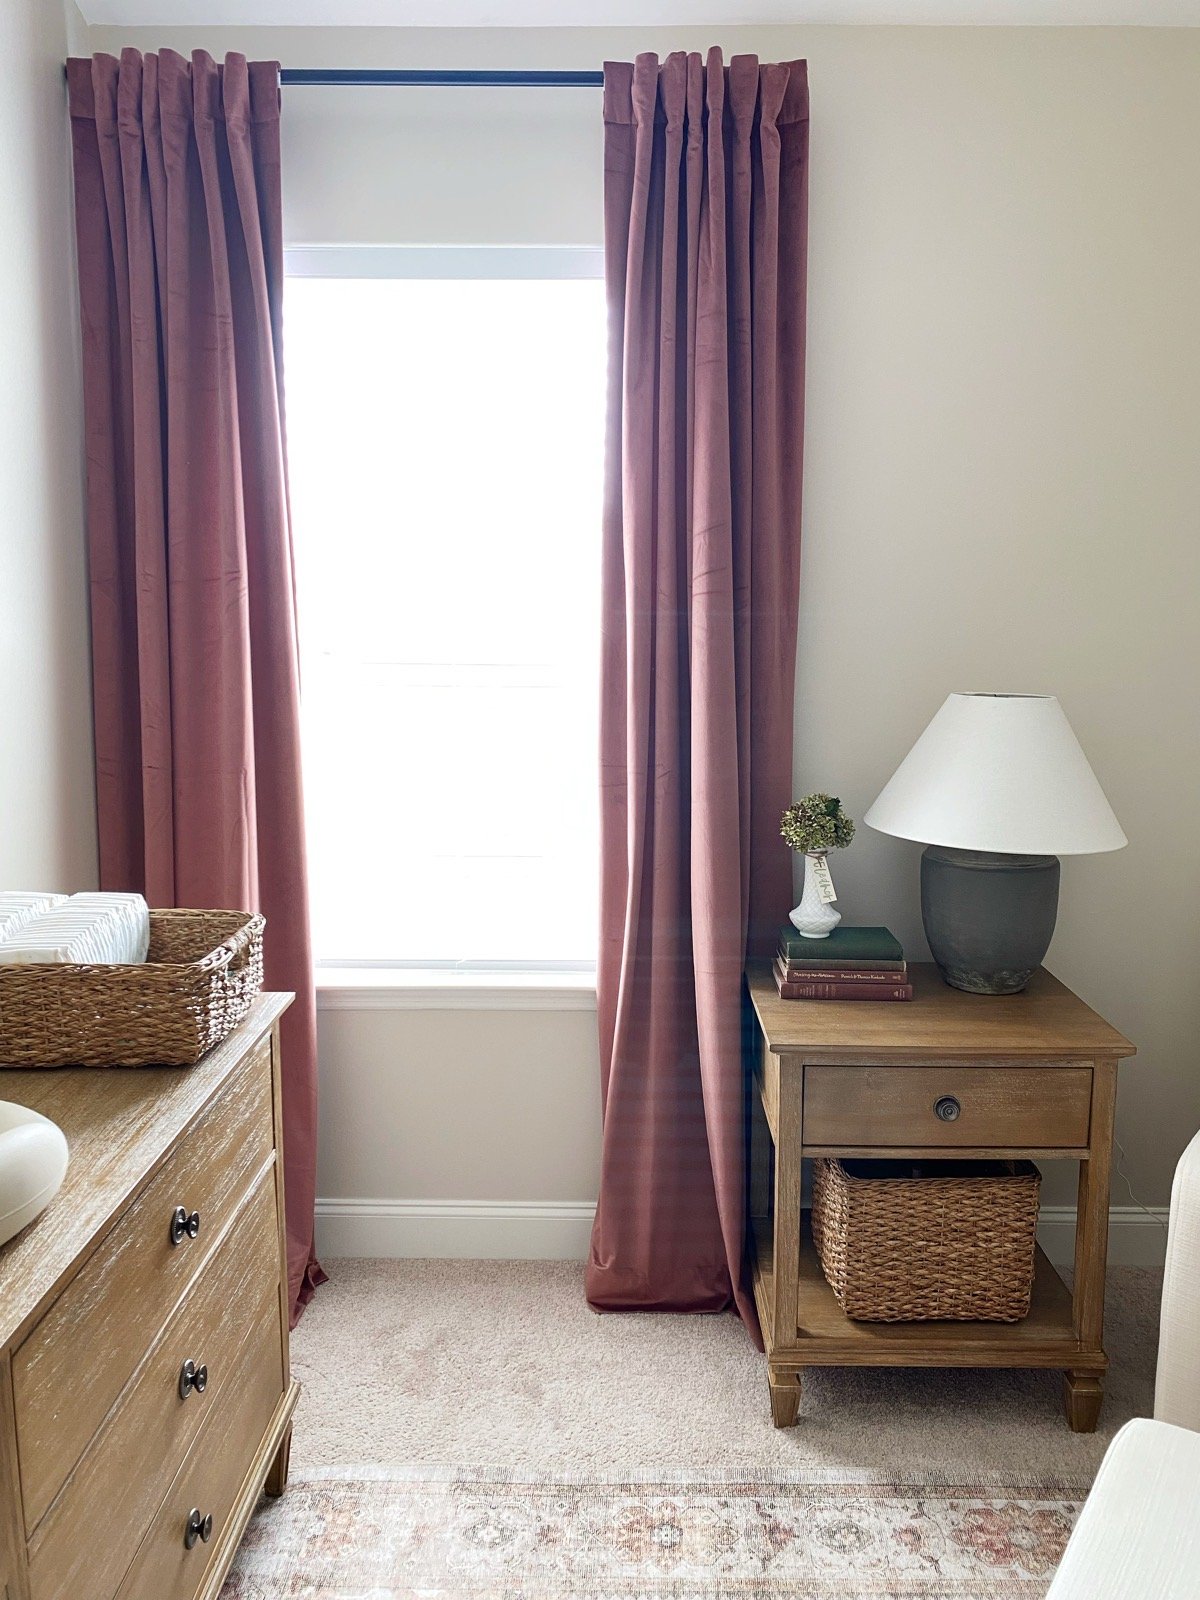

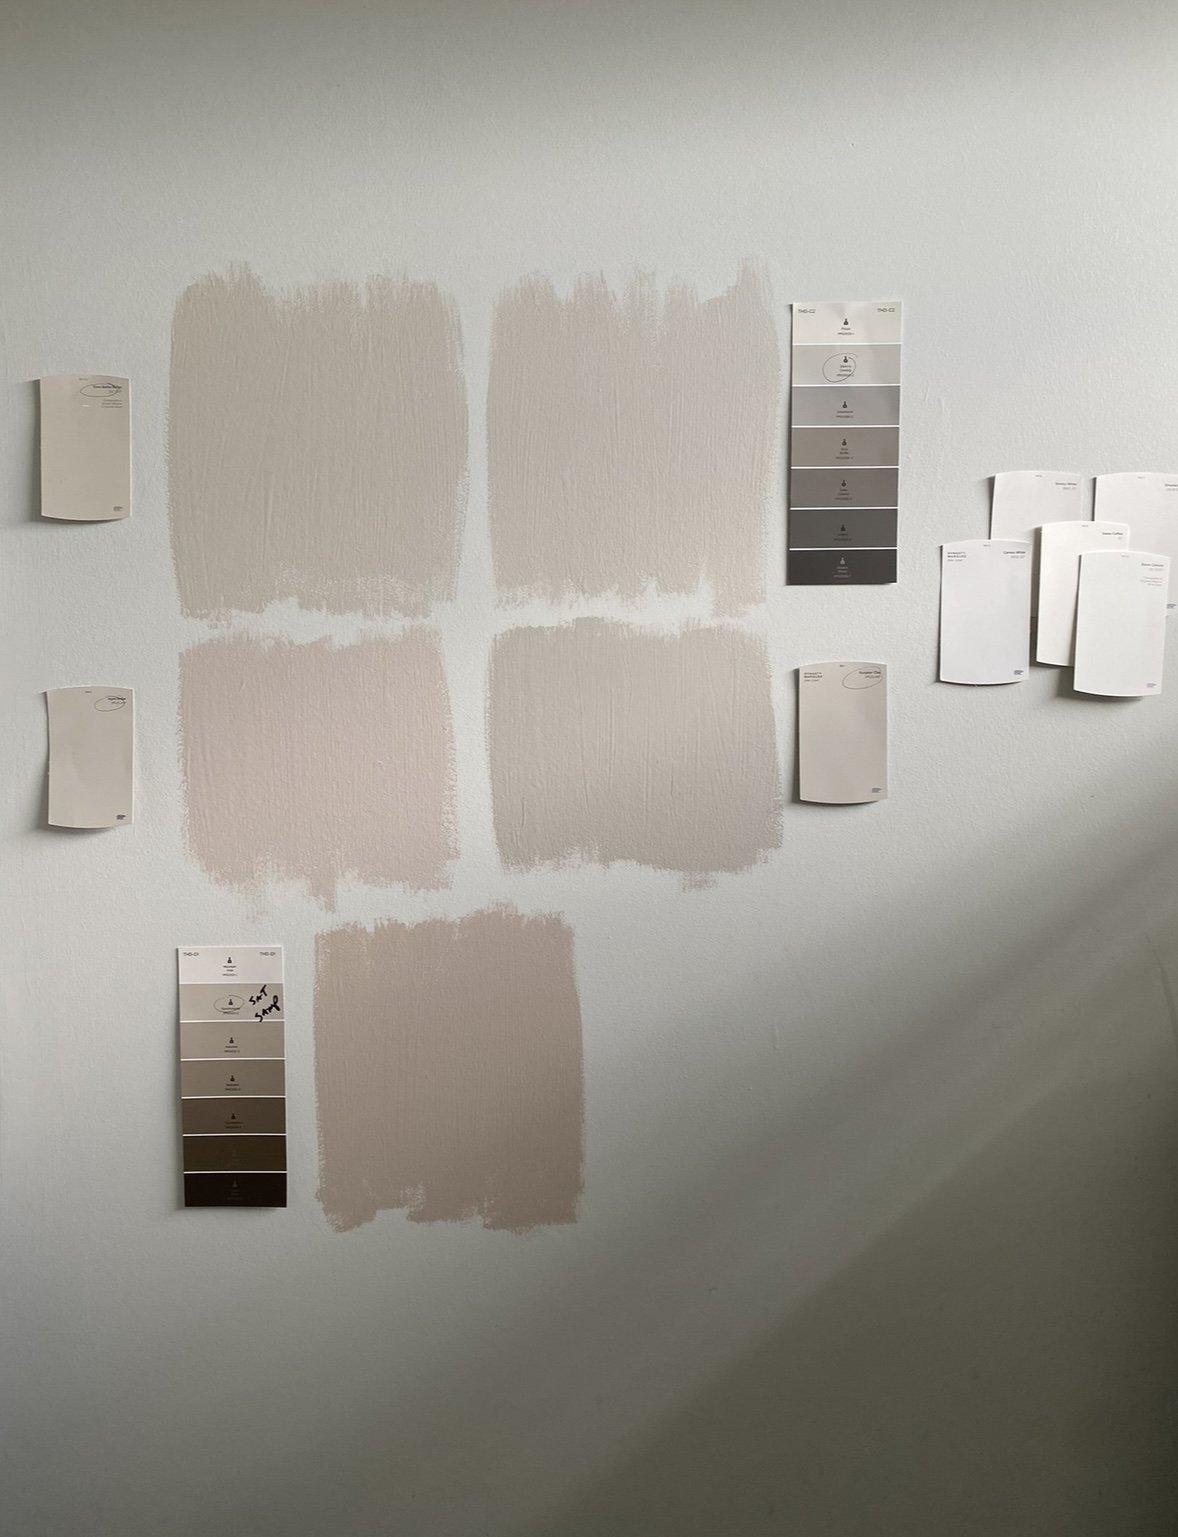
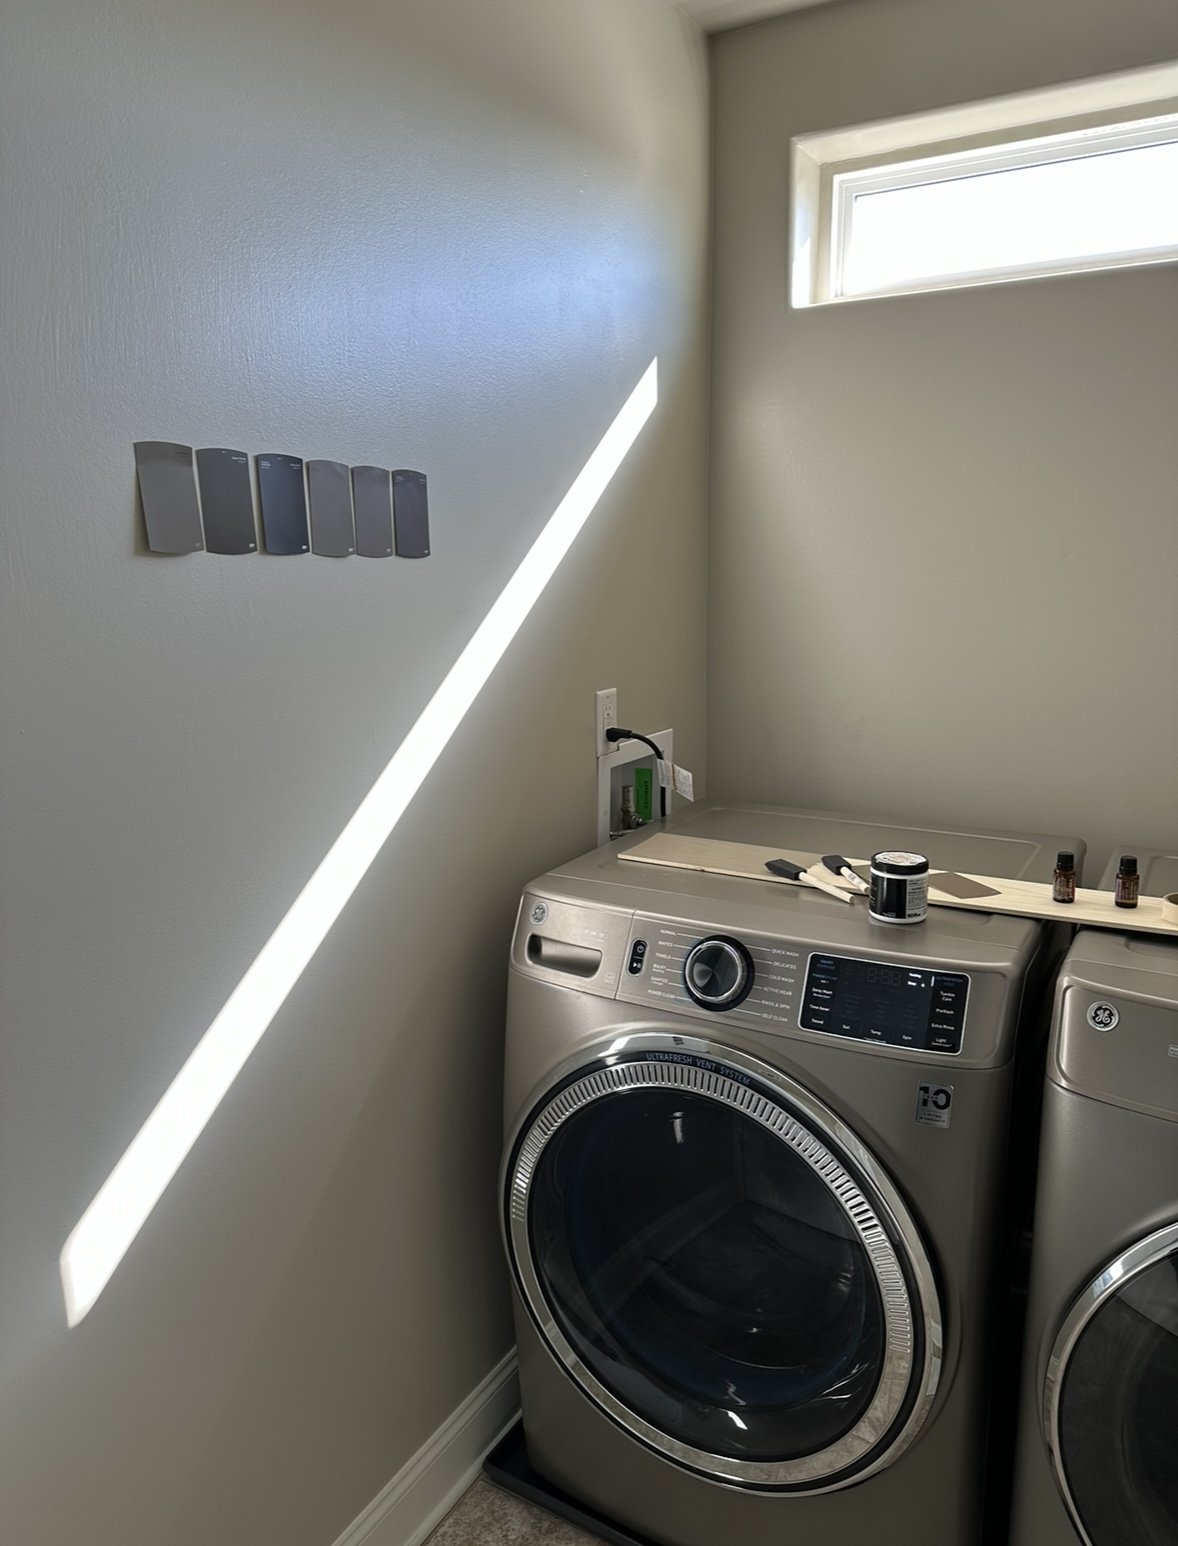
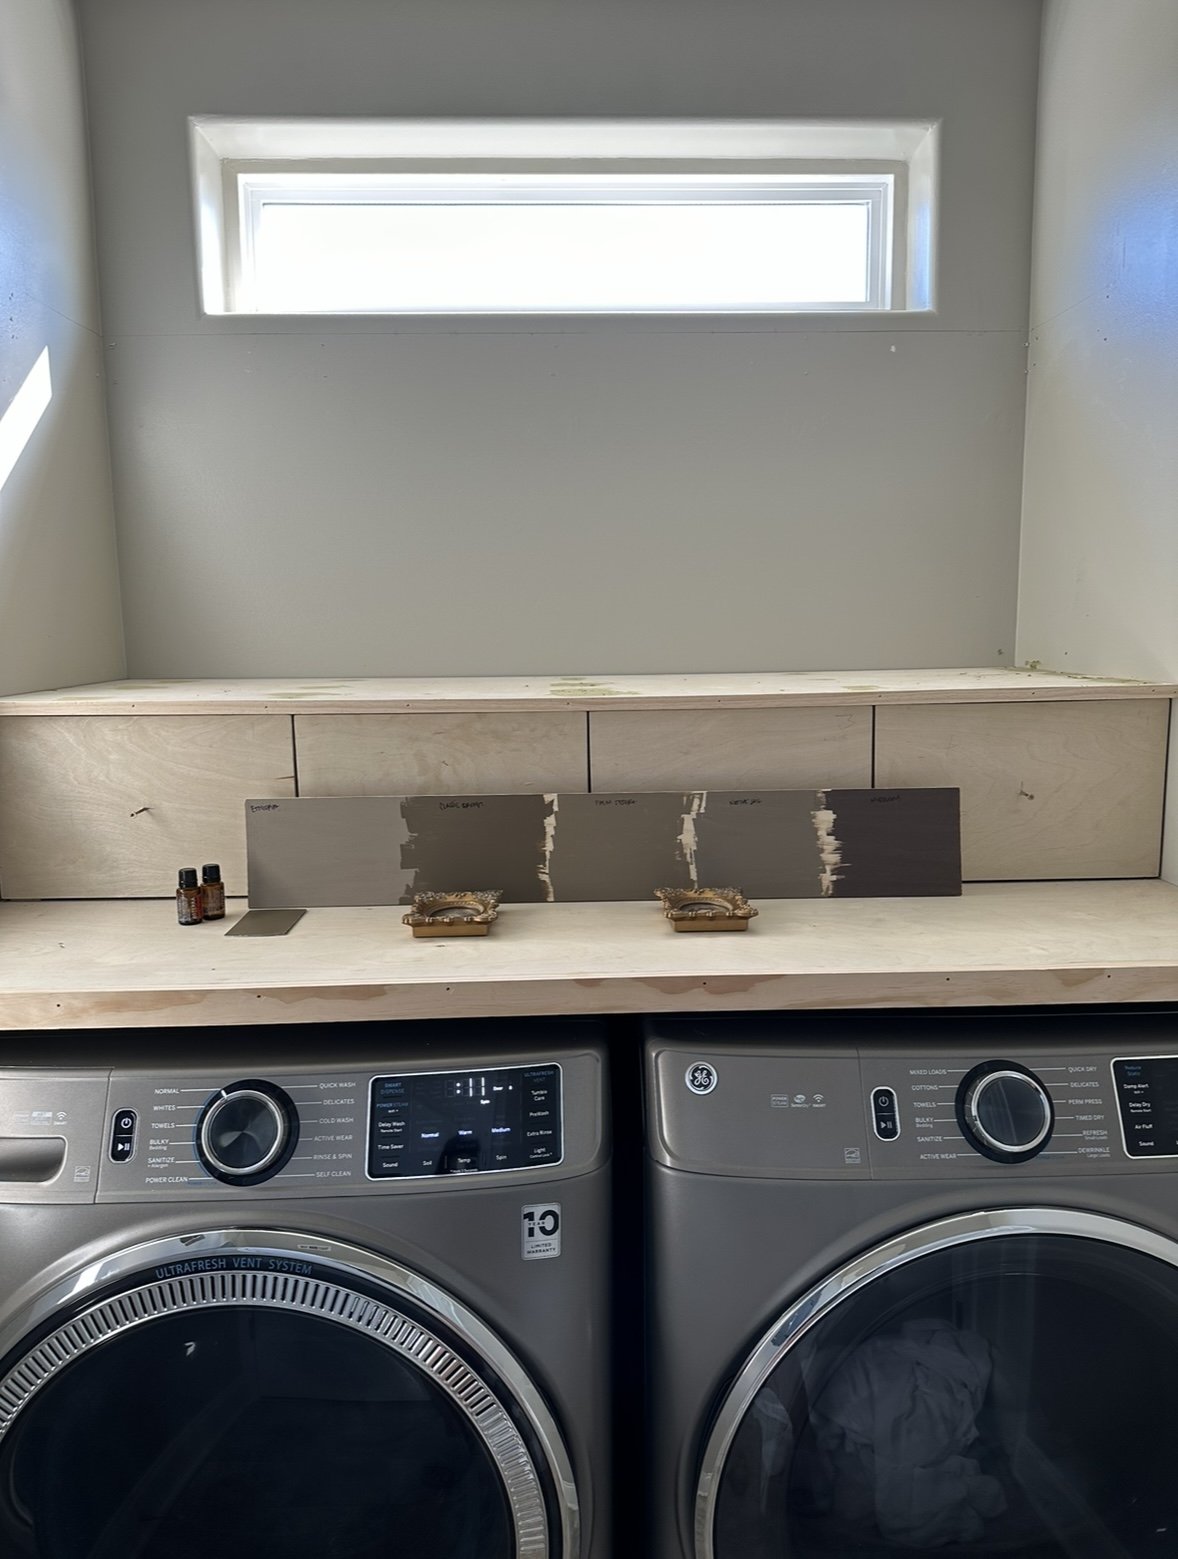
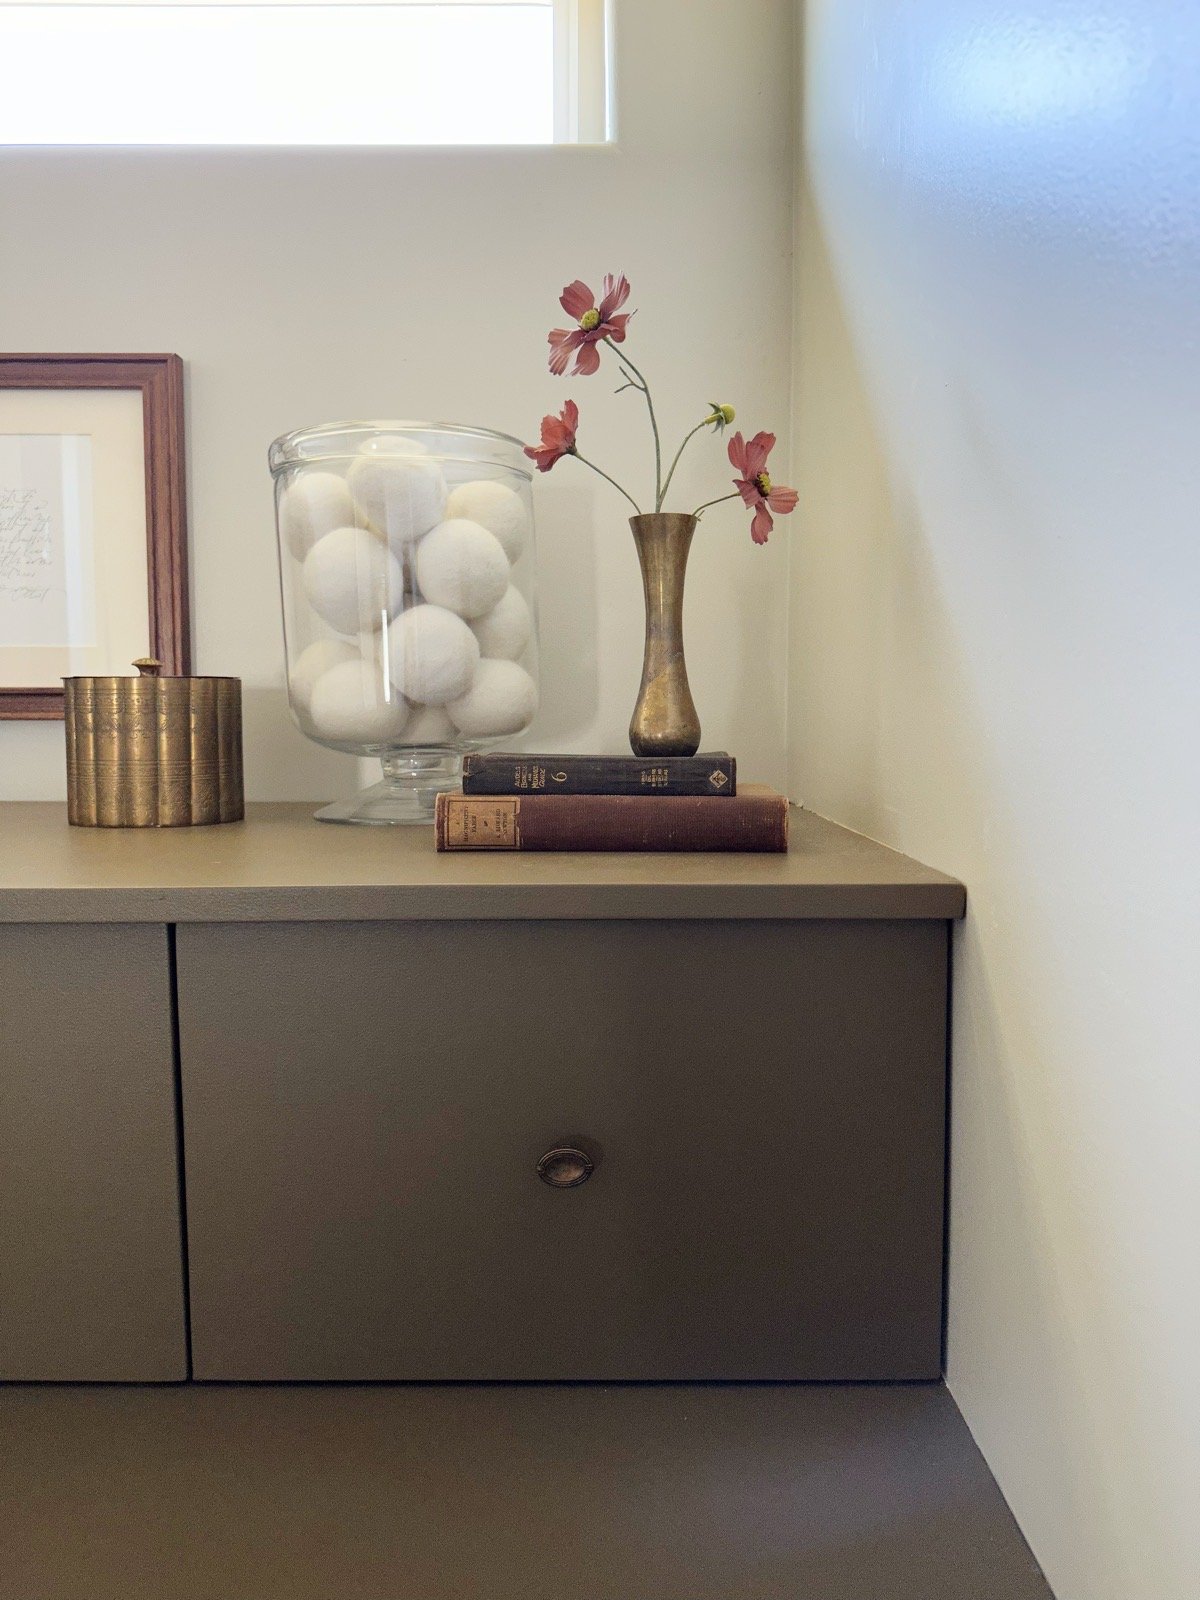
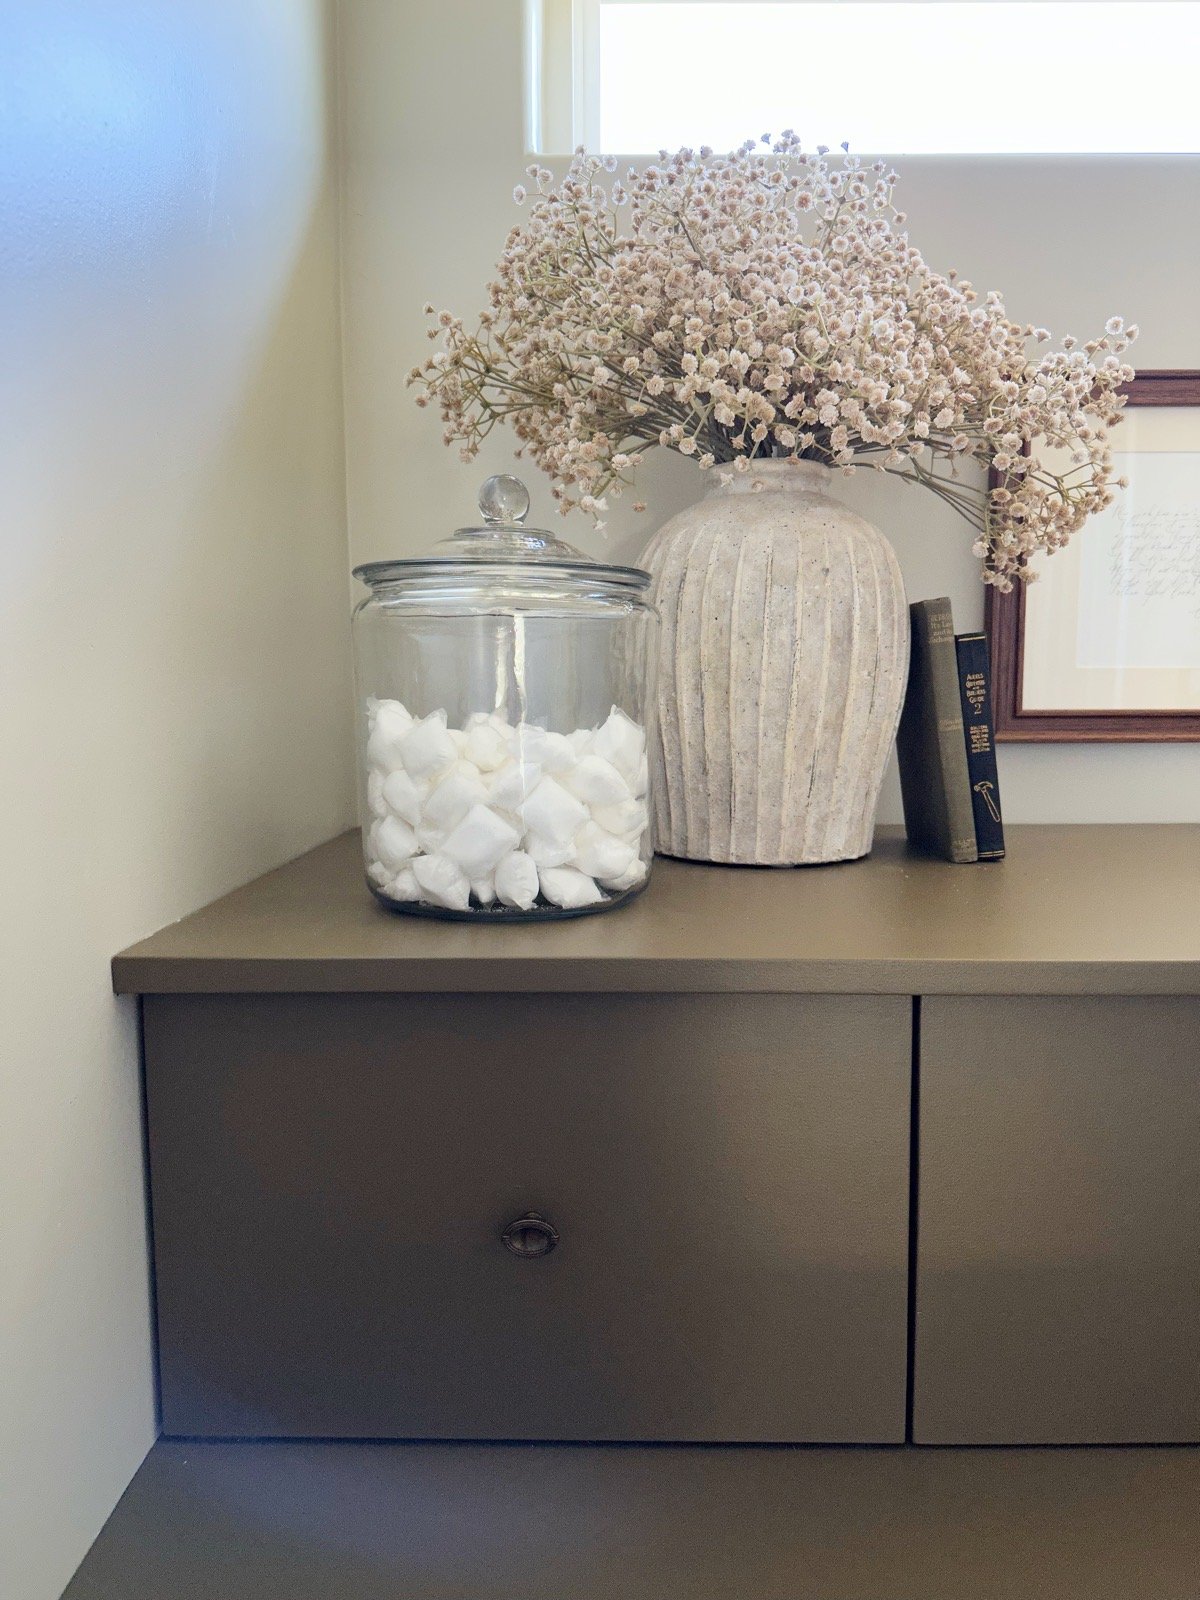
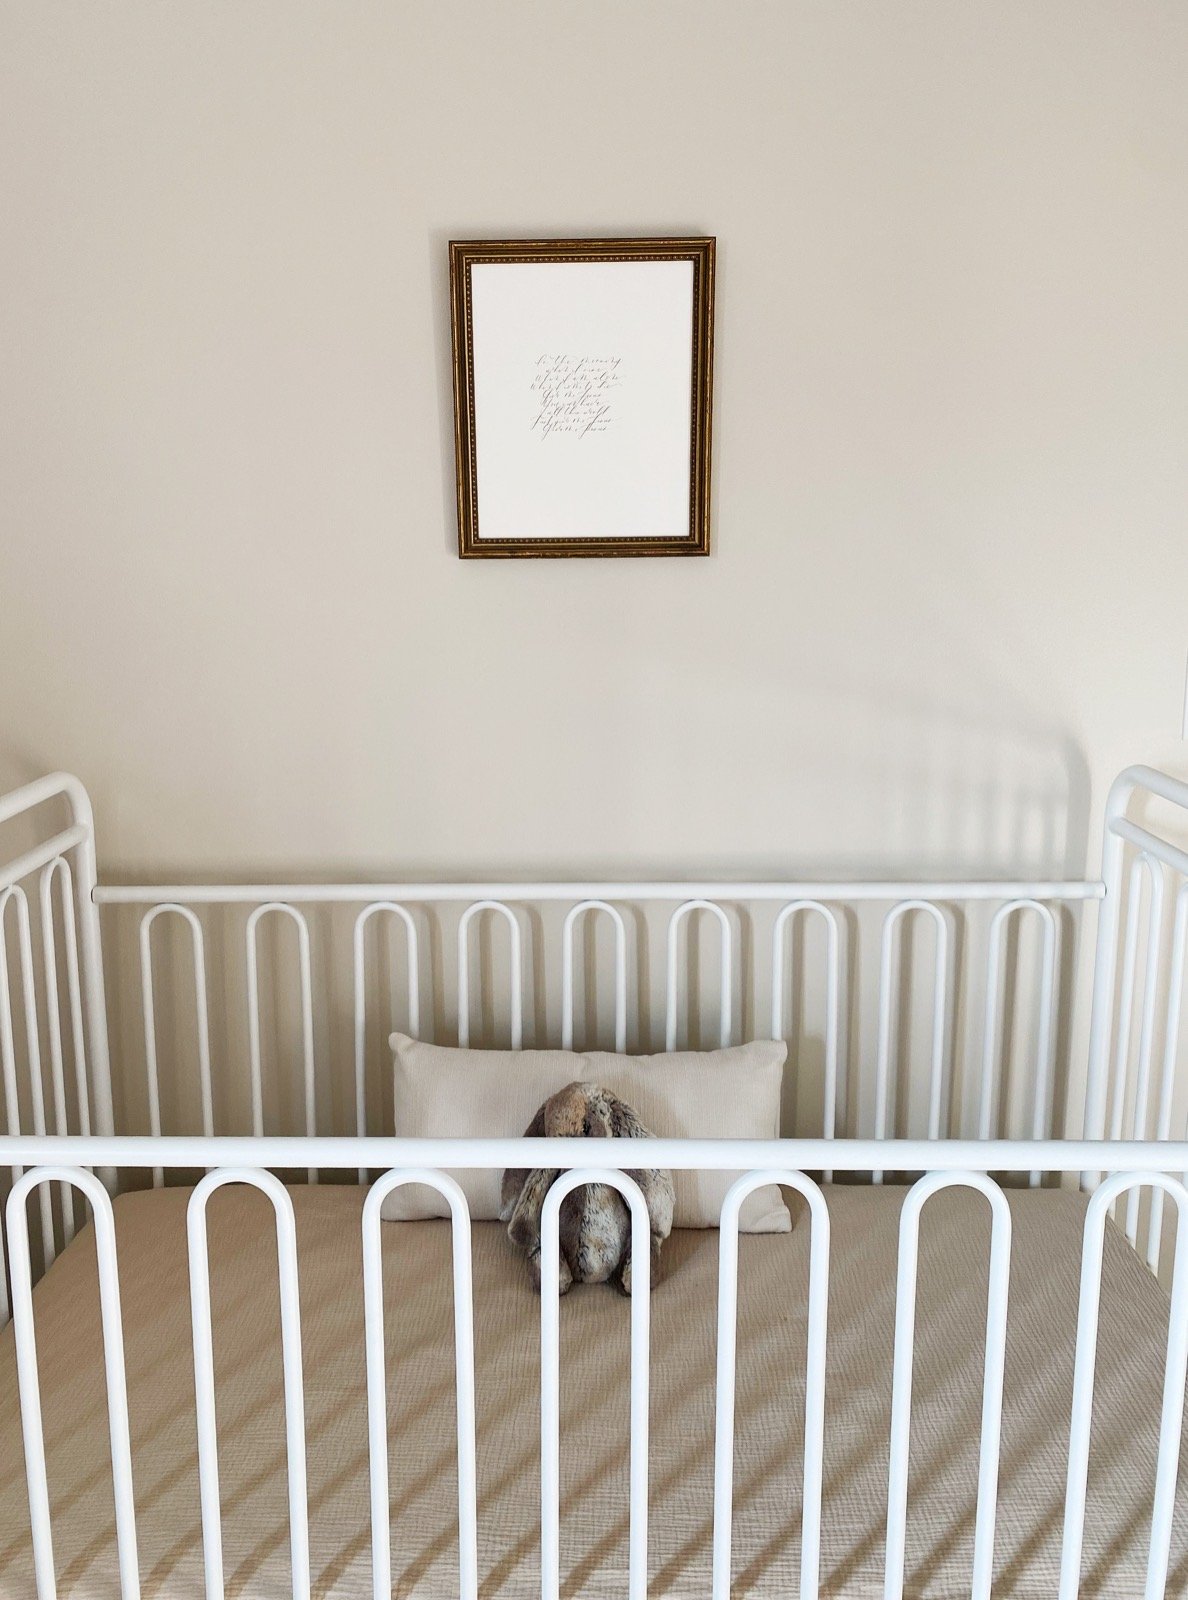
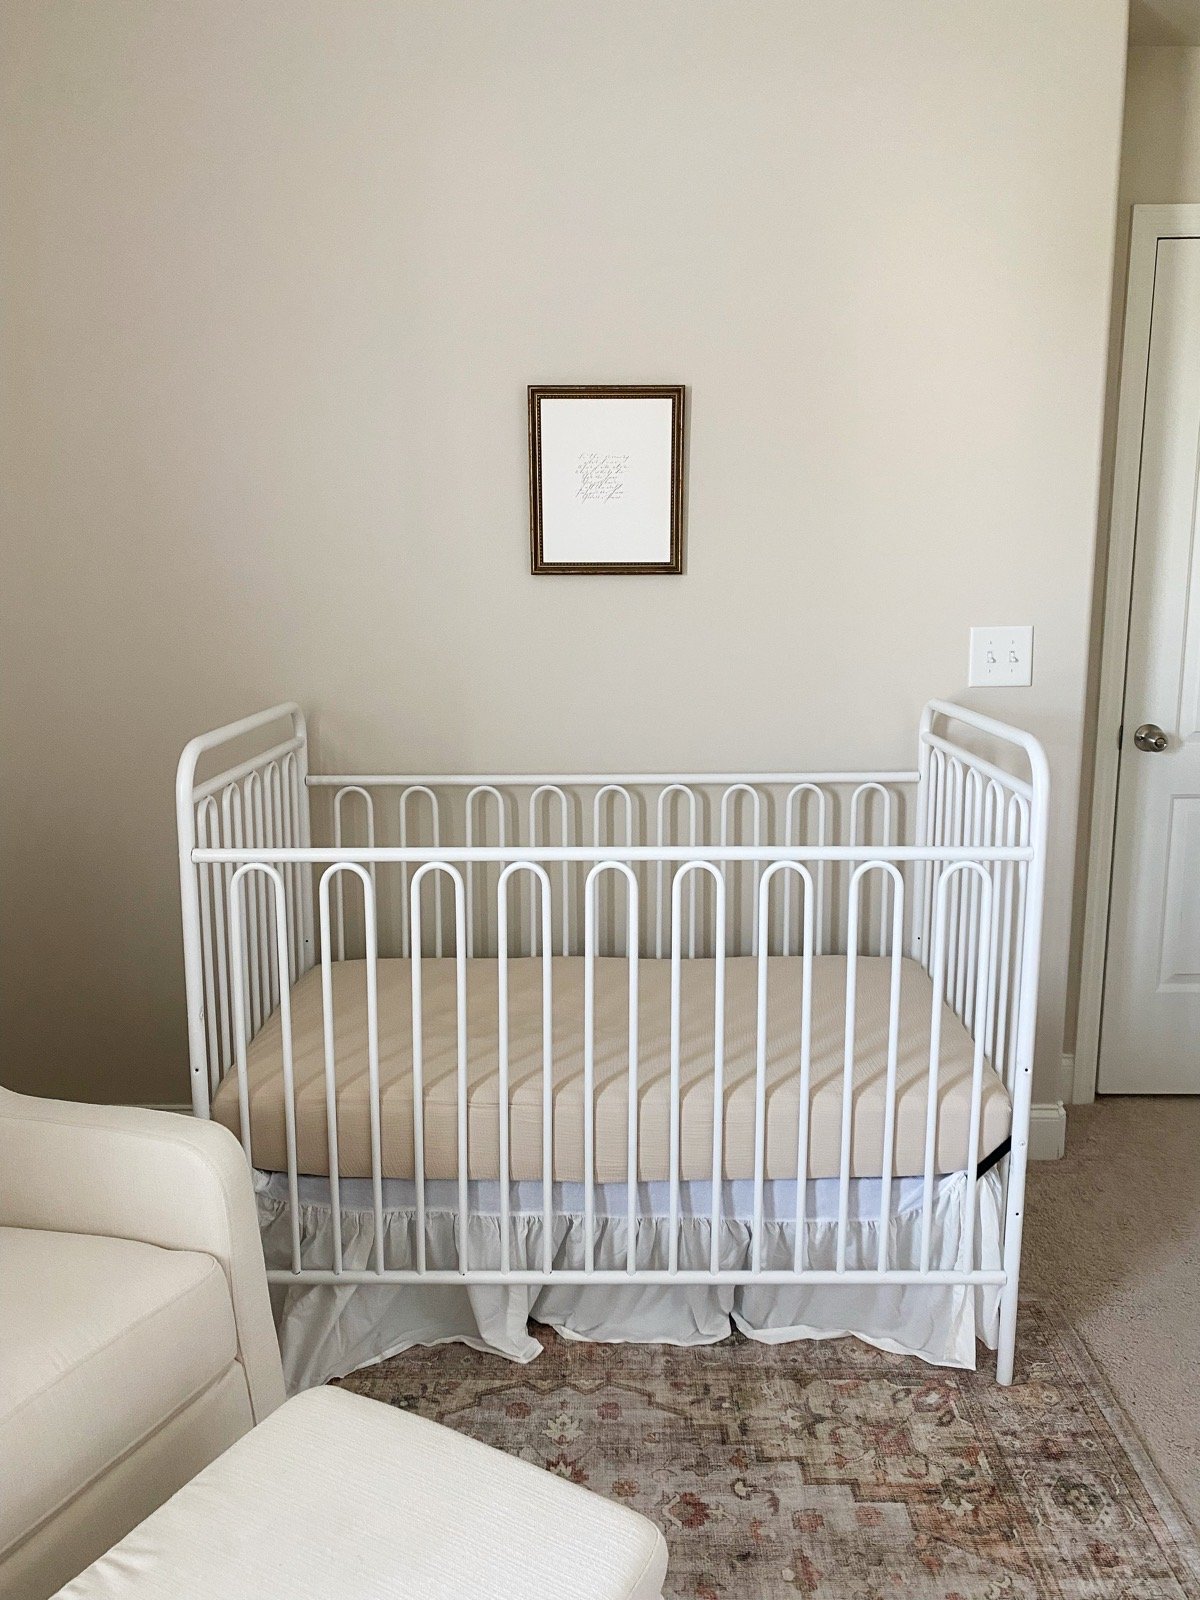
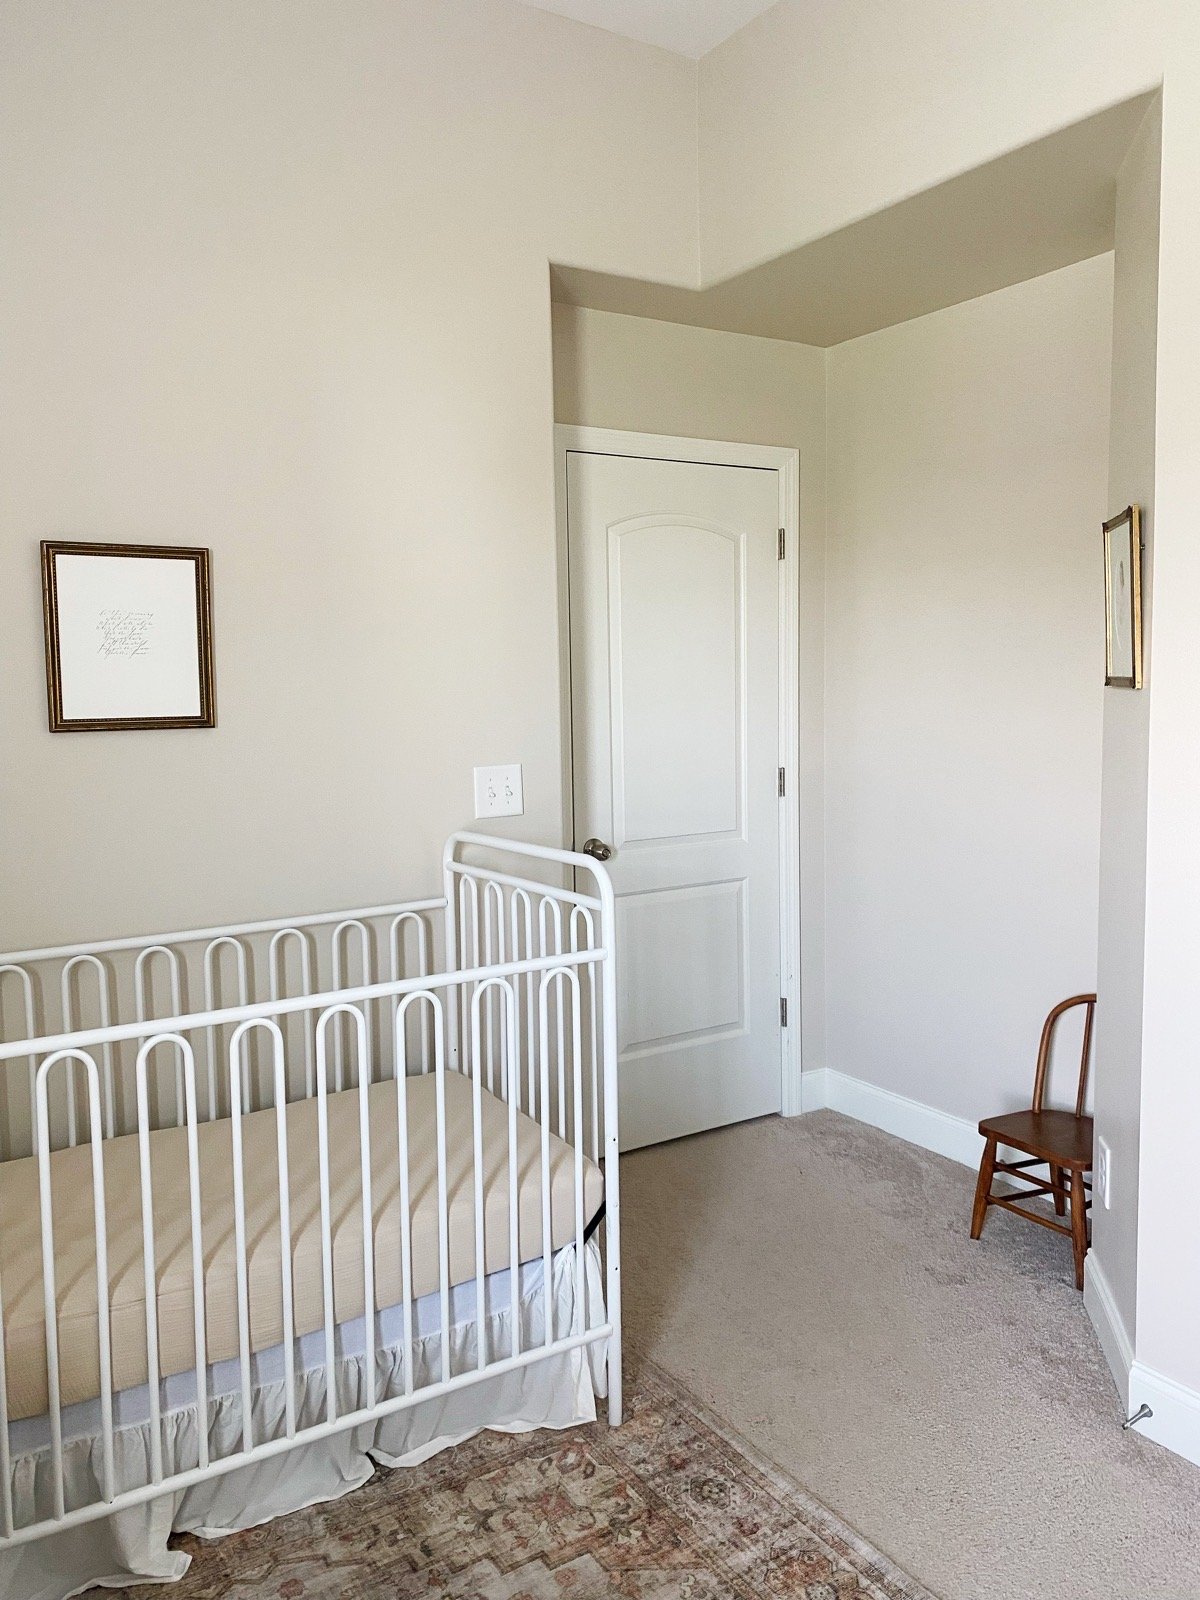
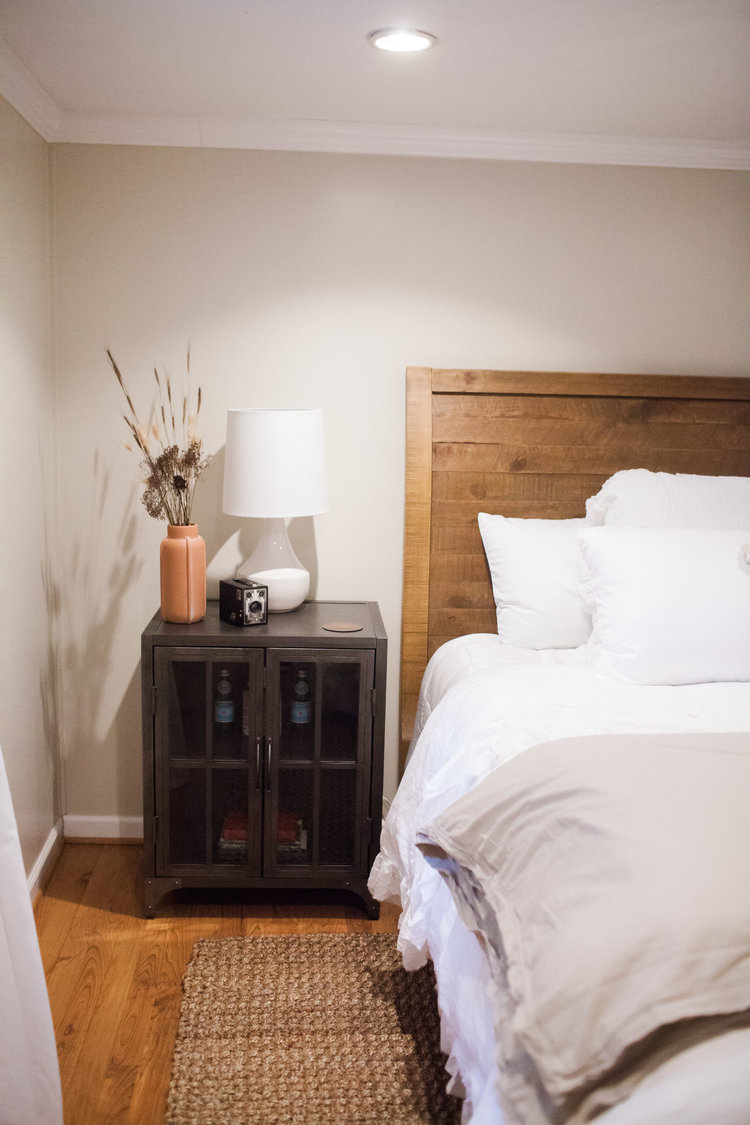
As I was dreaming up his space, the pieces I knew I needed to change were the rug, crib and crib skirt, vase and florals, books, wall paint, chair, and art.
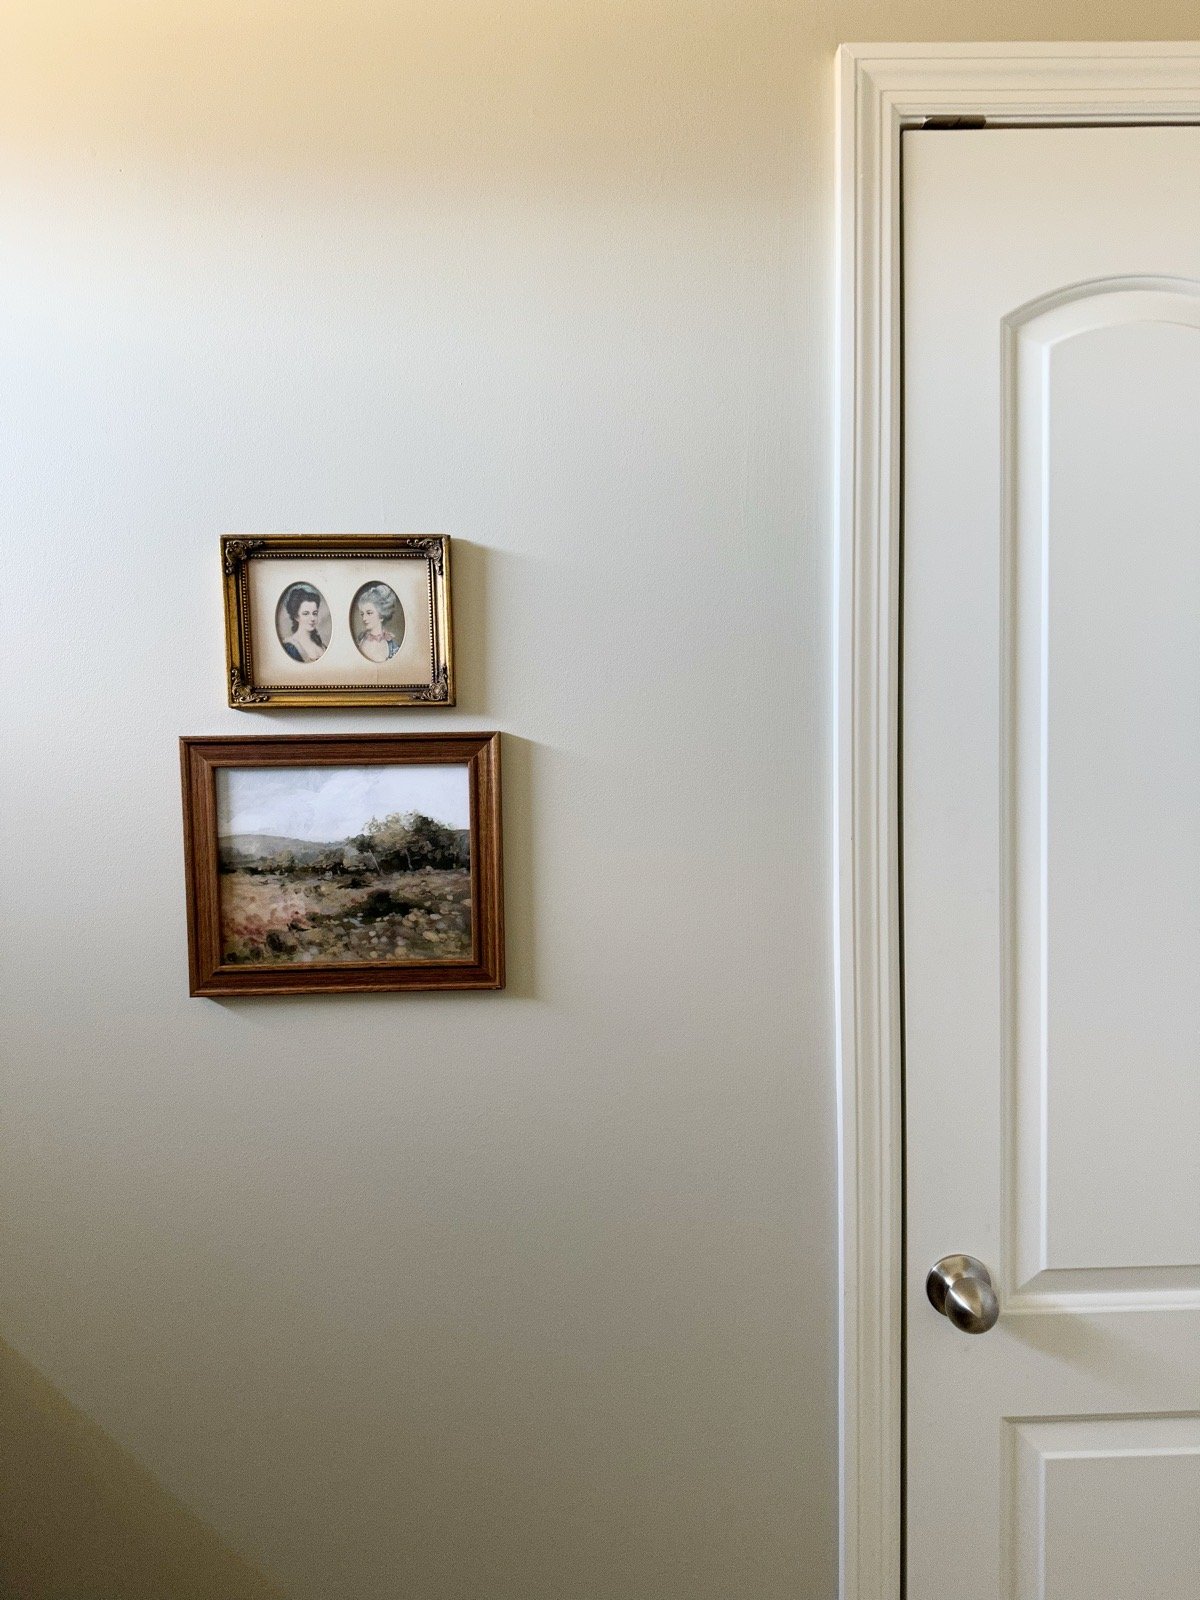
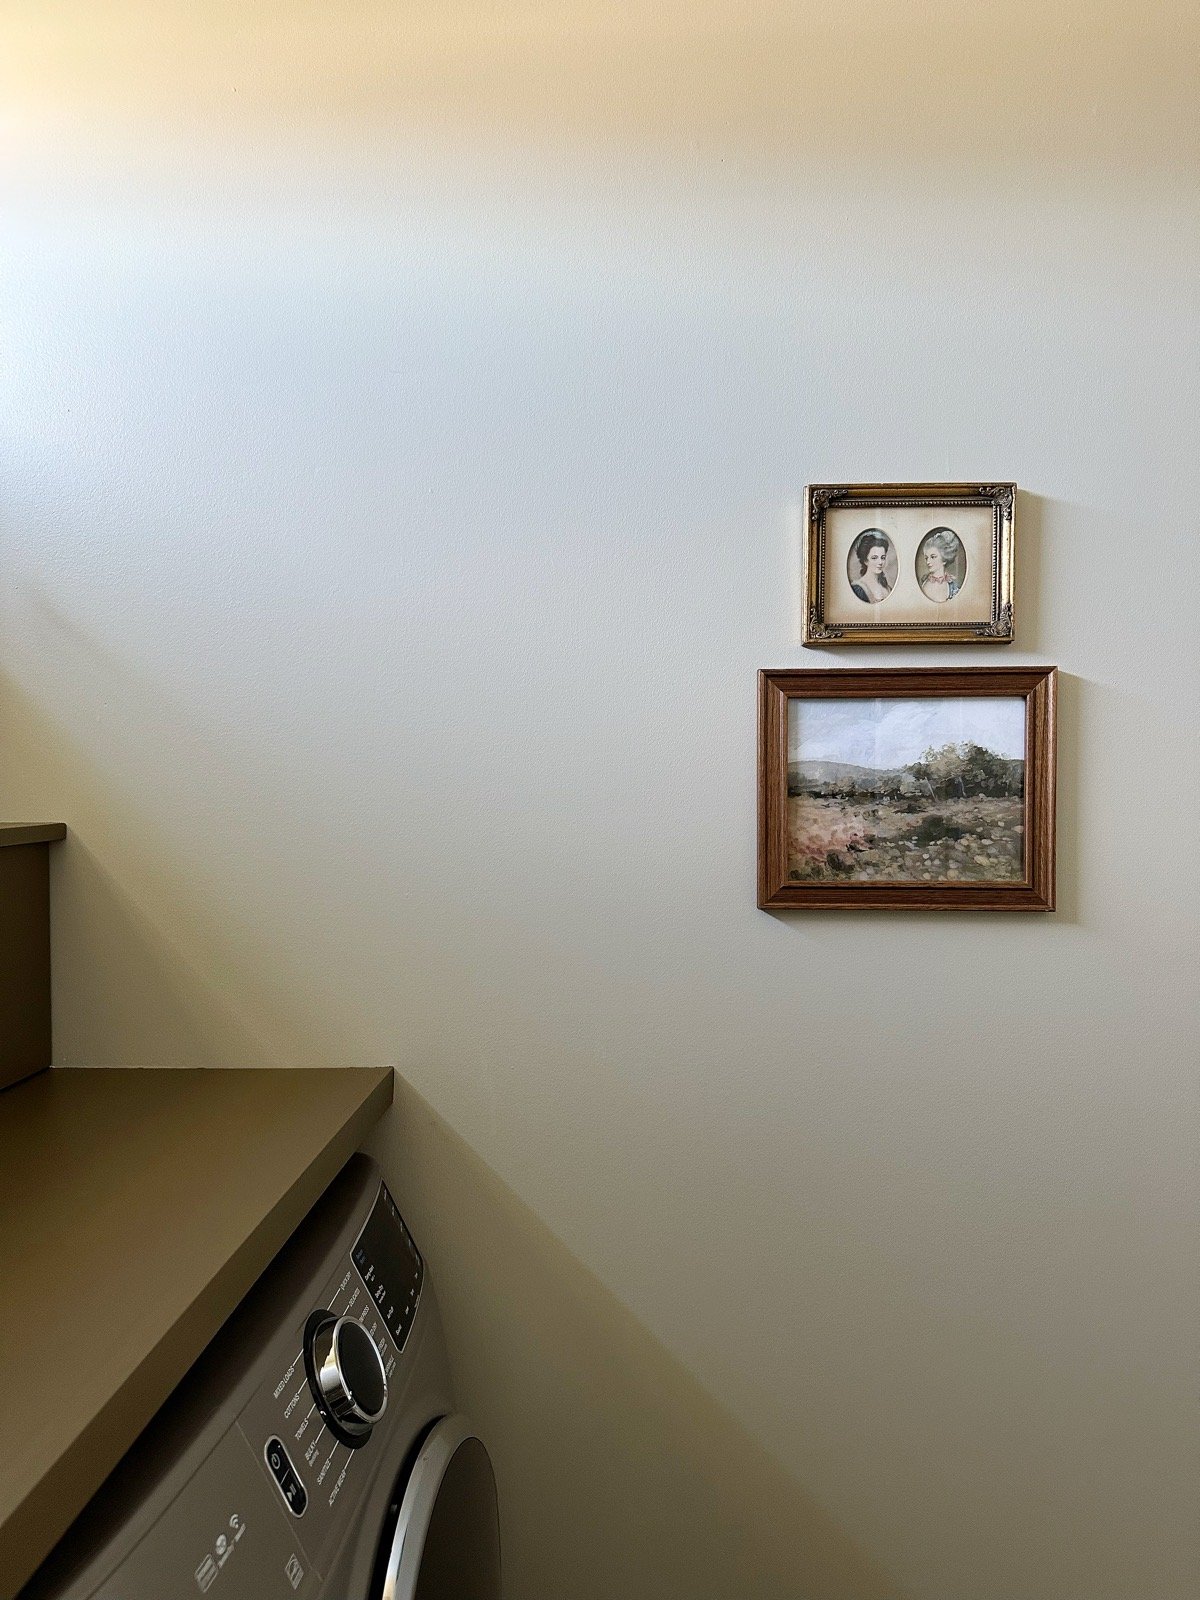
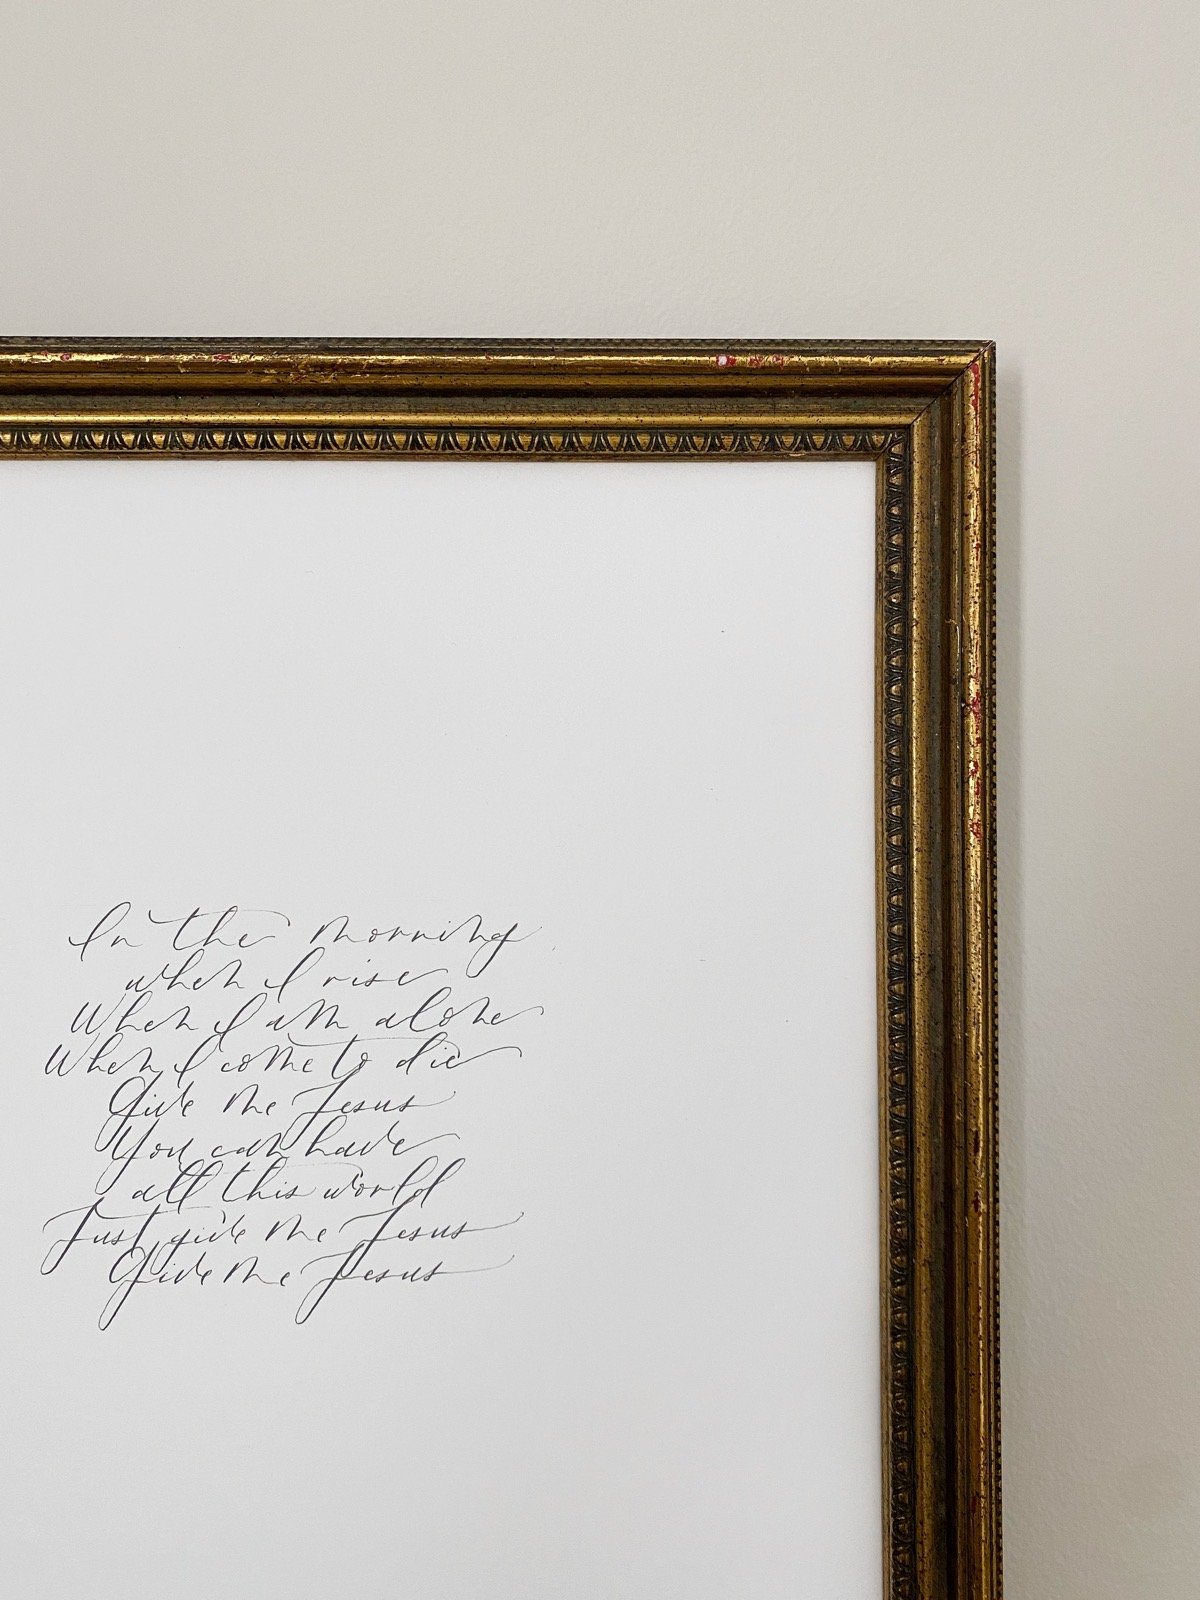
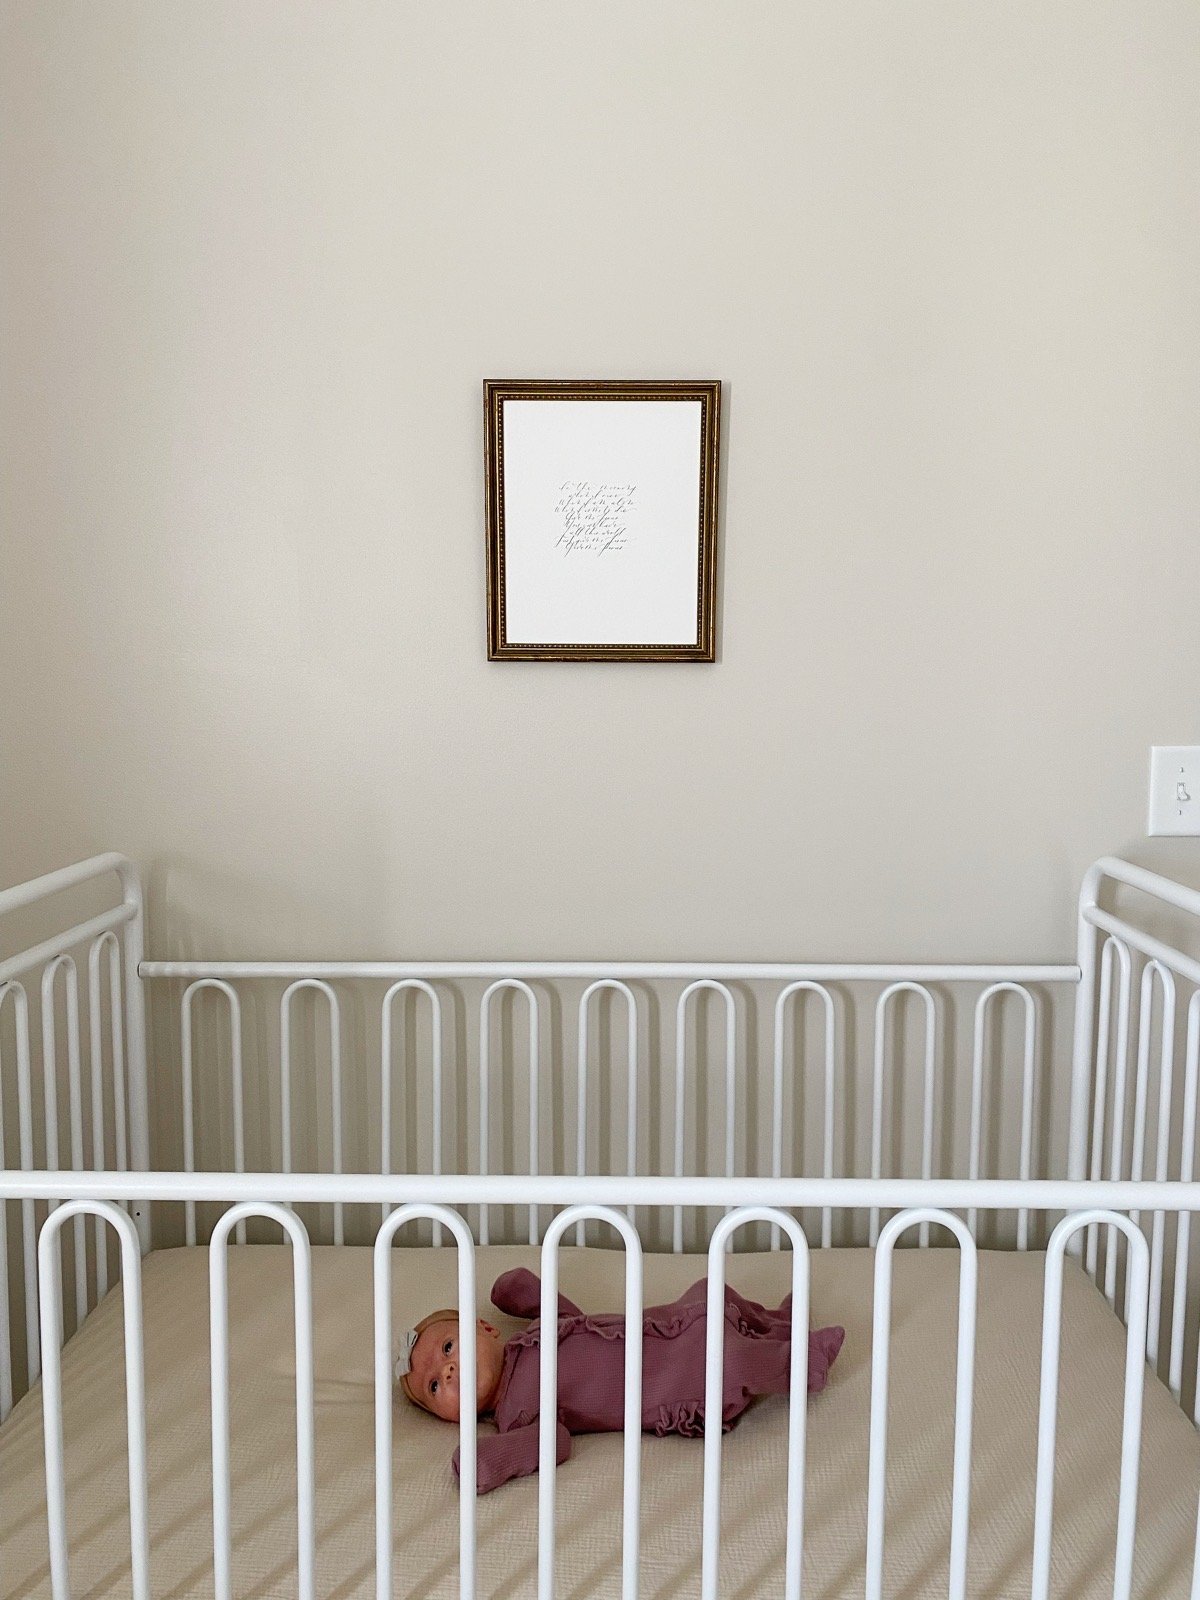
Since this was our first son, there were two pieces of keepsake art that I wanted to have hanging in his room. These would be the anchor pieces for this space!
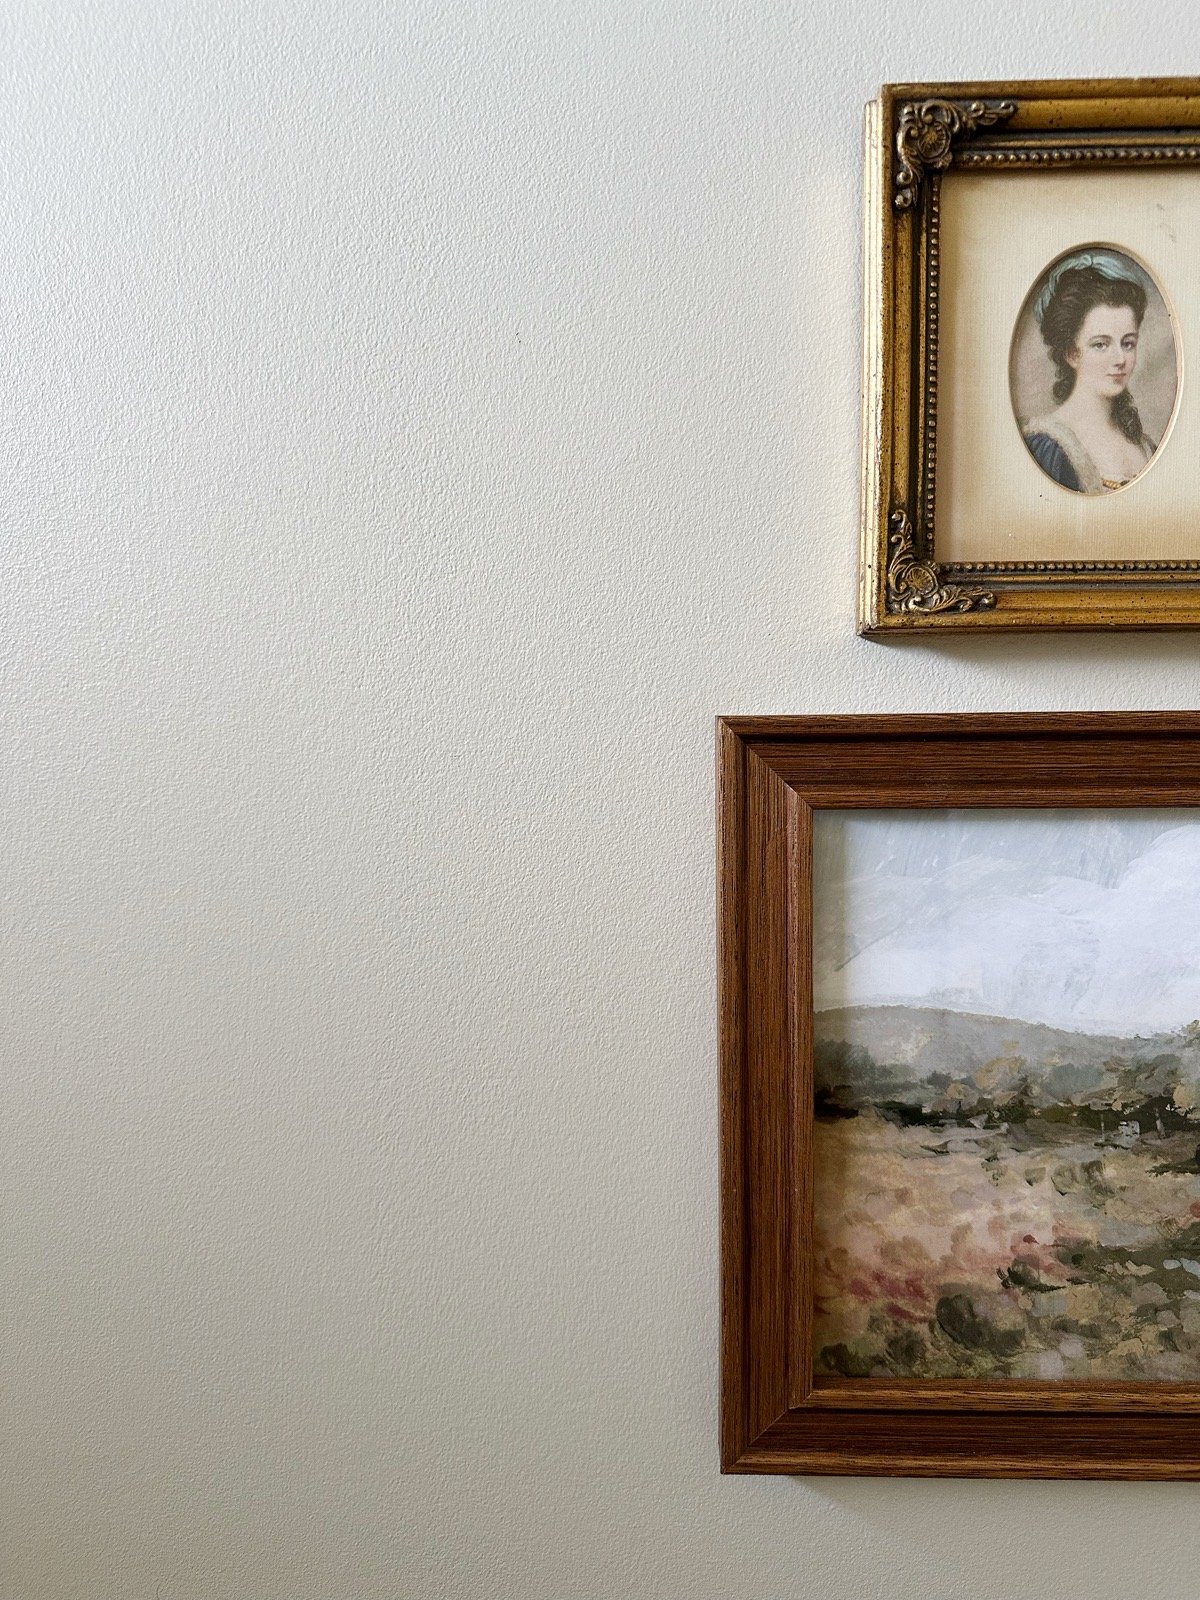
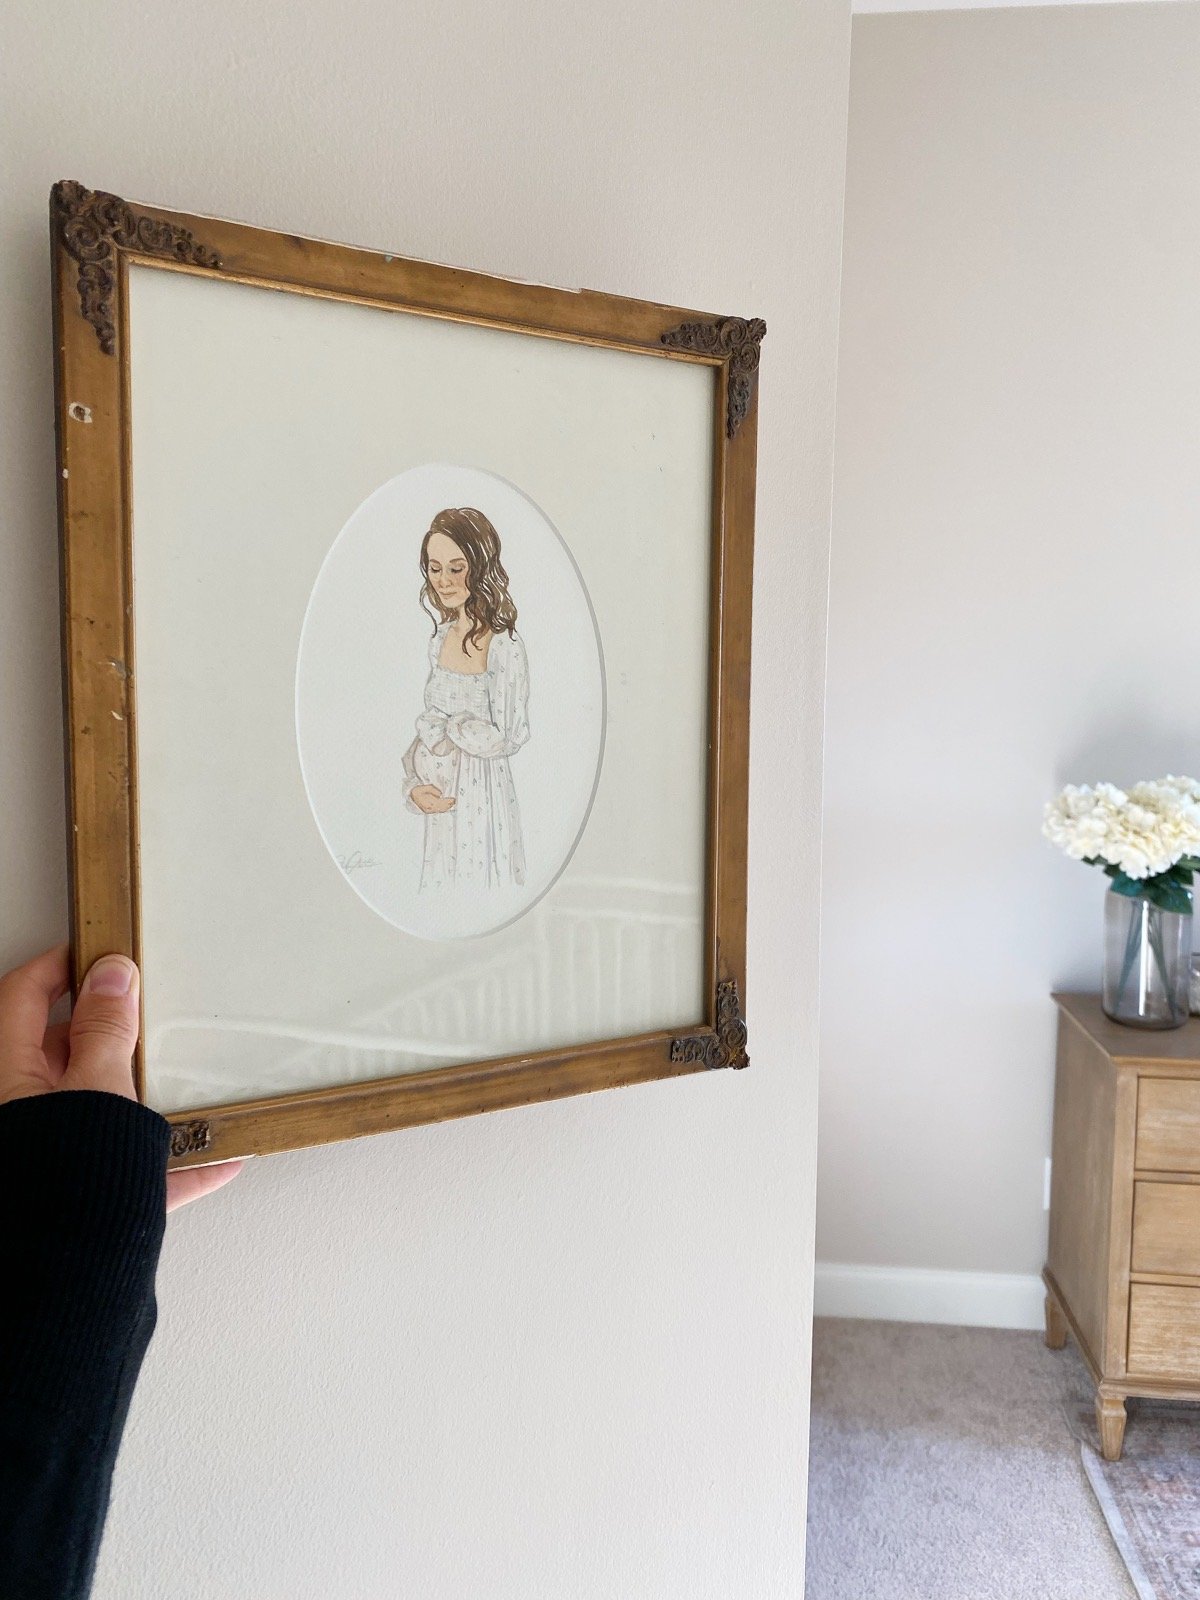
The first was a picture of his great, great, great grandfather (yes, 3 greats!) with his great, great grandfather. Josh’s mom gifted this photo to all of her kids a few Christmases ago, and I finally got to use it in a meaningful place in our home. Stone Steven is named after his Papa, Steve, and it is so special to see the generations of Craft men that have gone before Stone every time I walk in his room. I antiqued the frame and it is just the perfect anchor piece.

The second piece that I wanted to source was a bronze custom plaque that would hold his name and birth year. We hope to give this to Stone when he leaves our home as a piece he can hang in his own home. I was born and raised in New England, and I am always inspired by the custom plaques they have on the front of their homes telling a small story about who lived in the home and what year it was established. It was so fun to bring my love for New England into this space. I cannot recommend the plaque company enough. They even sent custom screws along with the plaque.


I hope you love this transformation as much as I do. Thank you always to my dear friend, Kelsey Wilson, for capturing these early days with our son in his tiny space. We cherish them!


Stone is named after the passage in the Bible in Joshua 4. “And Joshua set up at Gilgal the twelve stones they had taken out of the Jordan. He said to the Israelites, “In the future when your descendants ask their parents, ‘What do these stones mean?’ tell them, ‘Israel crossed the Jordan on dry ground.’ For the Lord your God dried up the Jordan before you until you had crossed over. The Lord your God did to the Jordan what he had done to the Red Sea when he dried it up before us until we had crossed over. He did this so that all the peoples of the earth might know that the hand of the Lord is powerful and so that you might always fear the Lord your God.”


SOURCES AND LINKS
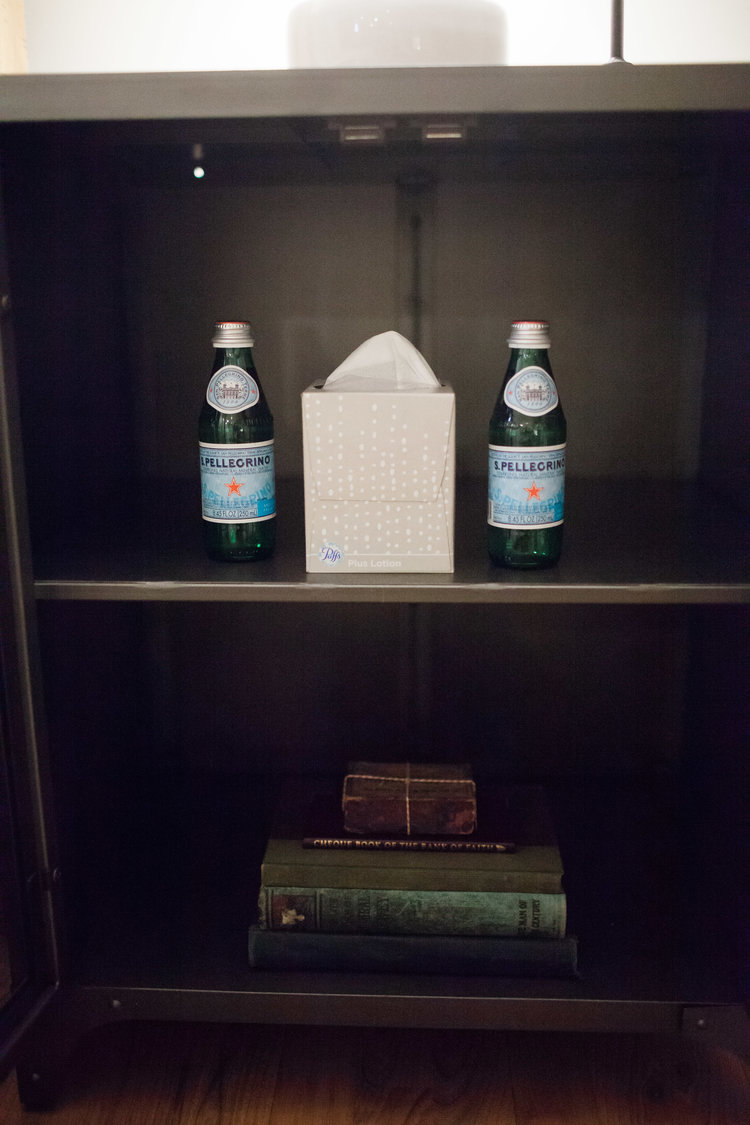
NURSERY
Paint Color | ‘Ethiopia’ by Behr
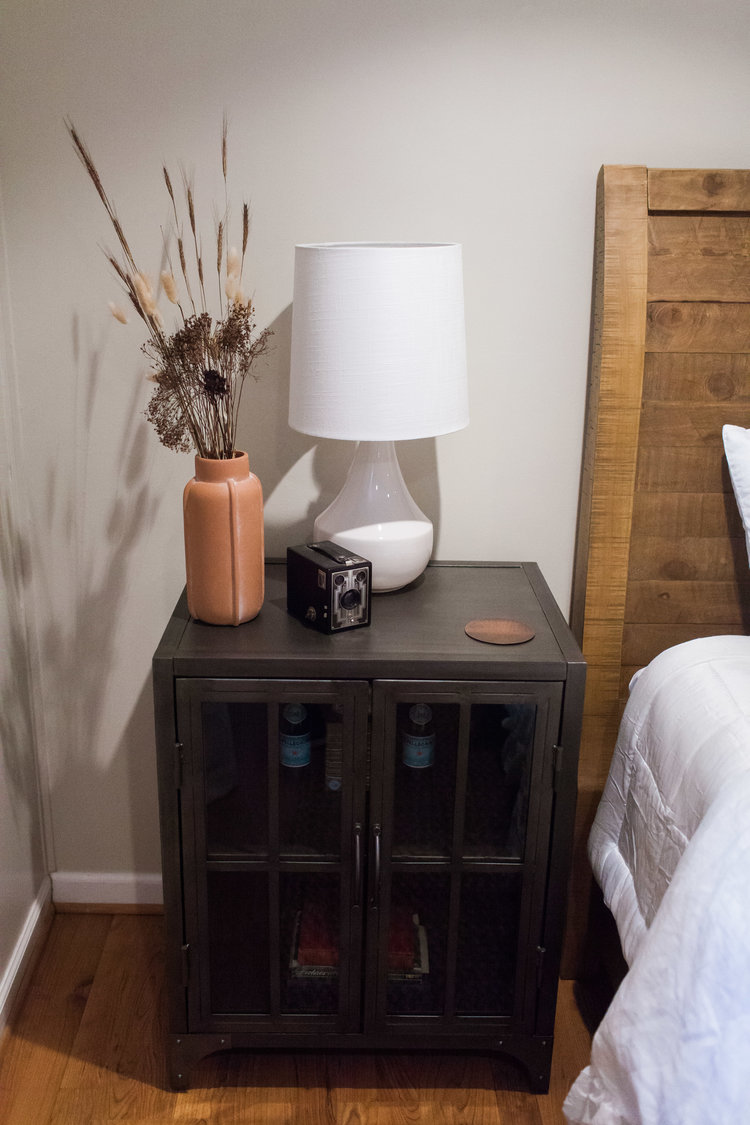
Lamp *They no longer make the one I have, but this one is almost exactly the same.
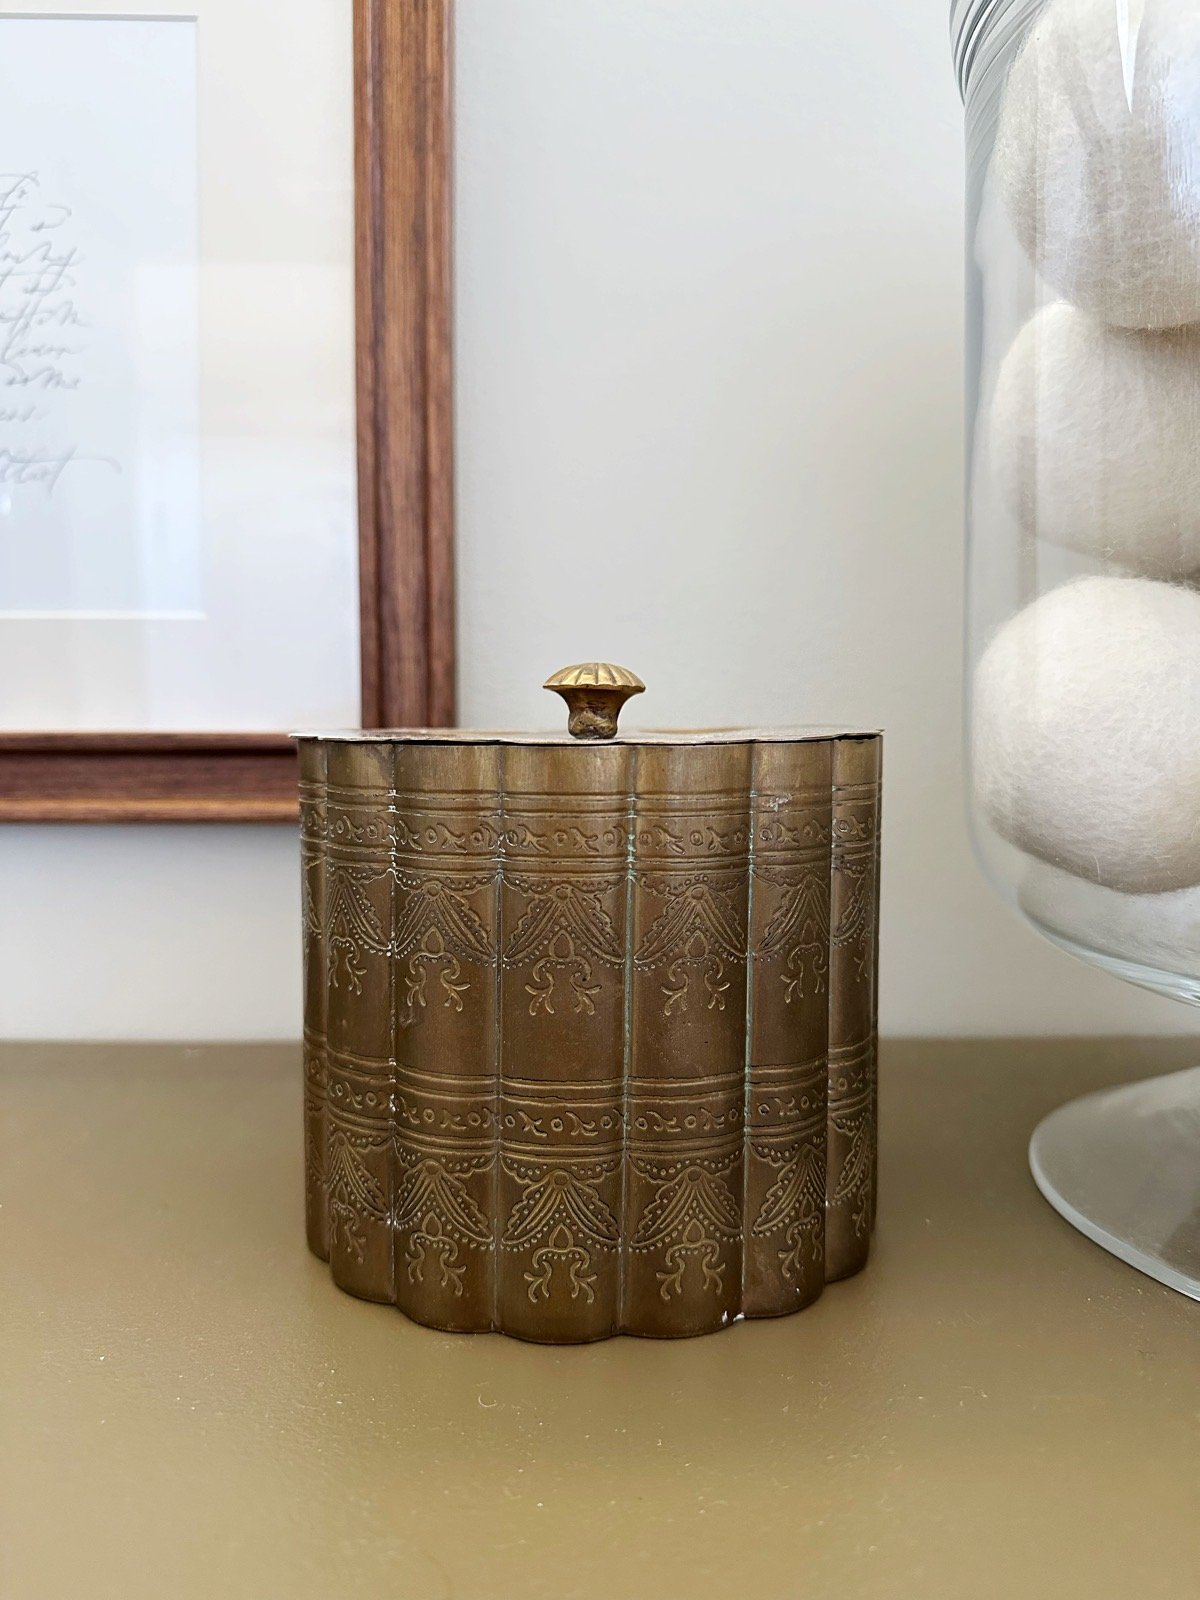
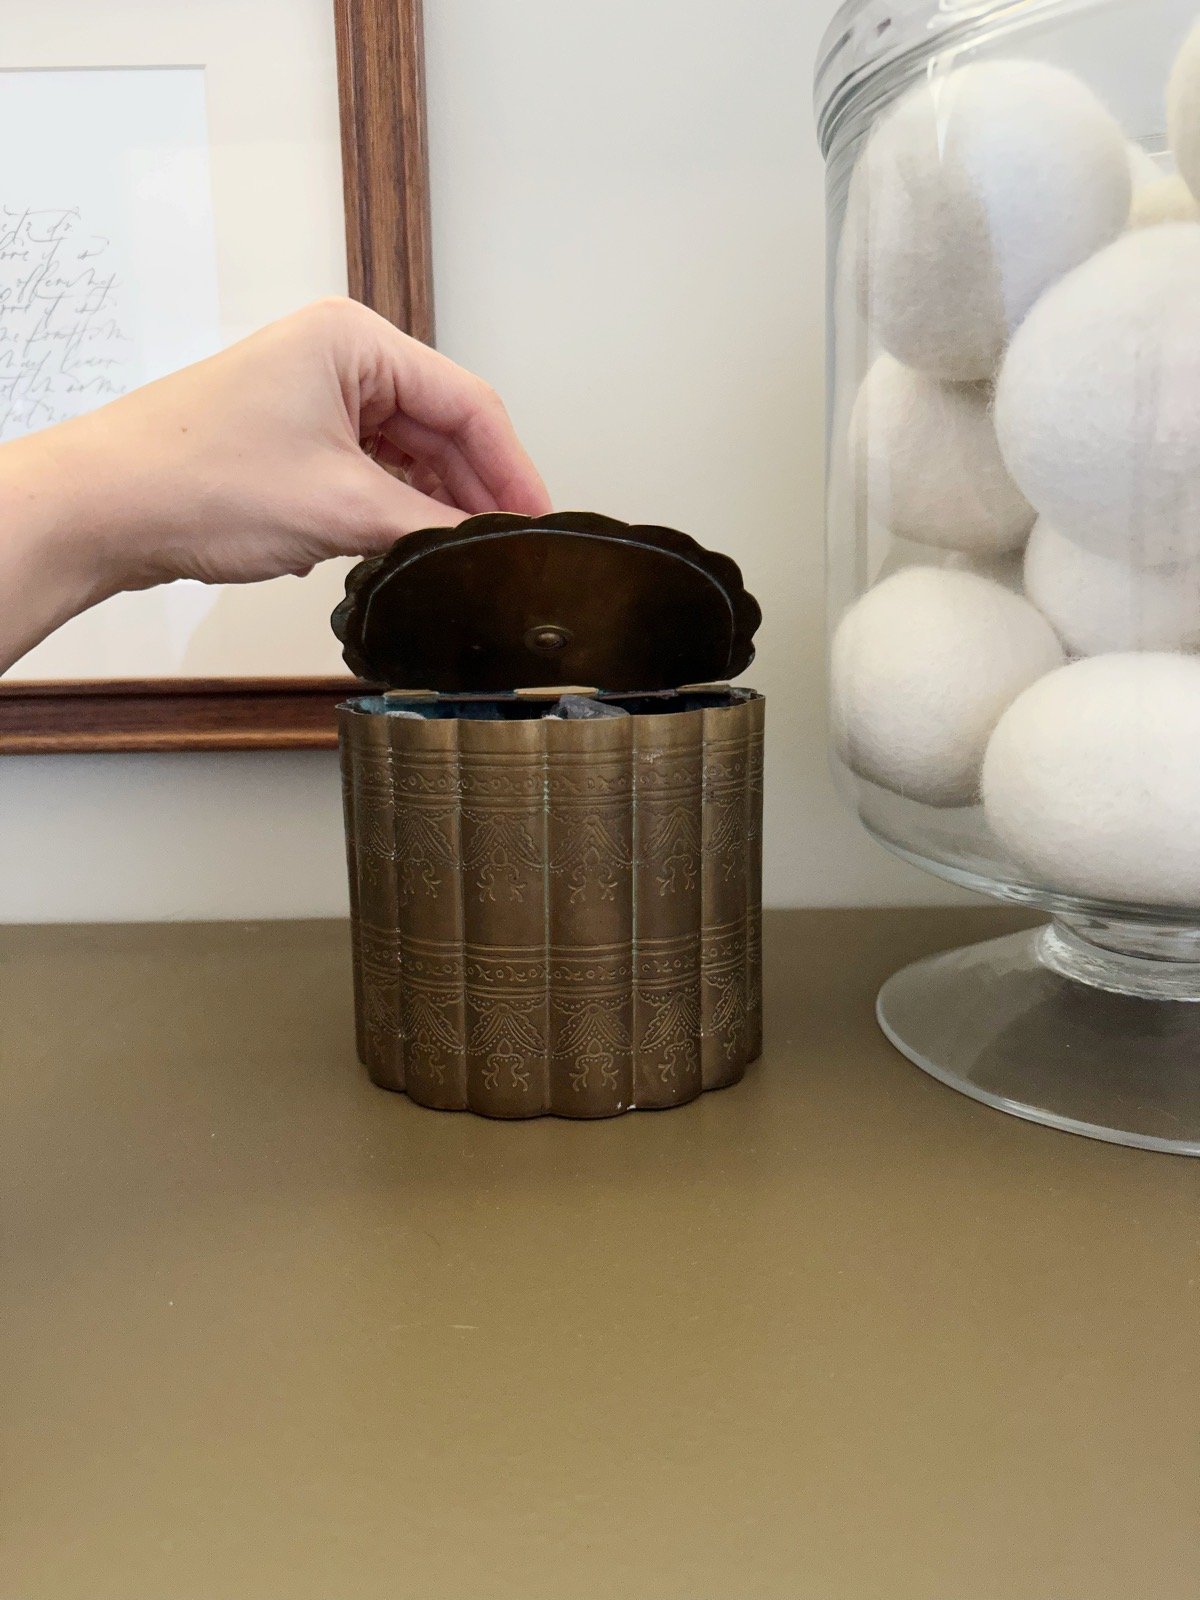
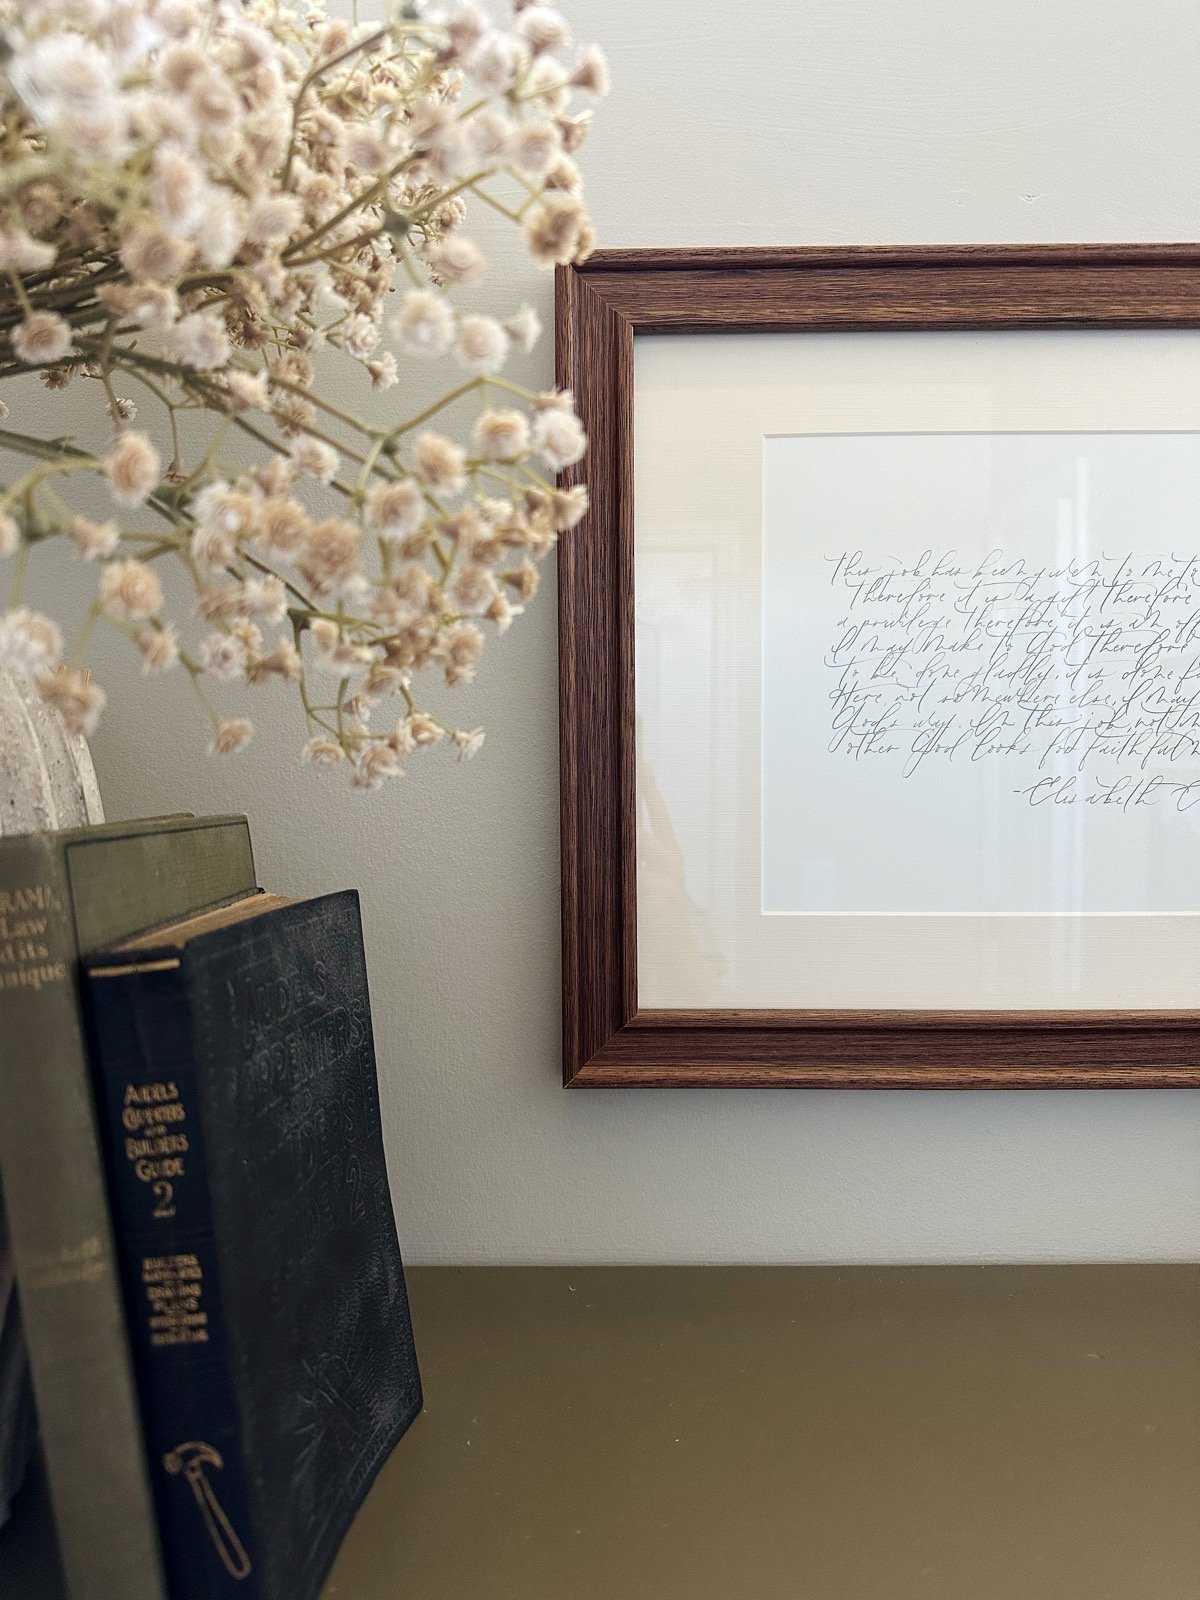
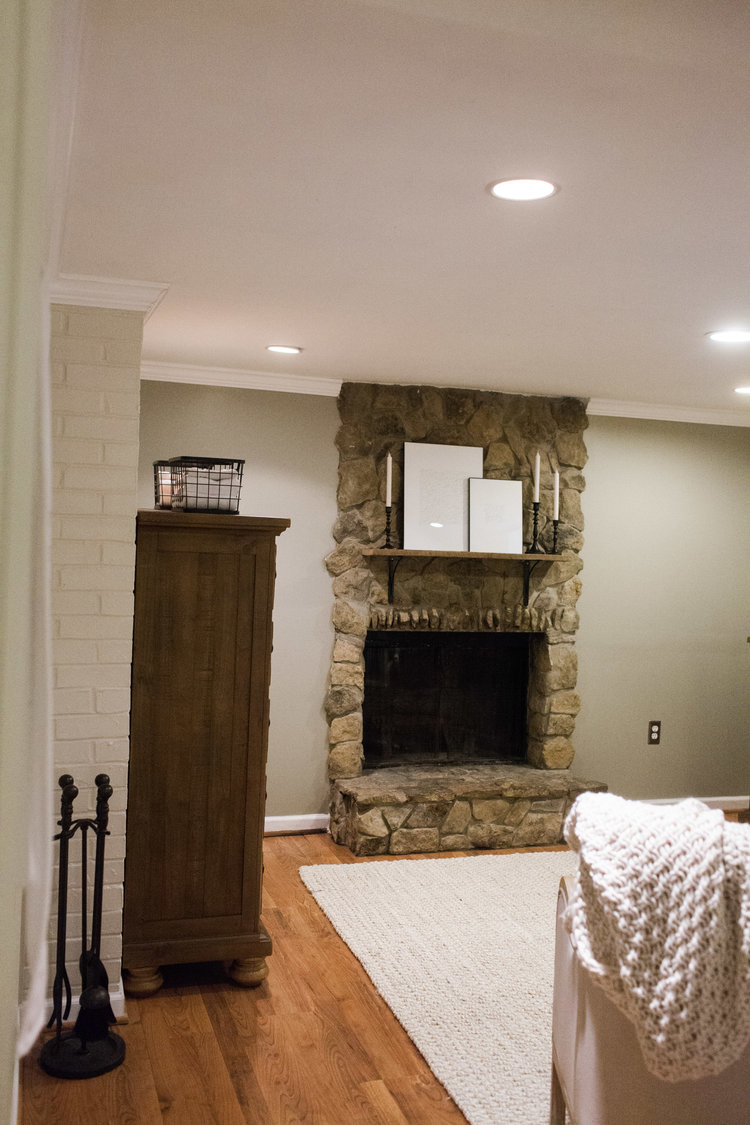
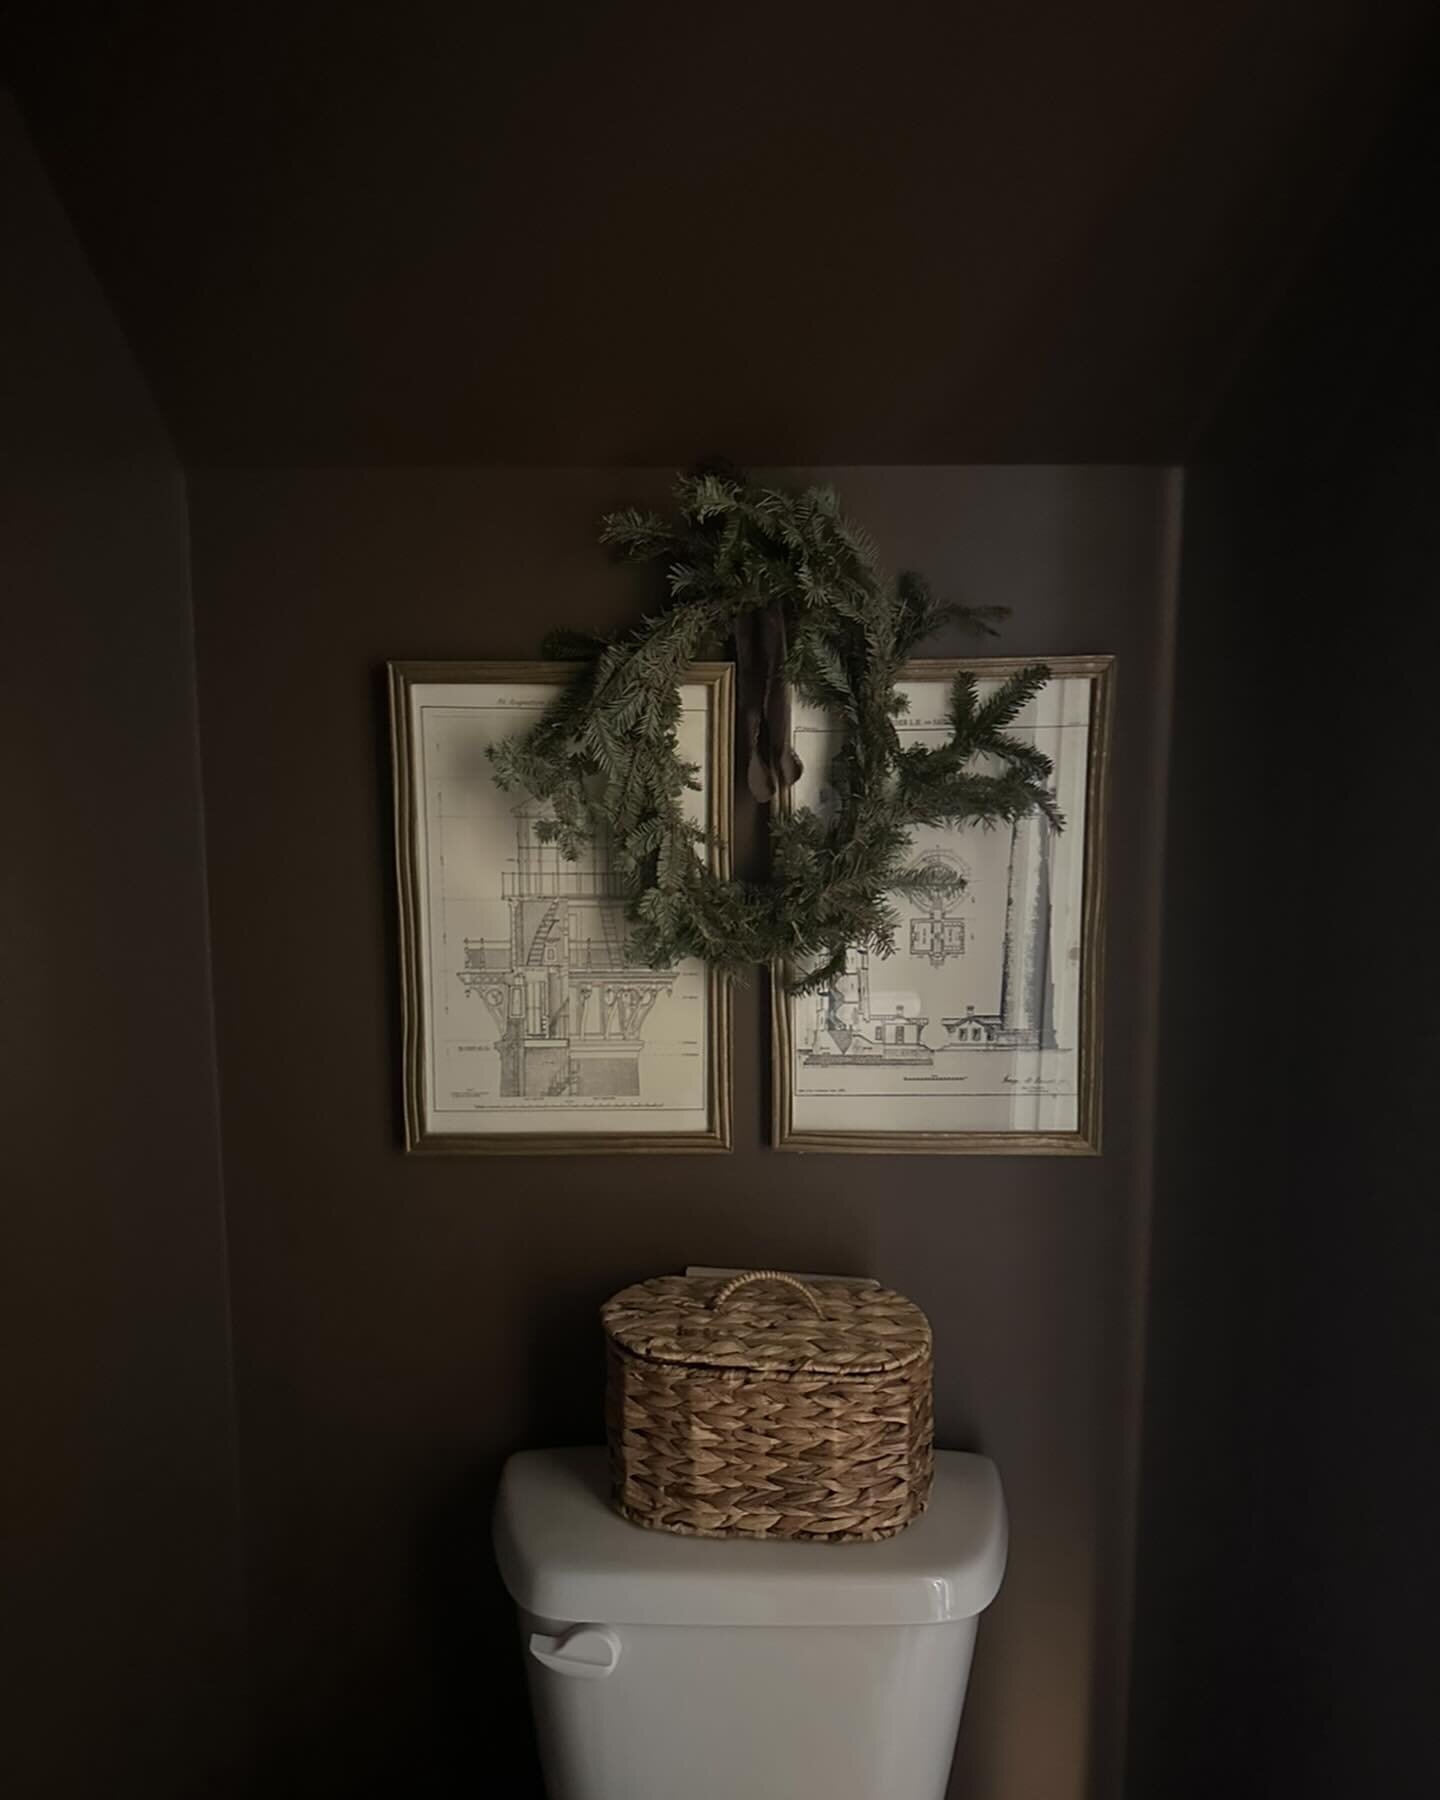
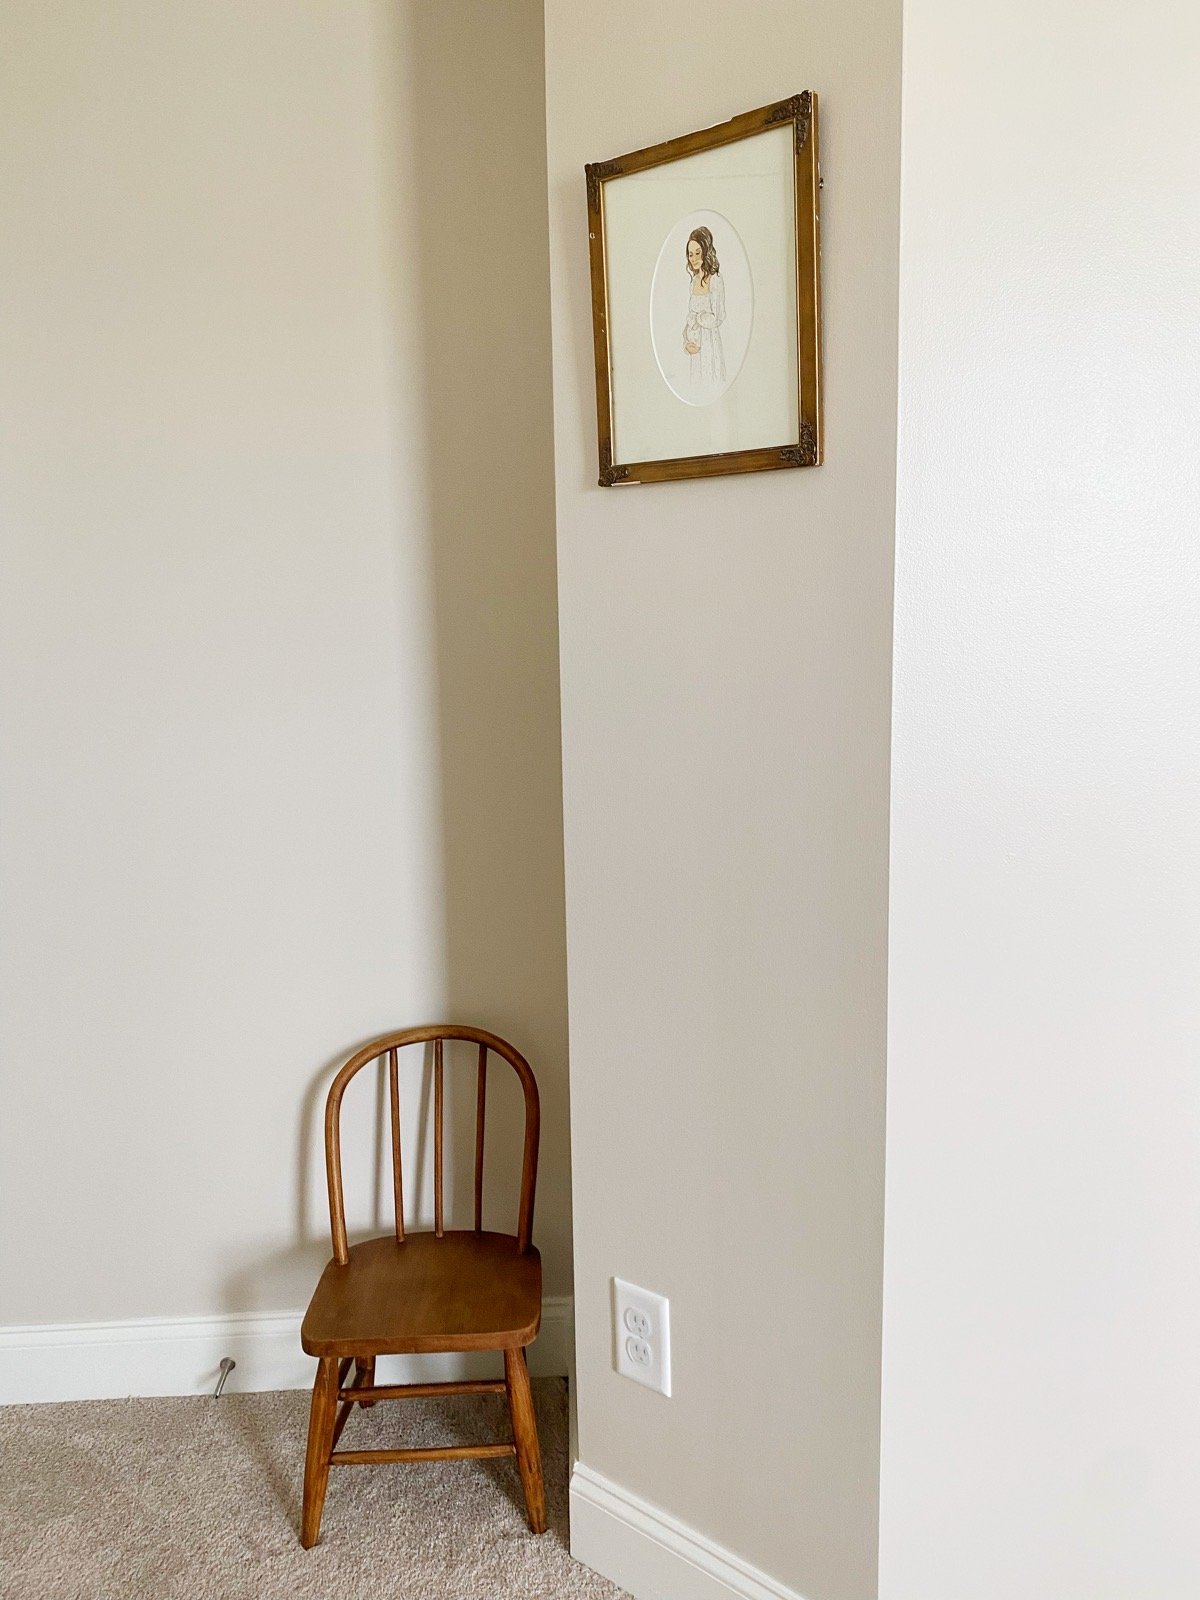
*All of the frames were antiqued, as well as the bronze car, the airplane, the stool, and the kids chairs. The ‘Hardy Boys’ books are keepsakes from Joshua’s dad.
CLOTHING
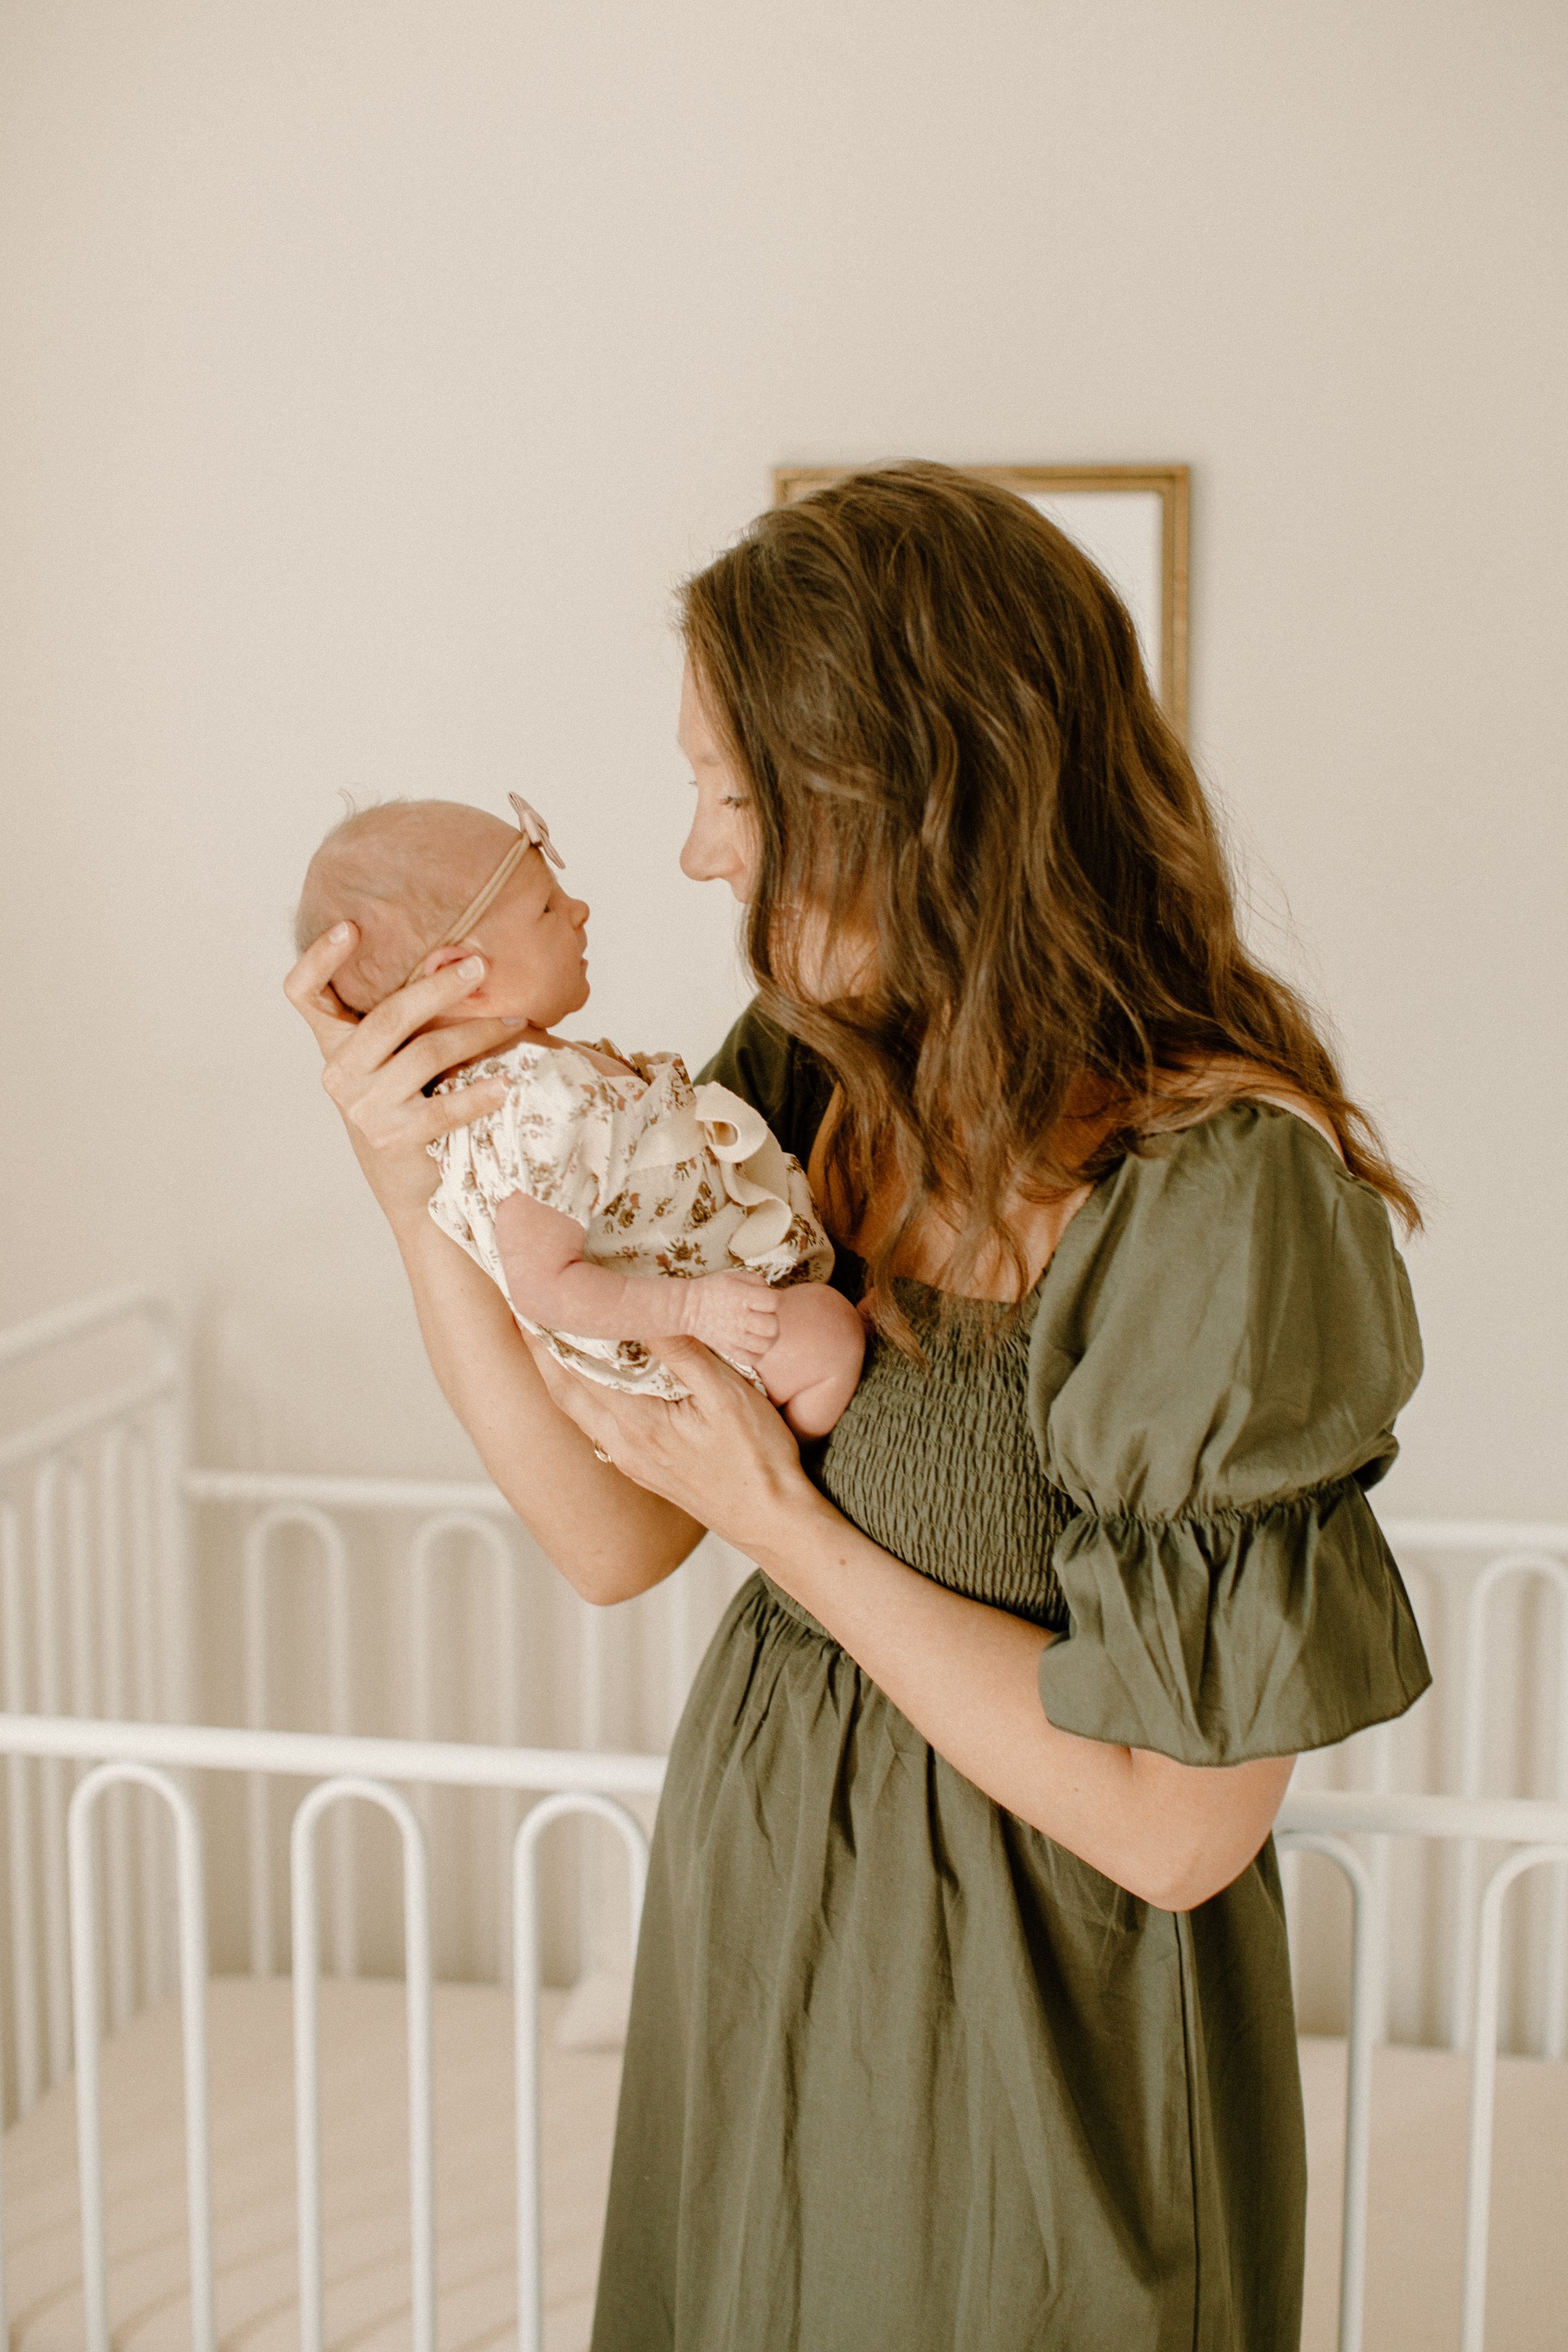
My dress (Favorite dress for pregnancy and beyond!)
Everly’s Dress (Favorite little girl dress ever!)