
CREATE YOUR OWN PLASTER STYLING BOARD
/
Since I started my calligraphy and design business, rugs, tables, and my floor have been my go-to for styling my work on. With my new rebrand, it just wasn’t going to cut it, so I am finally coming around to bringing to life my very own styling boards. Whether you are a calligrapher, photographer, florist, essential oil seller, hair stylist, bride-to-be, or small business owner, this is the perfect way to make your work stand out with a beautiful background. The best part is: it is SIMPLE and CHEAP. The total cost for this project is under $40, depending on how many styling boards you make, and how many paint colors you choose.
MATERIALS: (You can find all the links to the materials at the end of this bog post)
I- Fabric Canvas (See what NOT to use below…please learn from my mistakes!)
II- All Purpose Joint Compound (Found at any Home Depot or Lowes)
III- Trowels (Plastic or Wooden and Metal)
IV- Drop Canvas (or plastic paint protectors)
V- Acrylic Paint (Whatever color you desire to create your styling board)
VI- Paint brushes
VII- Container for the paint to dip the brush in
VIII- Foam Painters
DIRECTIONS:
I- Pick your desired canvas size. Lay the canvas onto your drop cloth. Open the plaster, and spread it over the canvas with the trowels. Start from the middle, and work your way to the outsides.
II- Once the canvas is spread how you like it, let it dry for up to 24 hours before your paint. You will see it start to turn white when it is drying, and that is perfectly fine.
III- Choose your paint color, and pour it into your container. With your paint brush, paint the plaster until you have the desired color you are looking for. You may also use the foam painted to give the styling board more texture. Let dry for 6 hours, and then paint a second coat of paint.
IV- Start styling and making some magic!


Shop these: Fabric Canvas (20” x 20”) (I found them in a 3-pack for $30, but am not able to find them online)


“I always thought that the “thriving” would come when everything was perfect, and what I learned is that it’s actually down in the mess that things get good.”
Now, for those of you out there who are like me, and like to tweak things just a little to try to make them your own, or be a little different, DON’T! I love wood, and I really wanted to do these on a thin piece of wood to have mine stand out. But I SHOULD have known…because hello, I am a carpenters daughter, and I didn’t even think about how dumb this was. Once all the joint compound was applied, it made the wood really wet, and made it bow up while it was drying. Because of that bowing, it cracked the joint compound all over, and it caused it to dry that way. Once it dried fully, it did end up laying flat again, and the bow went away, but the cracks were still extremely visible and have not gone away. This is not the look I was going for at ALL, and I had to start all over again. Moral of the story: don’t be like me. Trust the process. Trust what I am sharing with you. I want you to learn from me, and do it right the first time. Consider this me giving you the gift of going second. You are welcome, friend!

Unpainted dried joint compound on wood. Please see the VERY visible cracks.

Unpainted dried joint compound on fabric canvas. Please see how perfect this is! NO cracks. NO bowing. Perfection.

Styling board with no paint, just the color of the dried joint compound. It dries a pretty light grey color on its own!
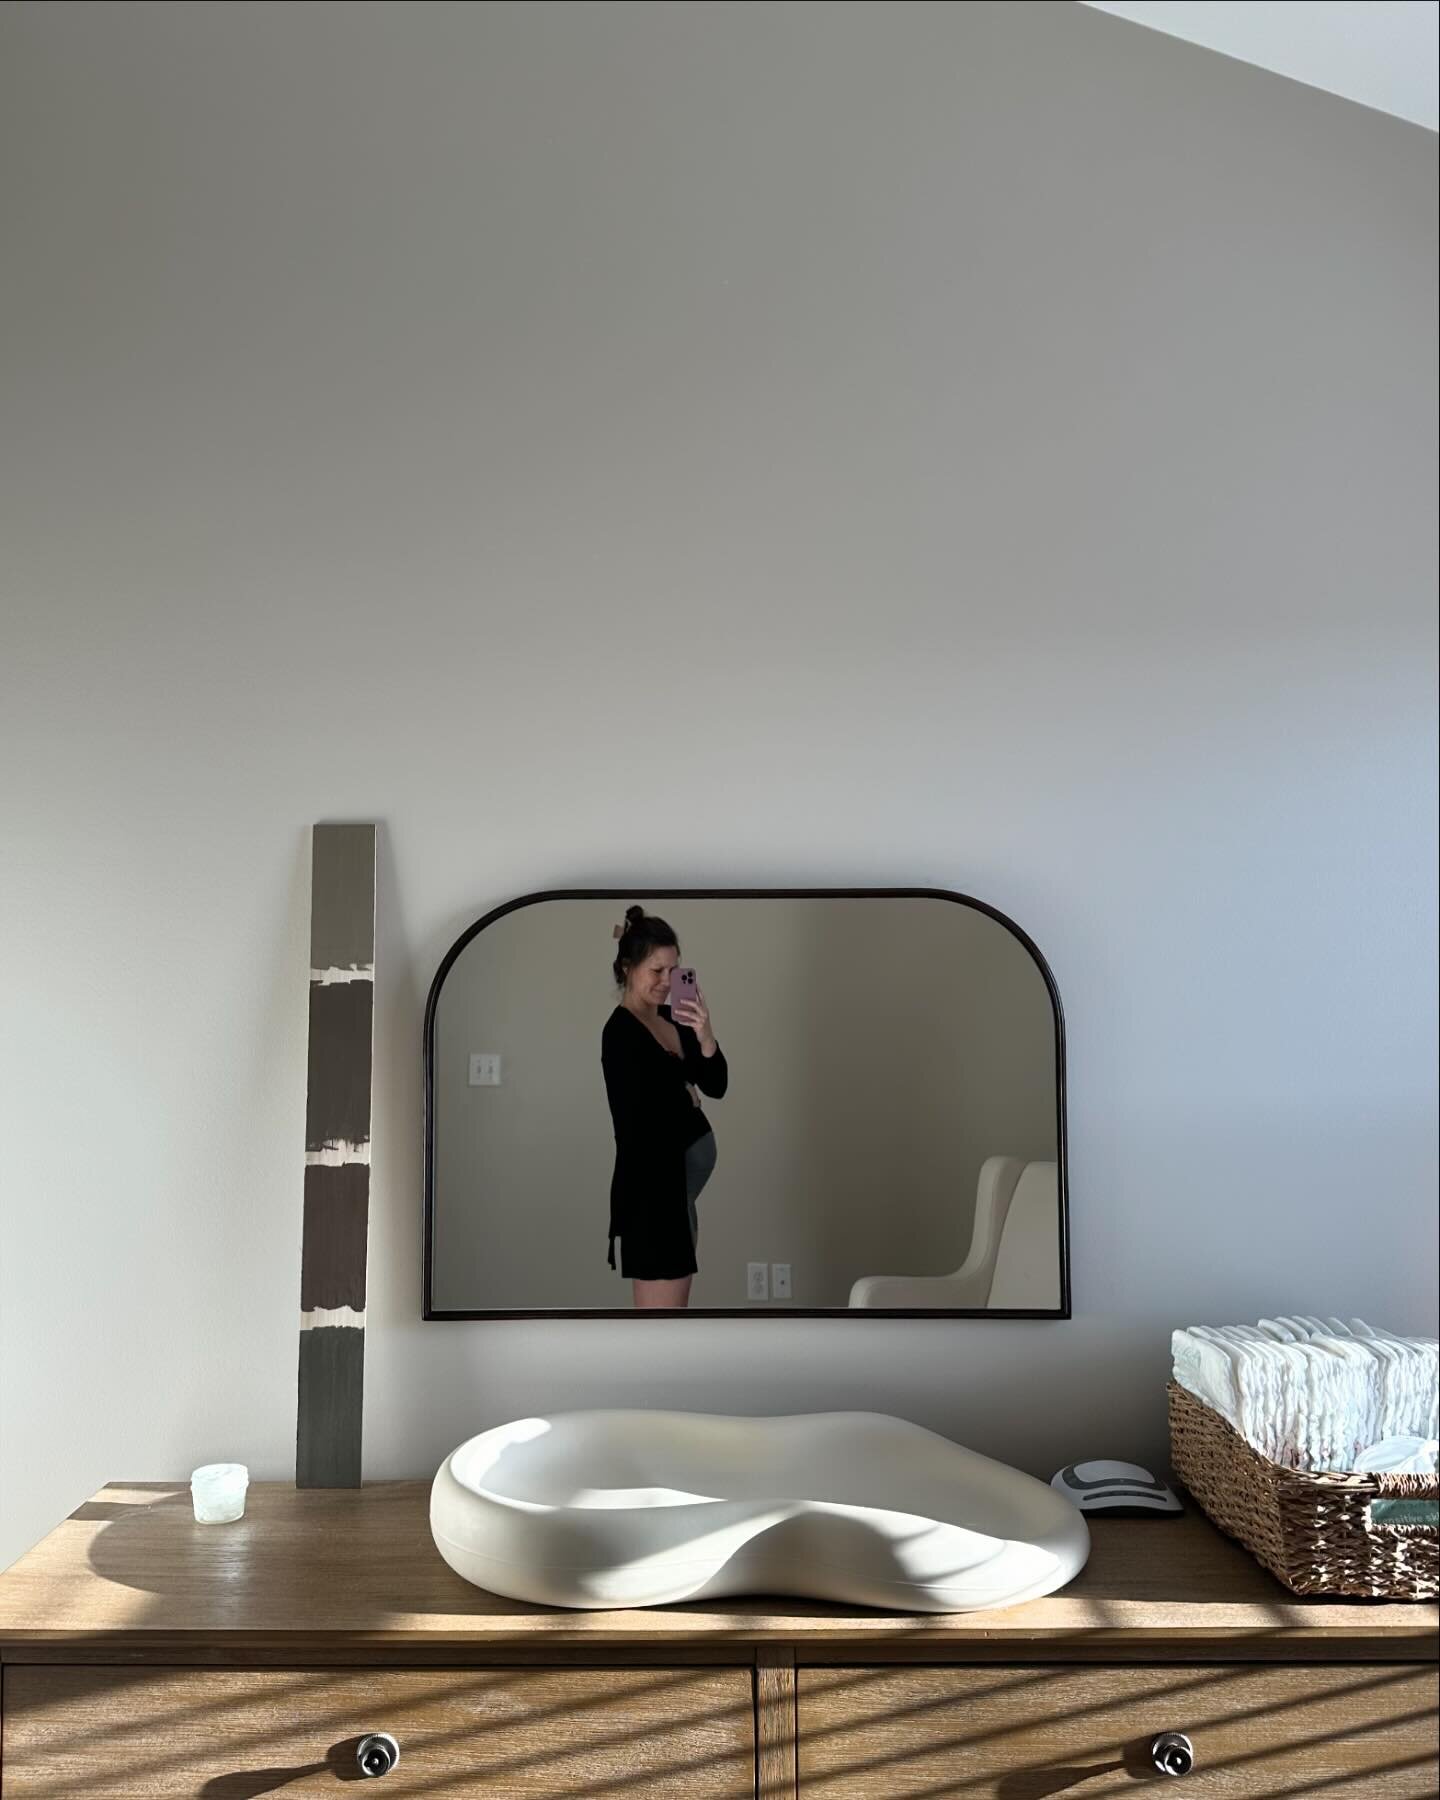
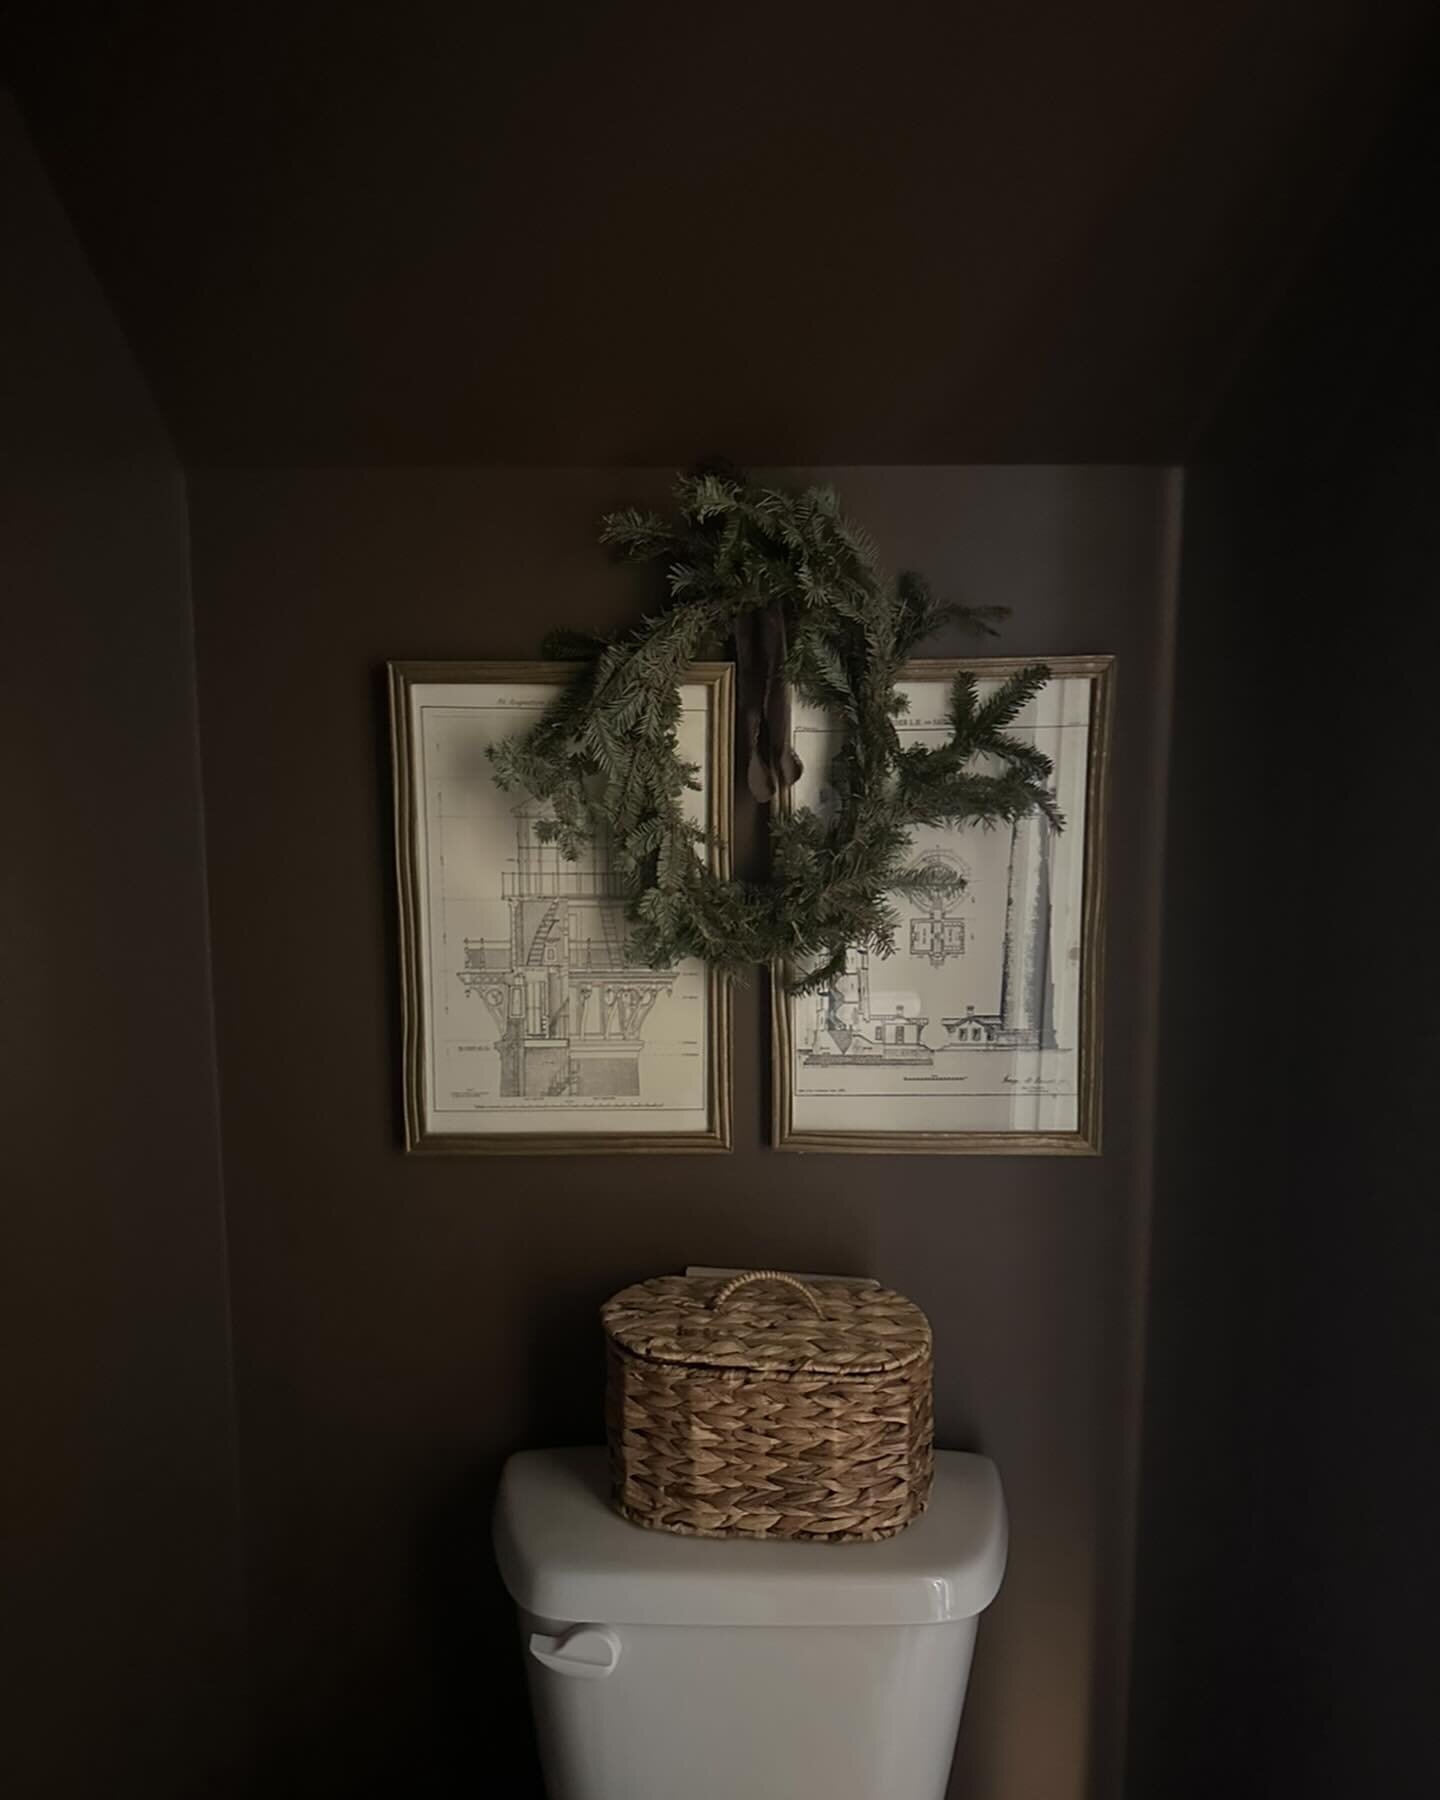
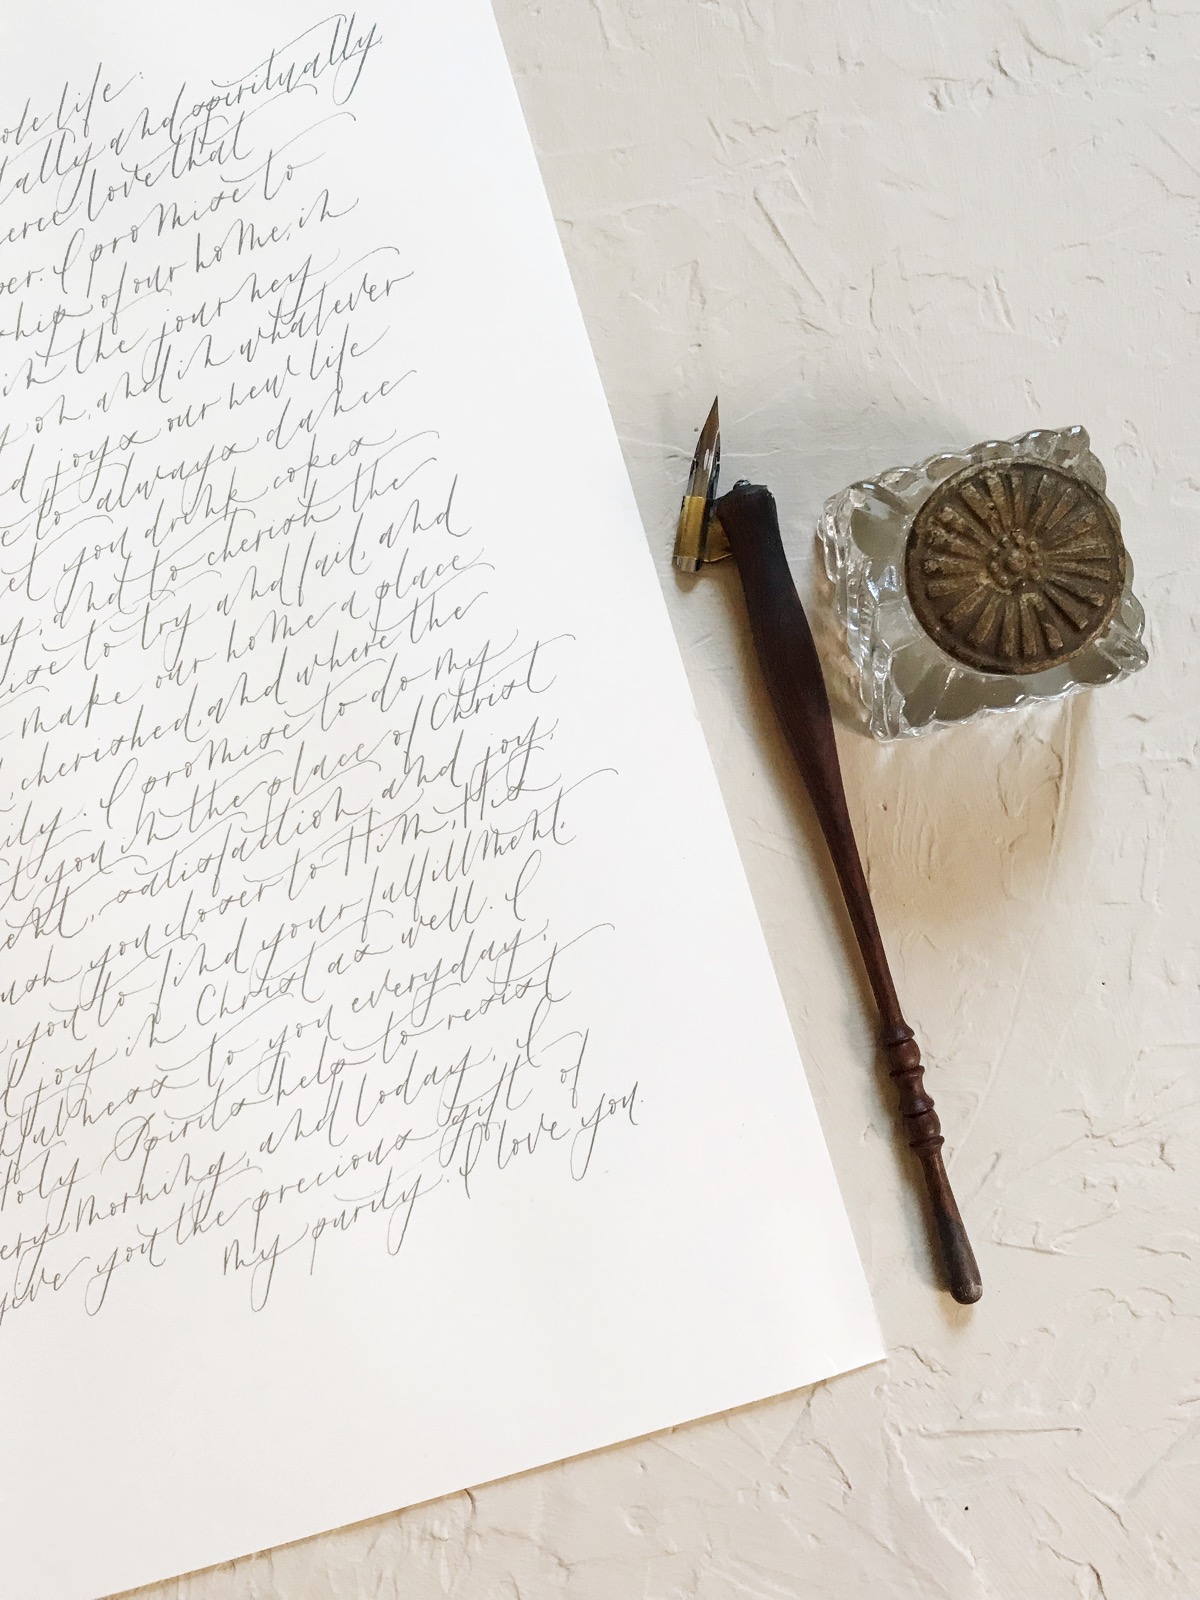
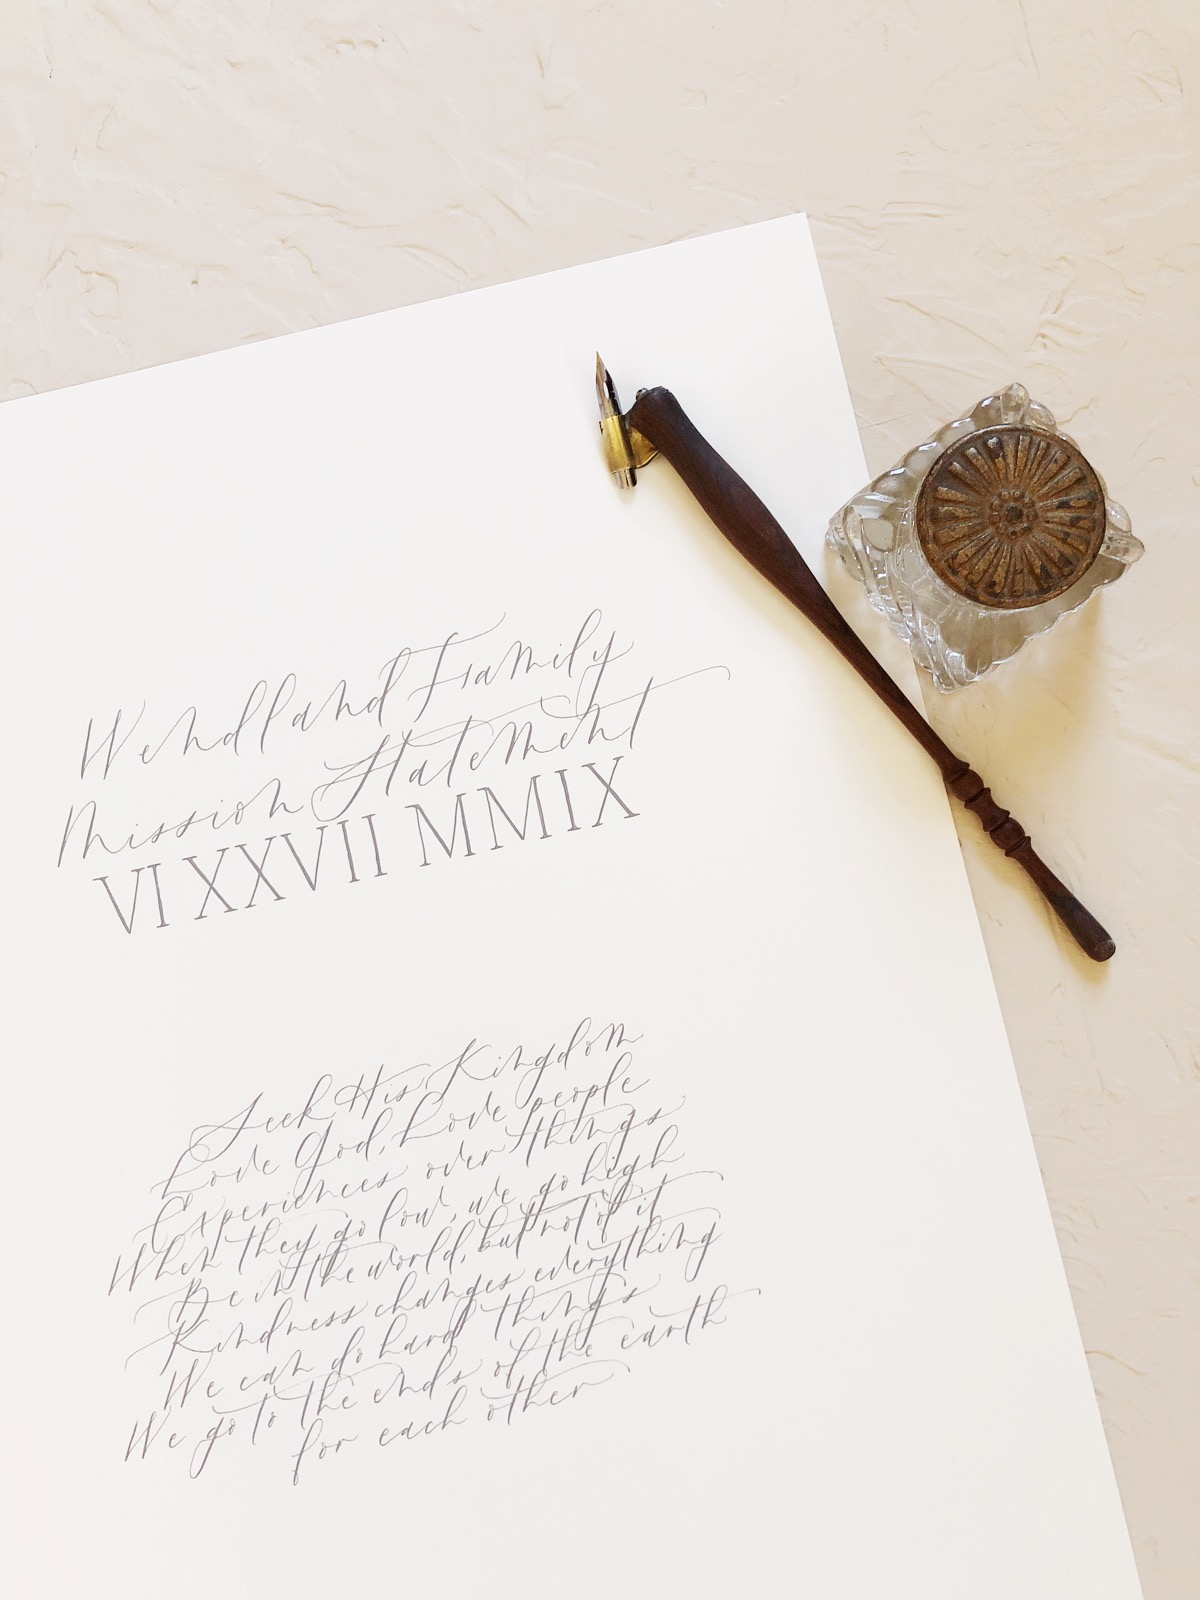
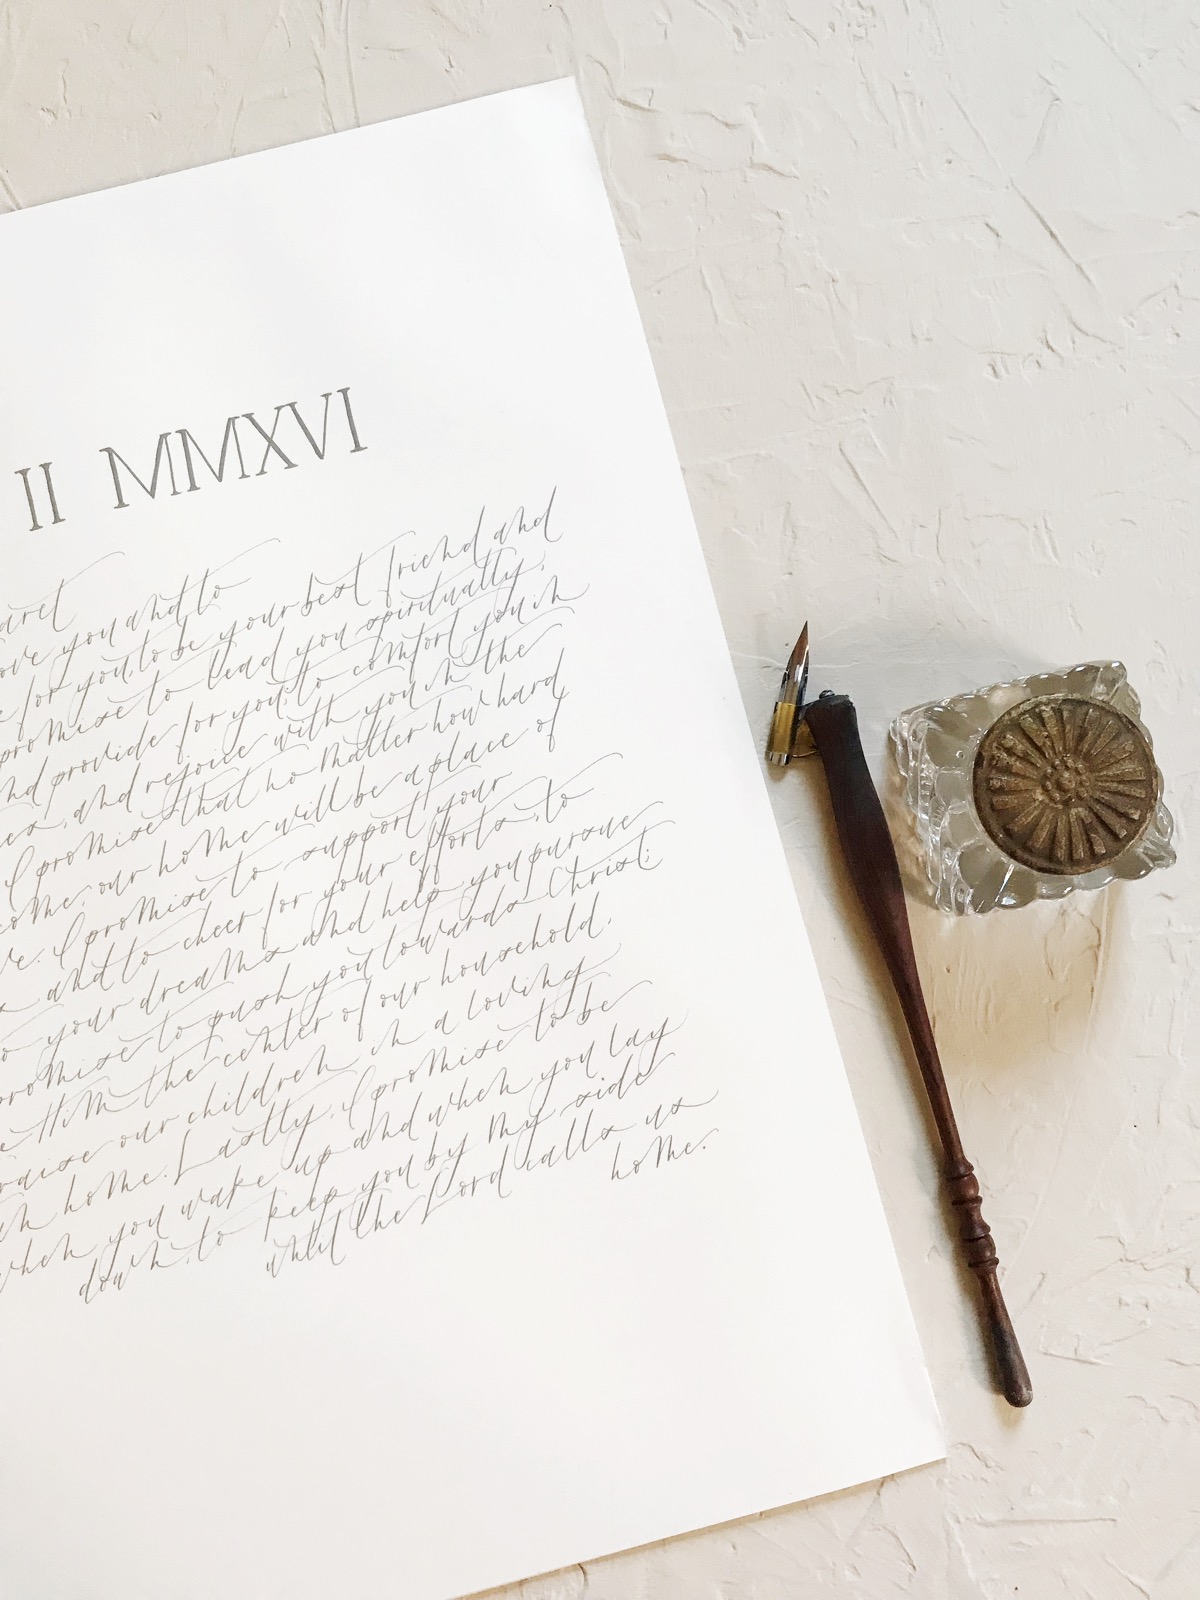
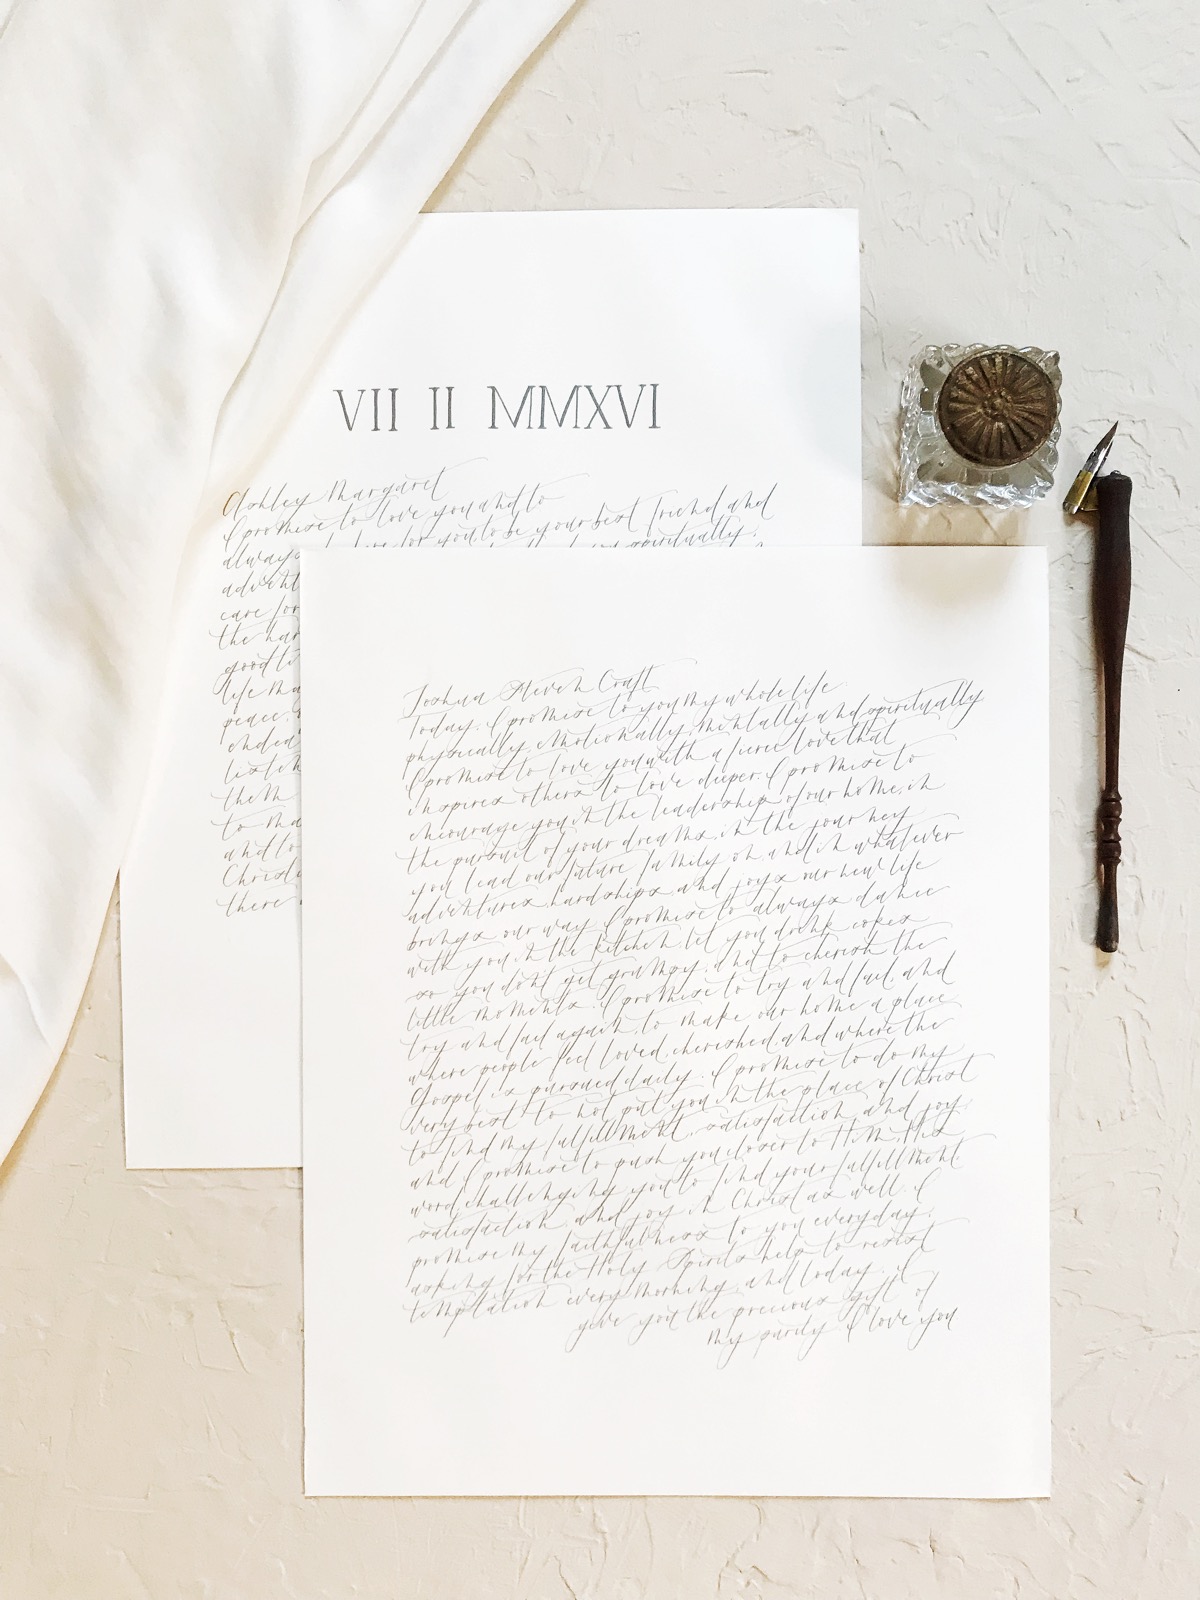
I hope this short tutorial was helpful, and that you are able to make your beautiful work shine with this textured, simple, beautiful styling board. Please enjoy some of the STUNNING final results of investing in creating your own styling board. I am ecstatic to share these with you.


Sweet blessings,

SHOP THIS BOG POST
II- All Purpose Joint Compound
III- Trowels
IV- Drop Canvas
VI- Paint Brushes
VII- Foam Painters
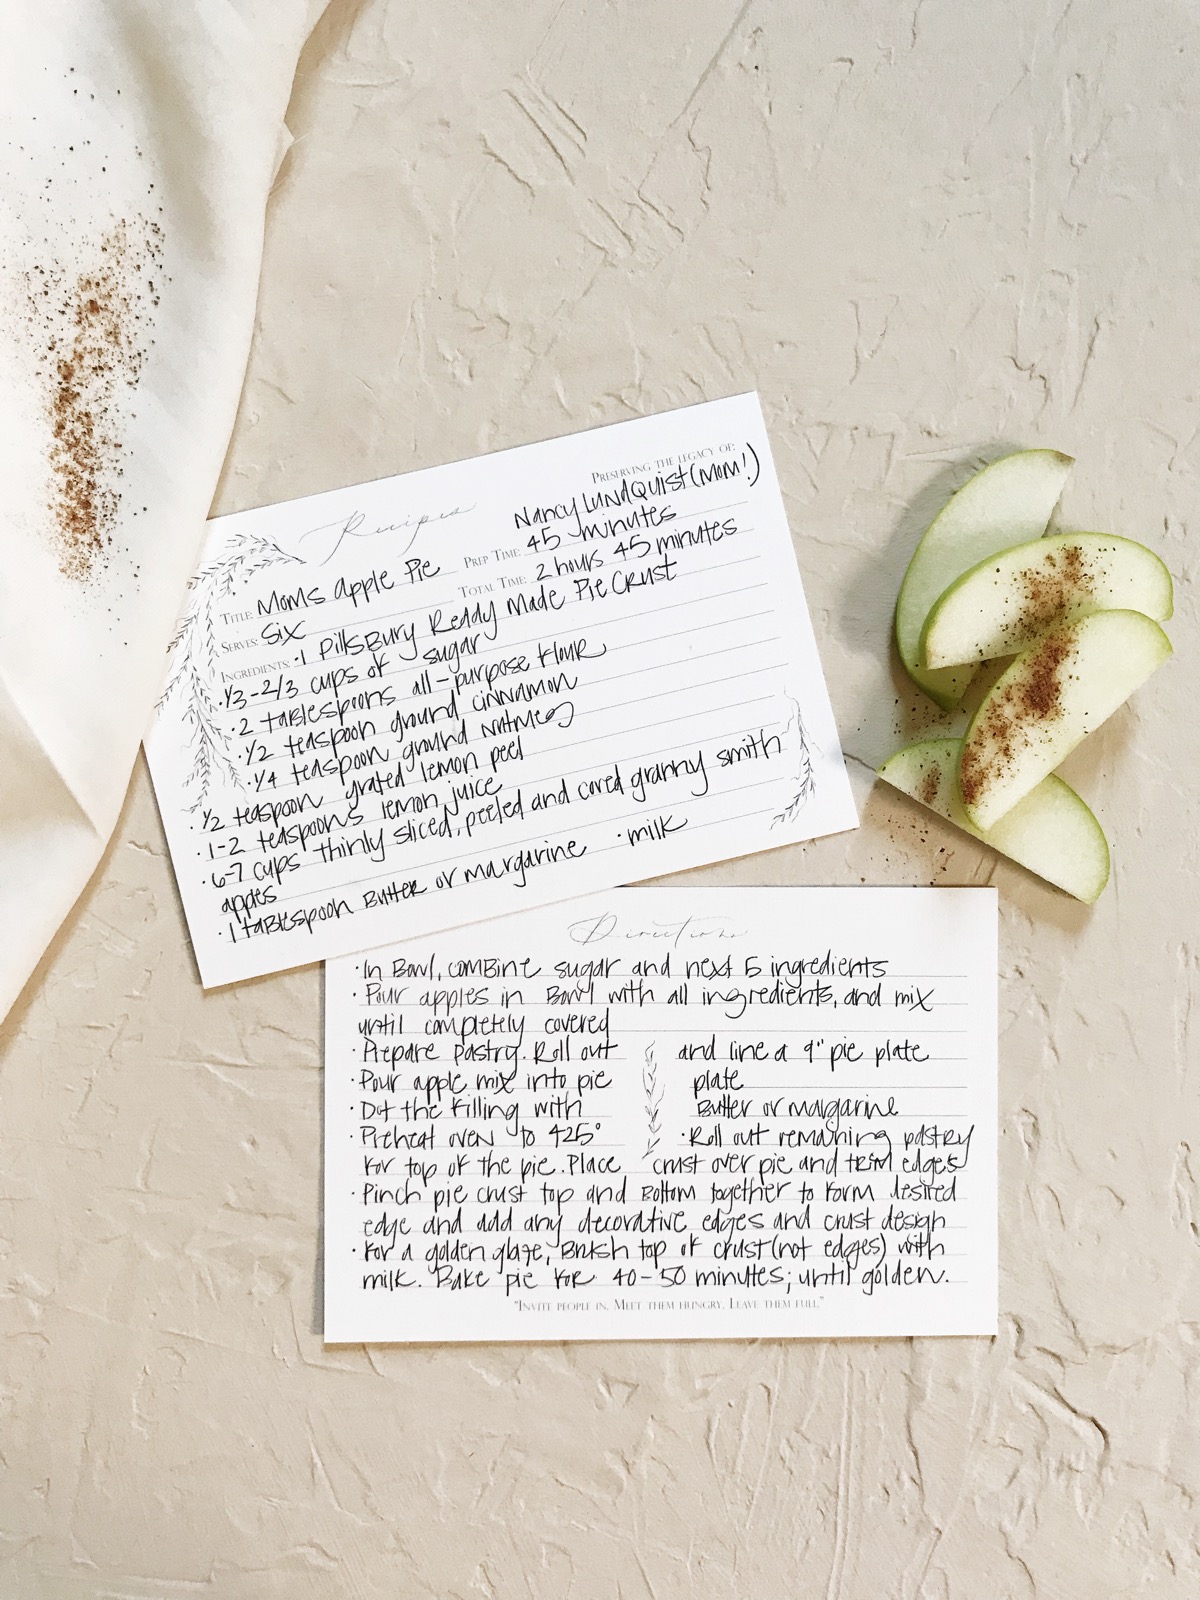
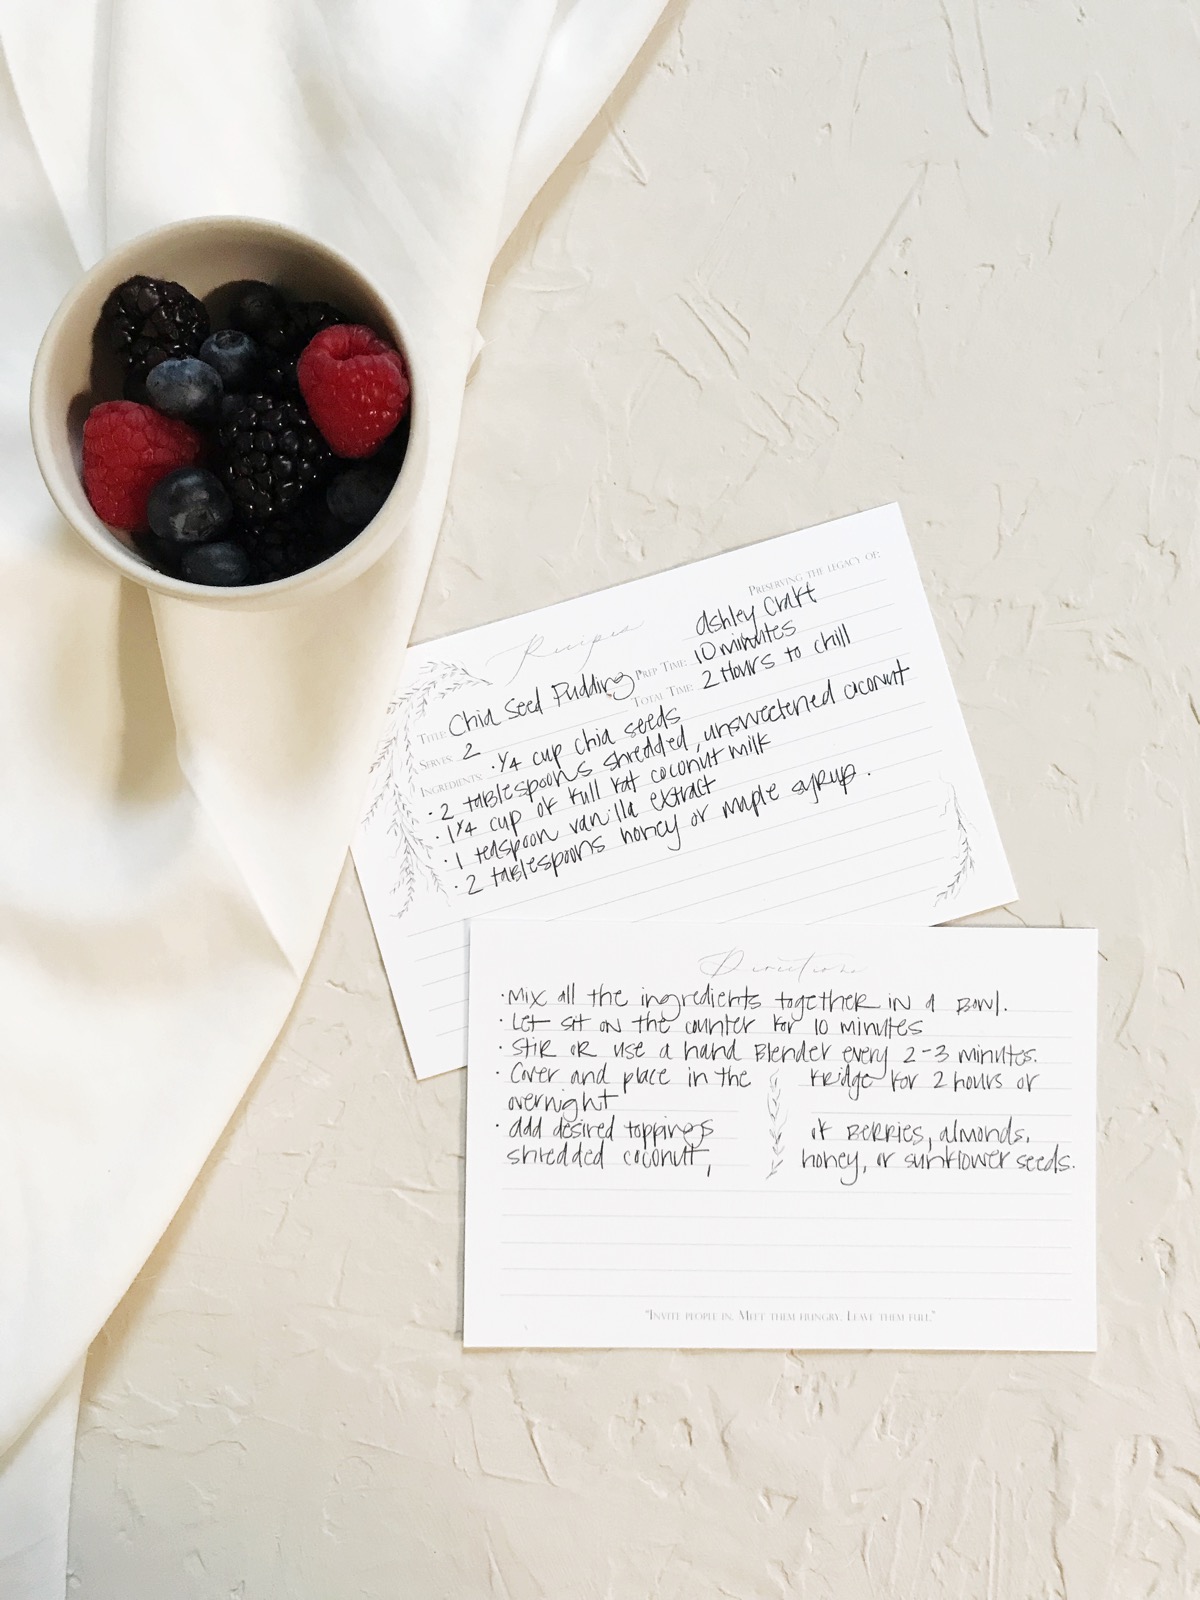
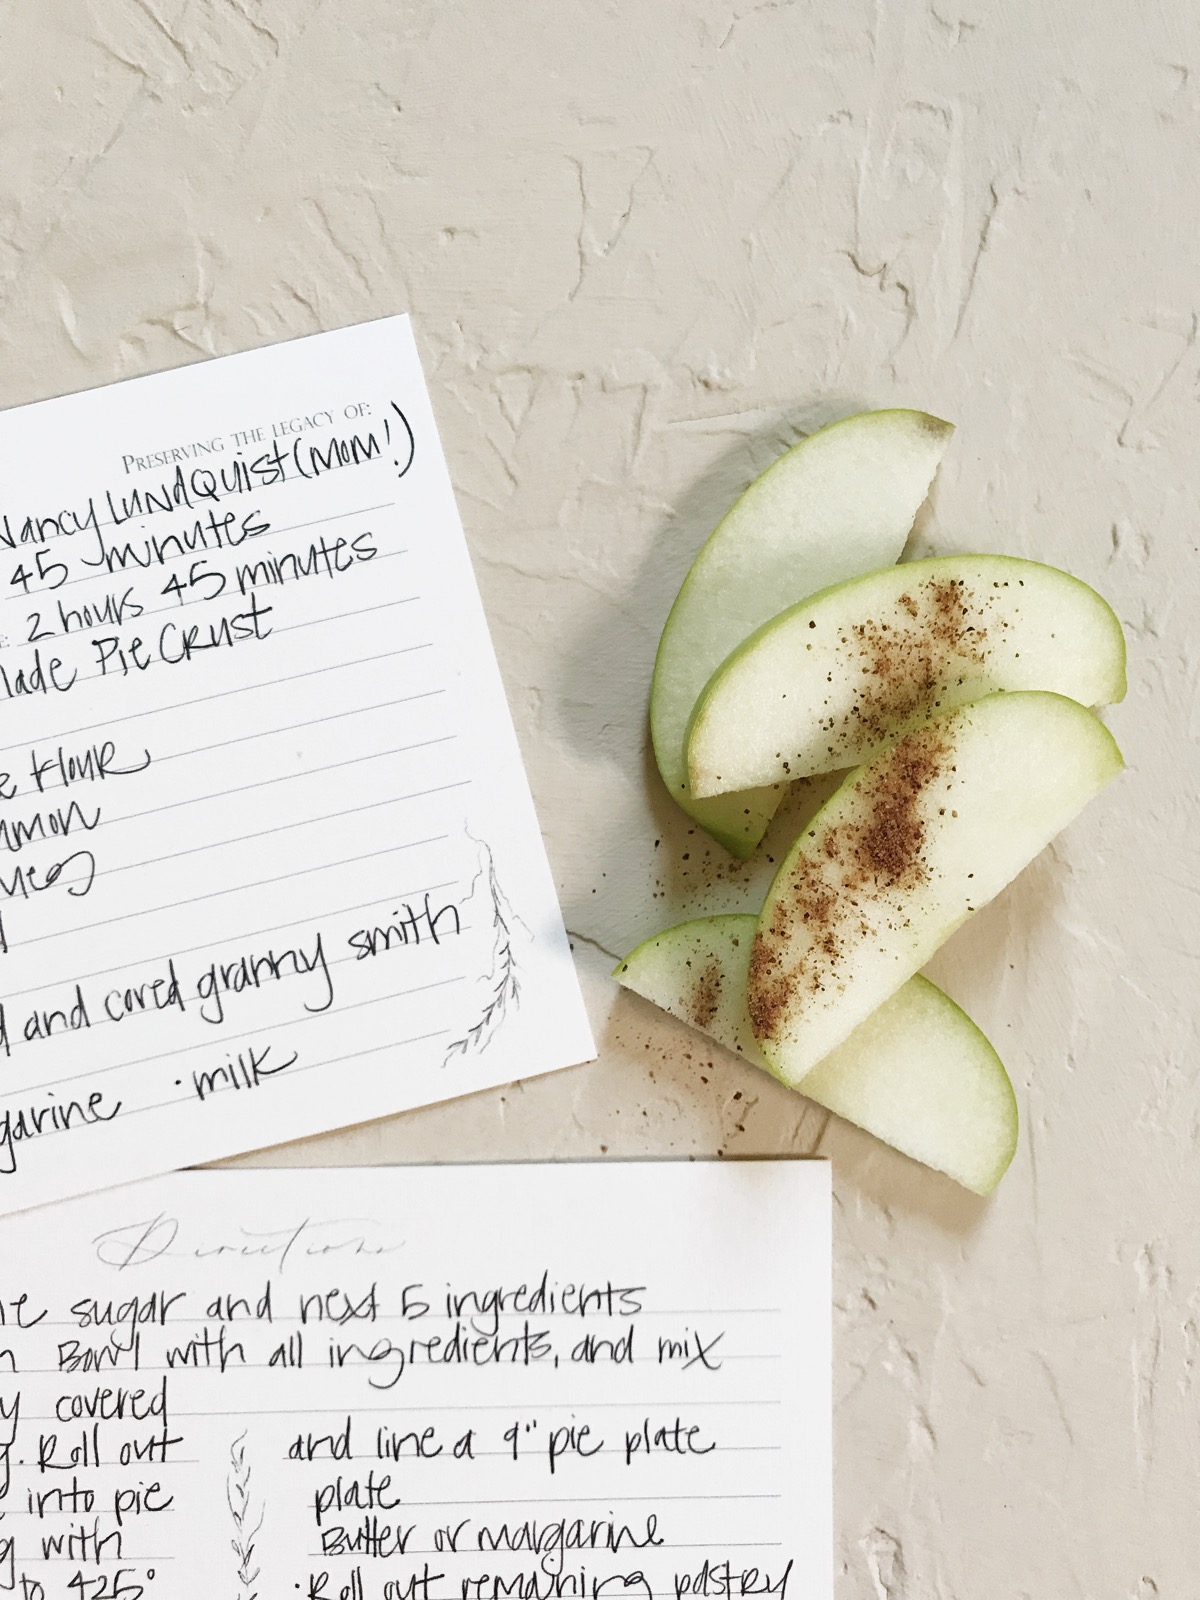
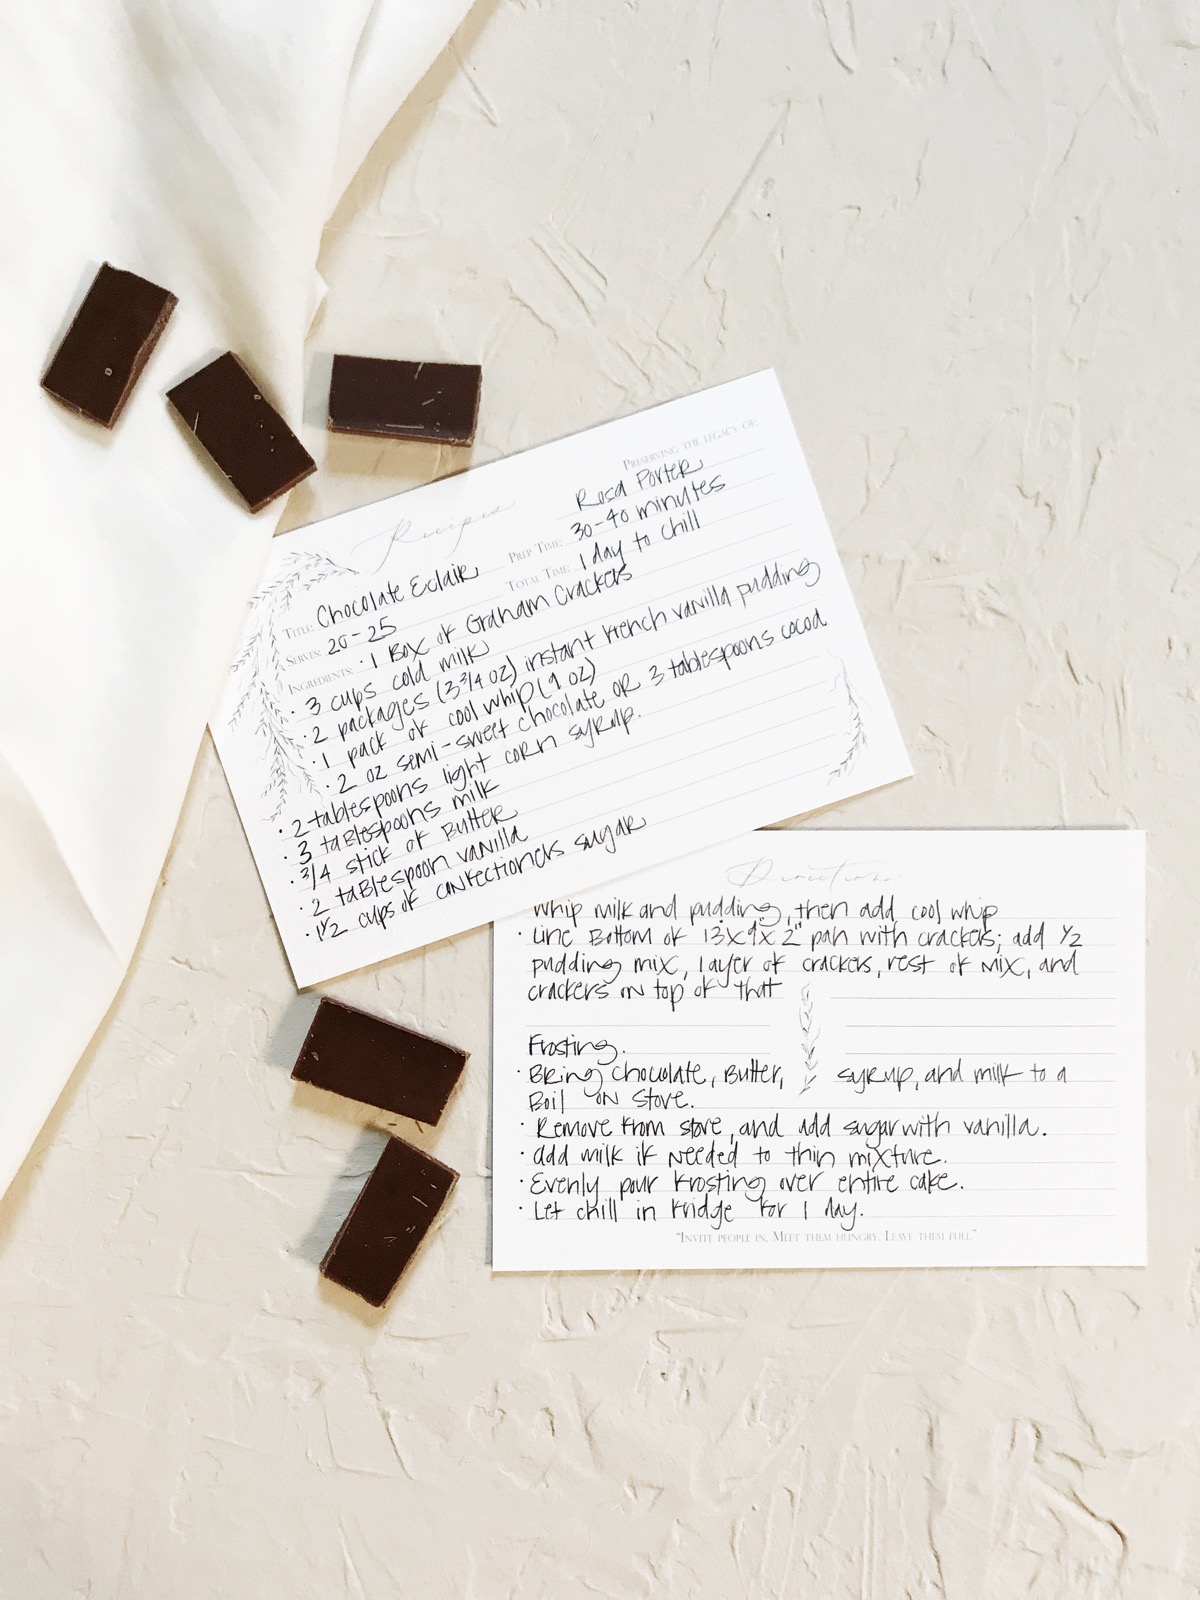
VIII- Legacy Recipe Cards
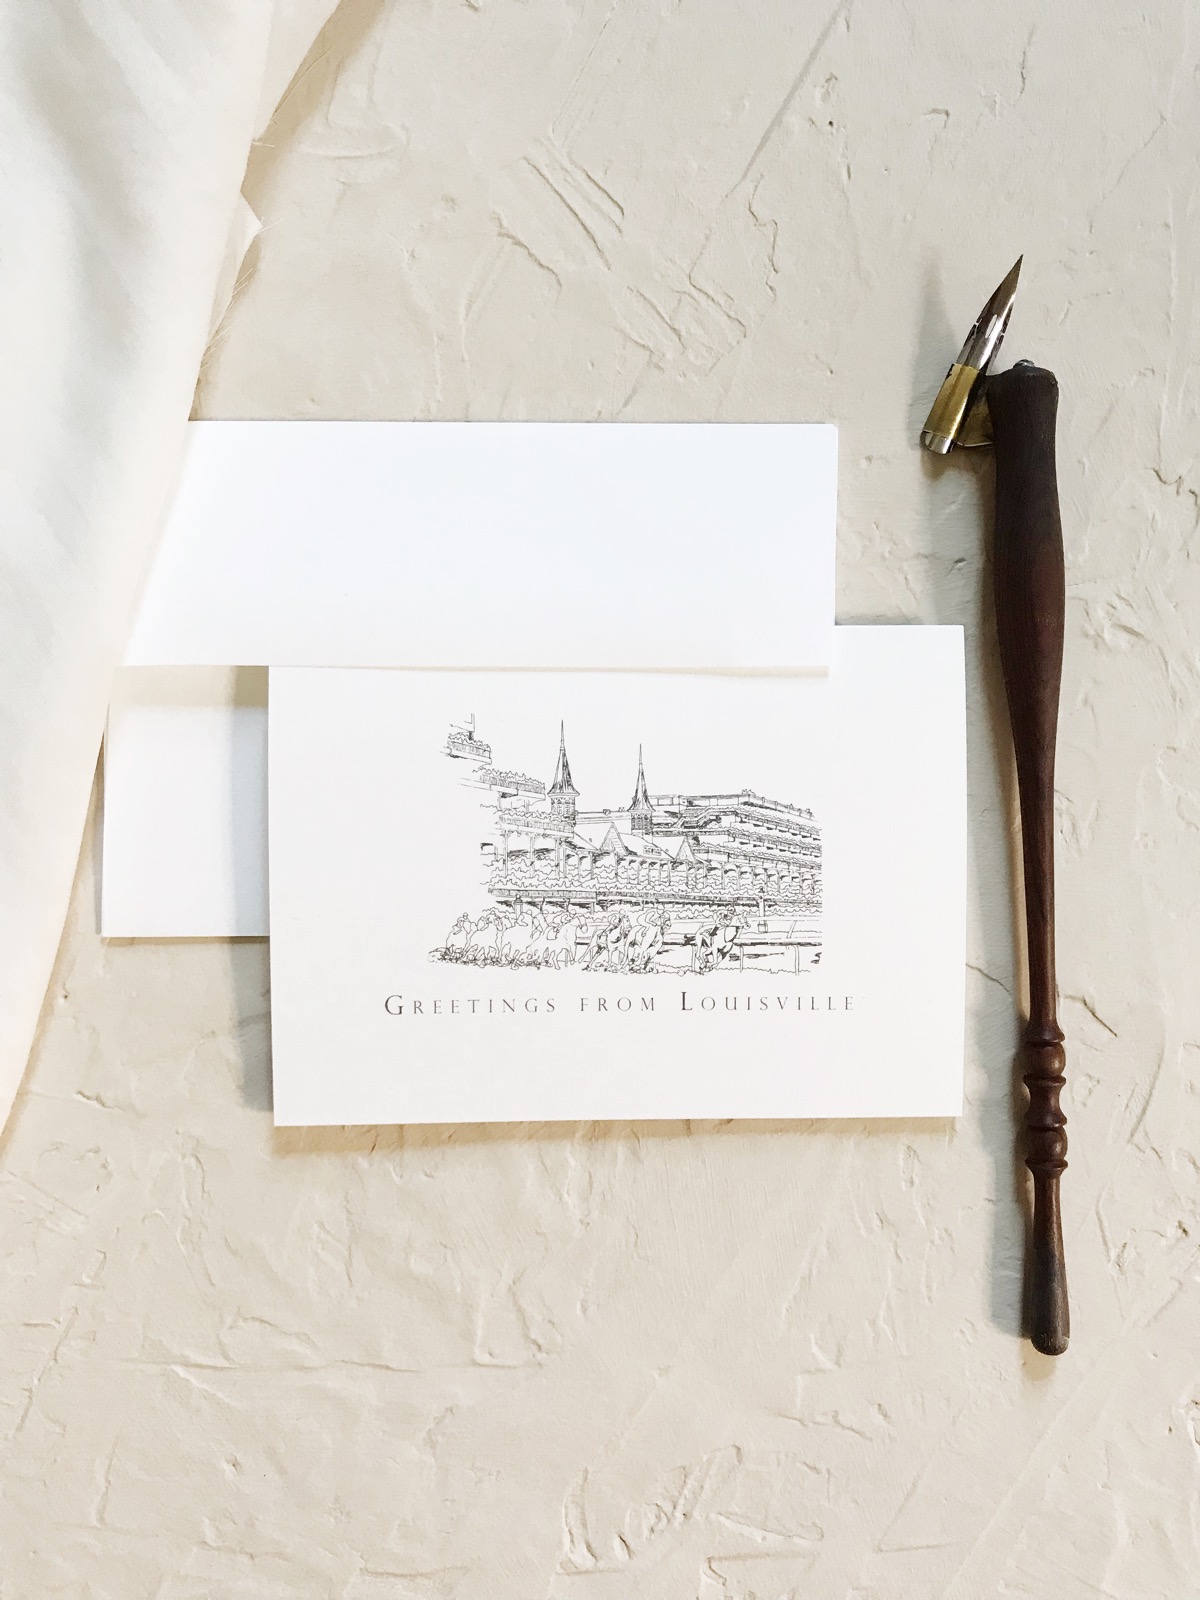
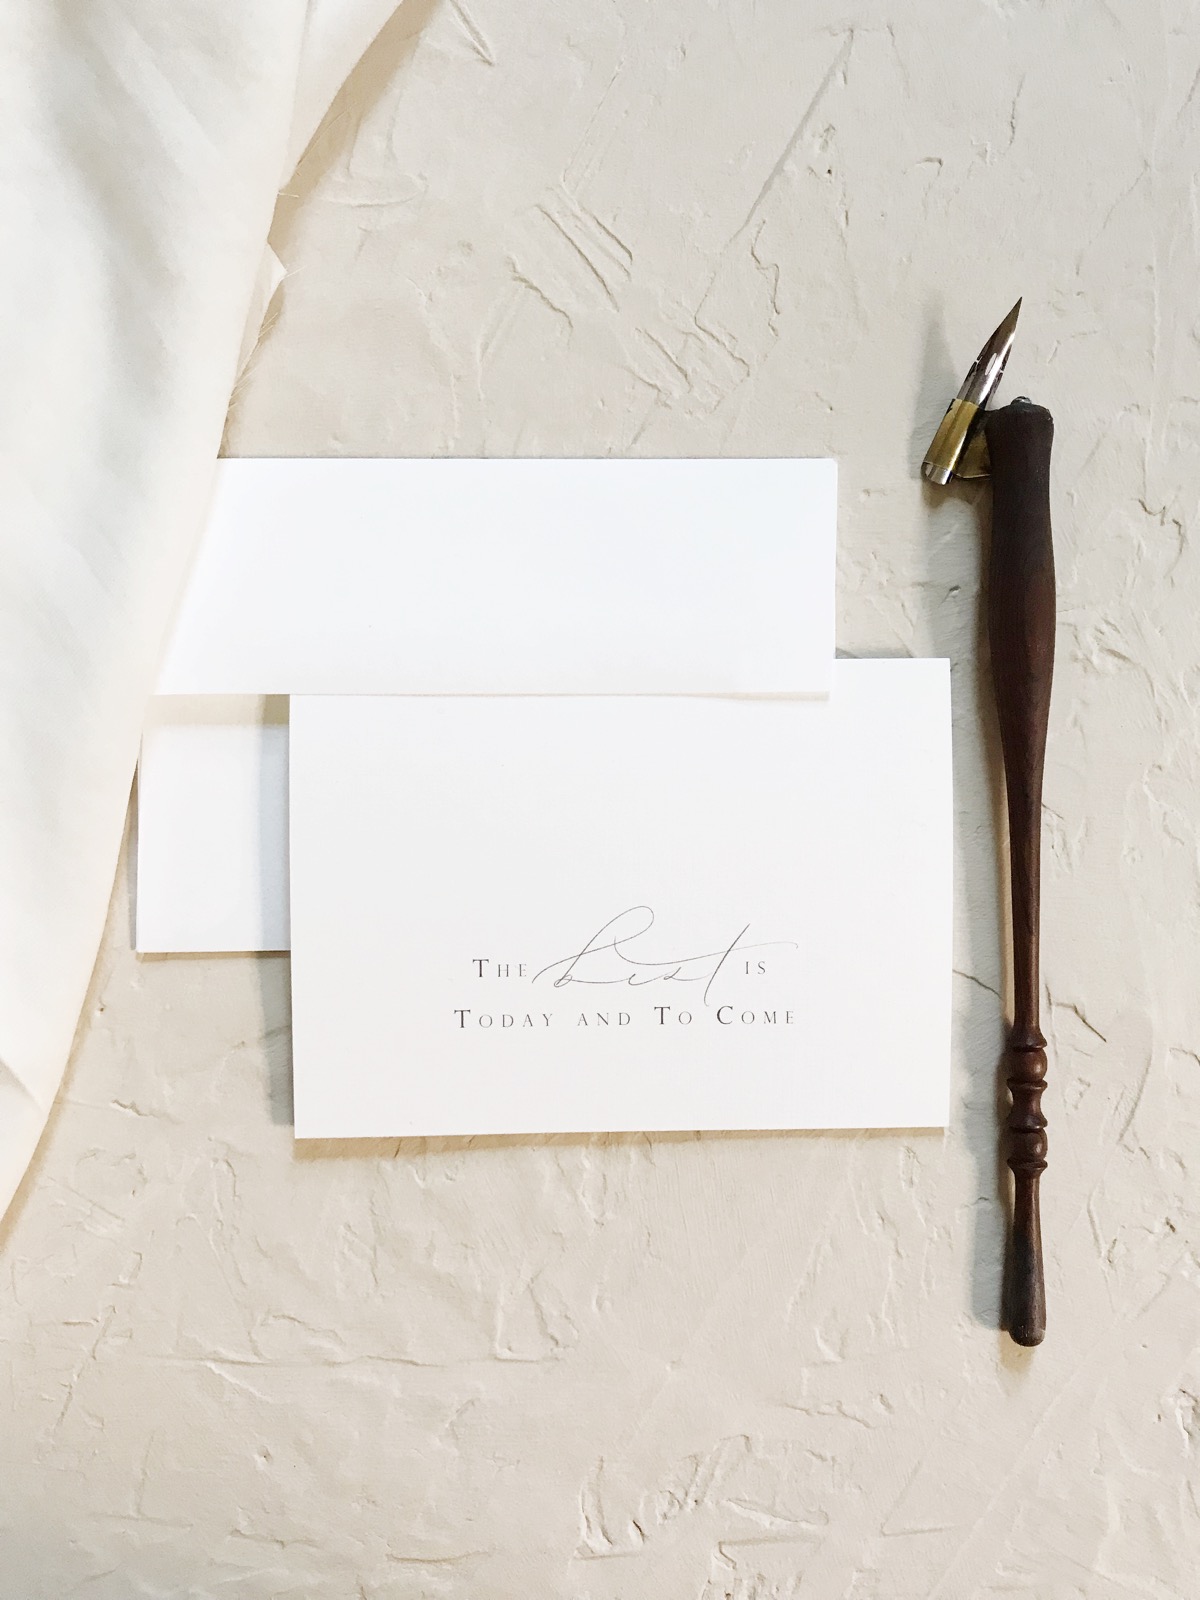
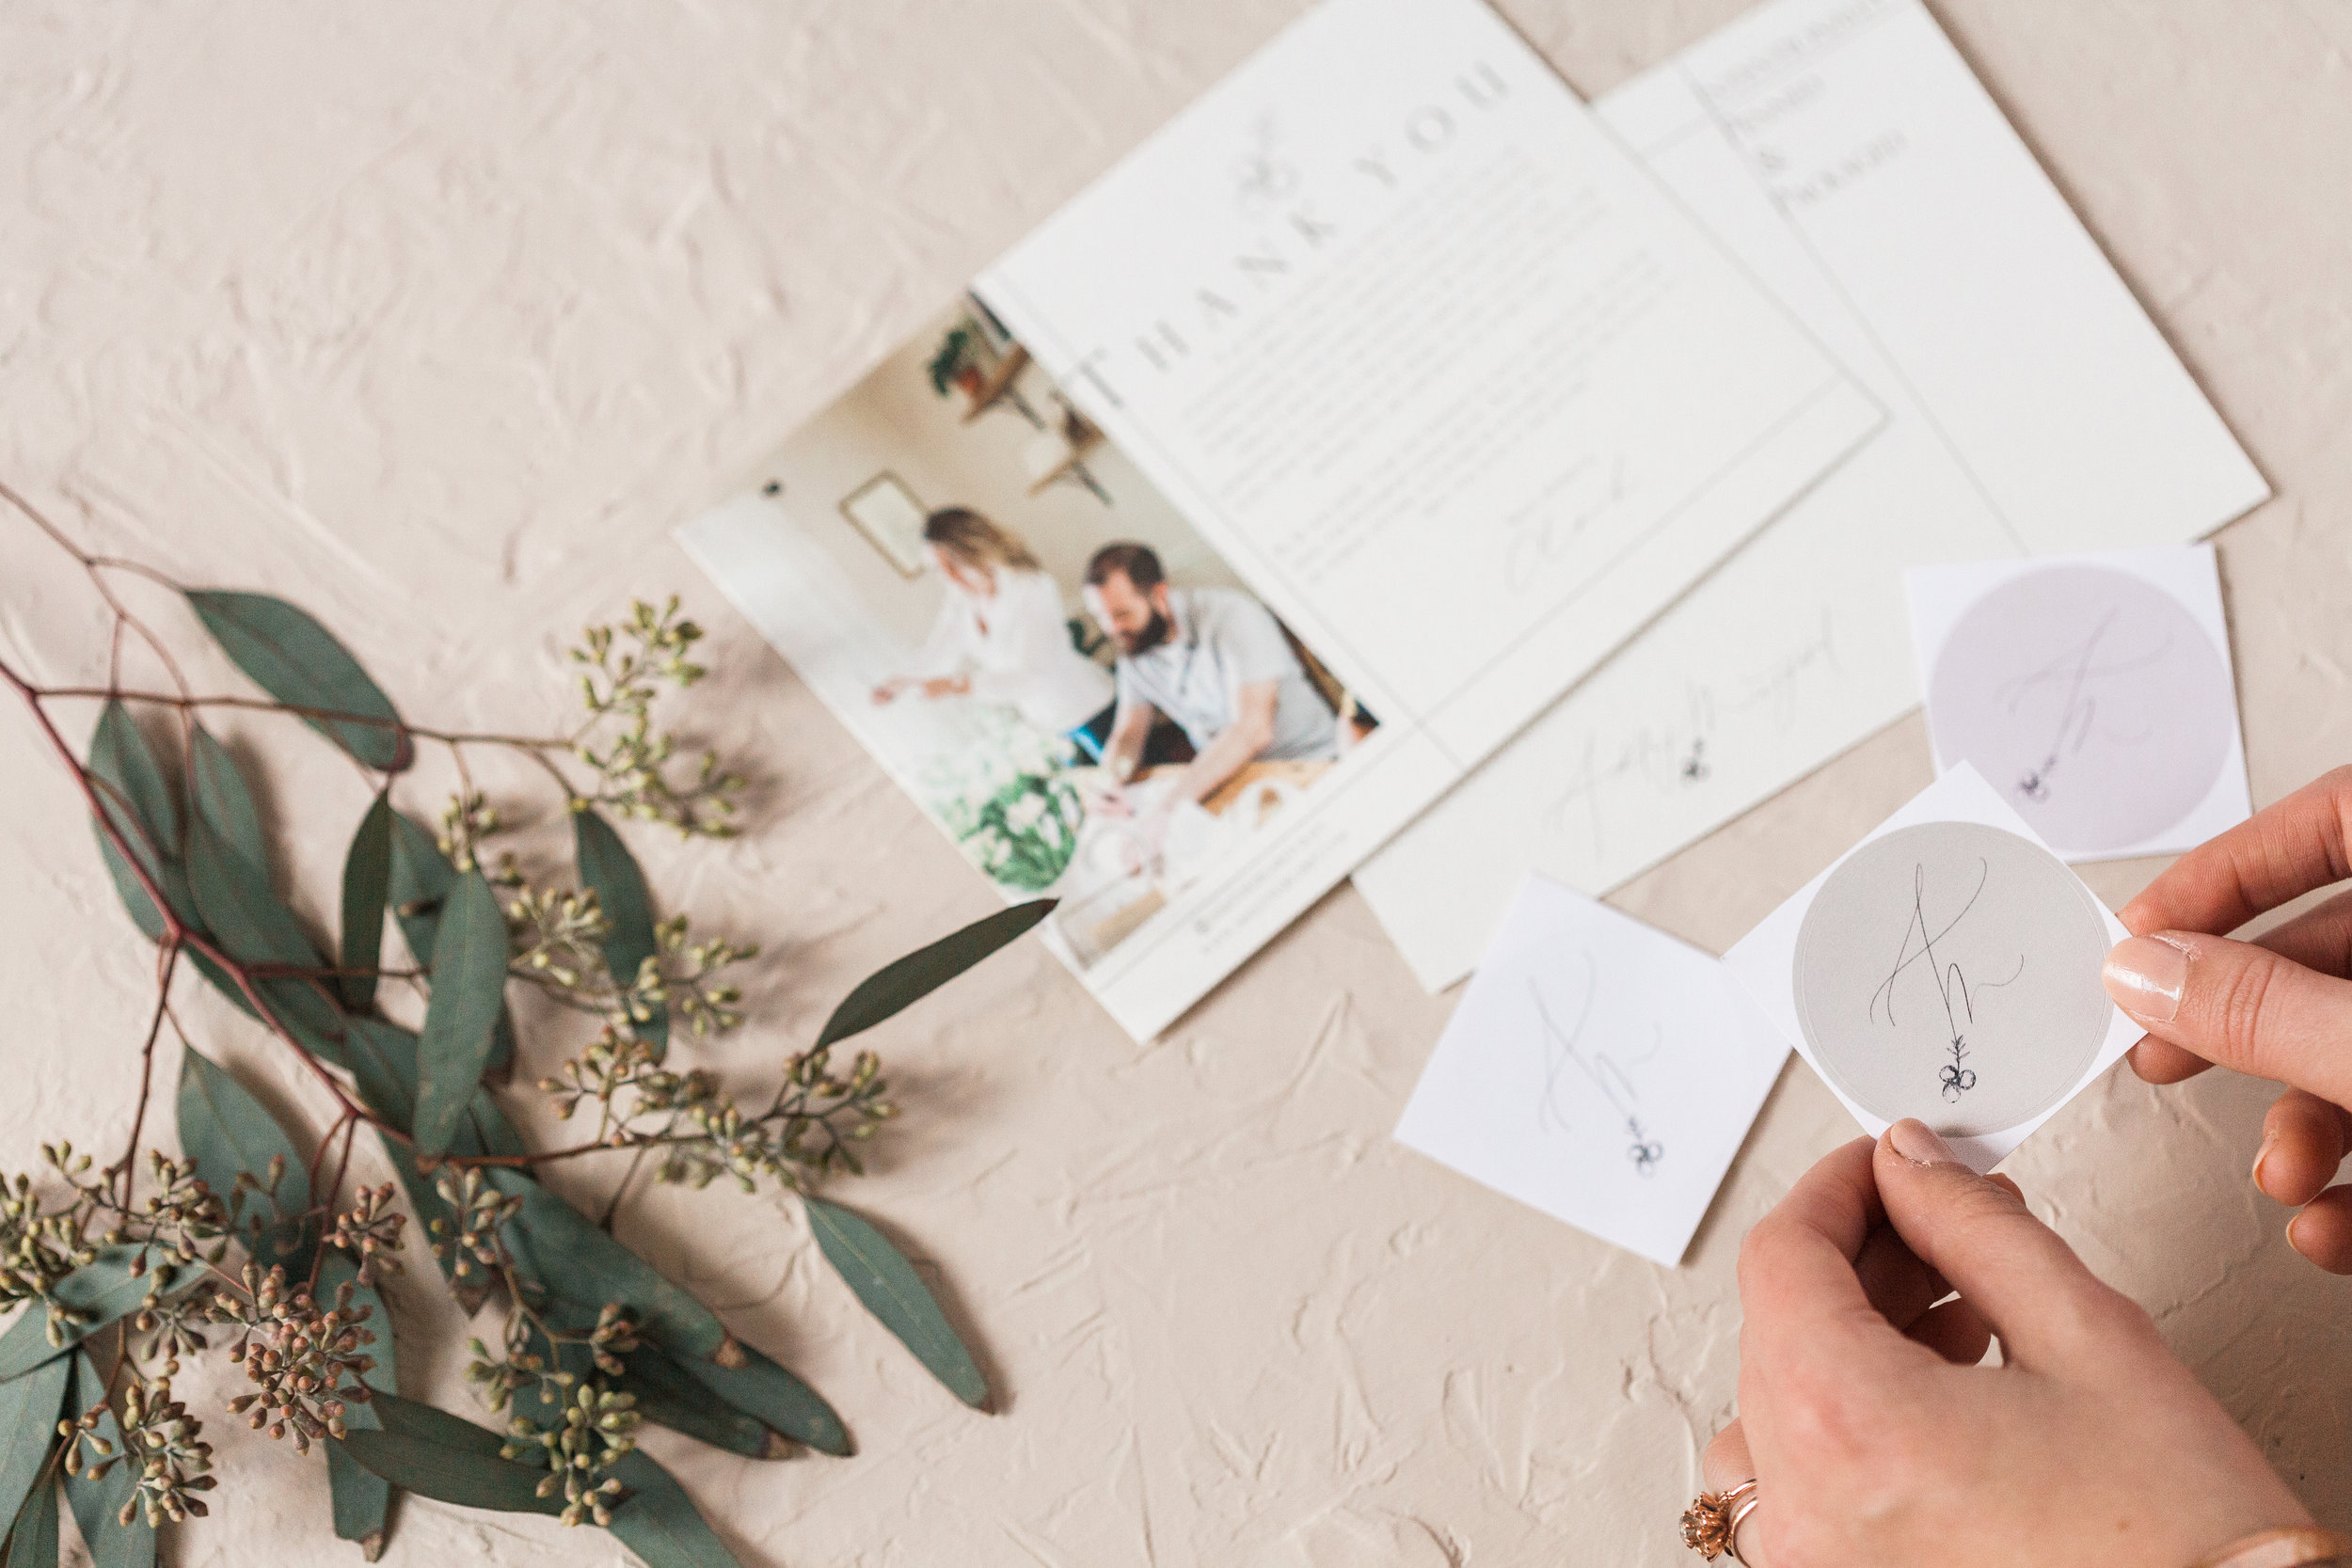
VIIII- ‘Greetings from Louisville’ Card and Envelope
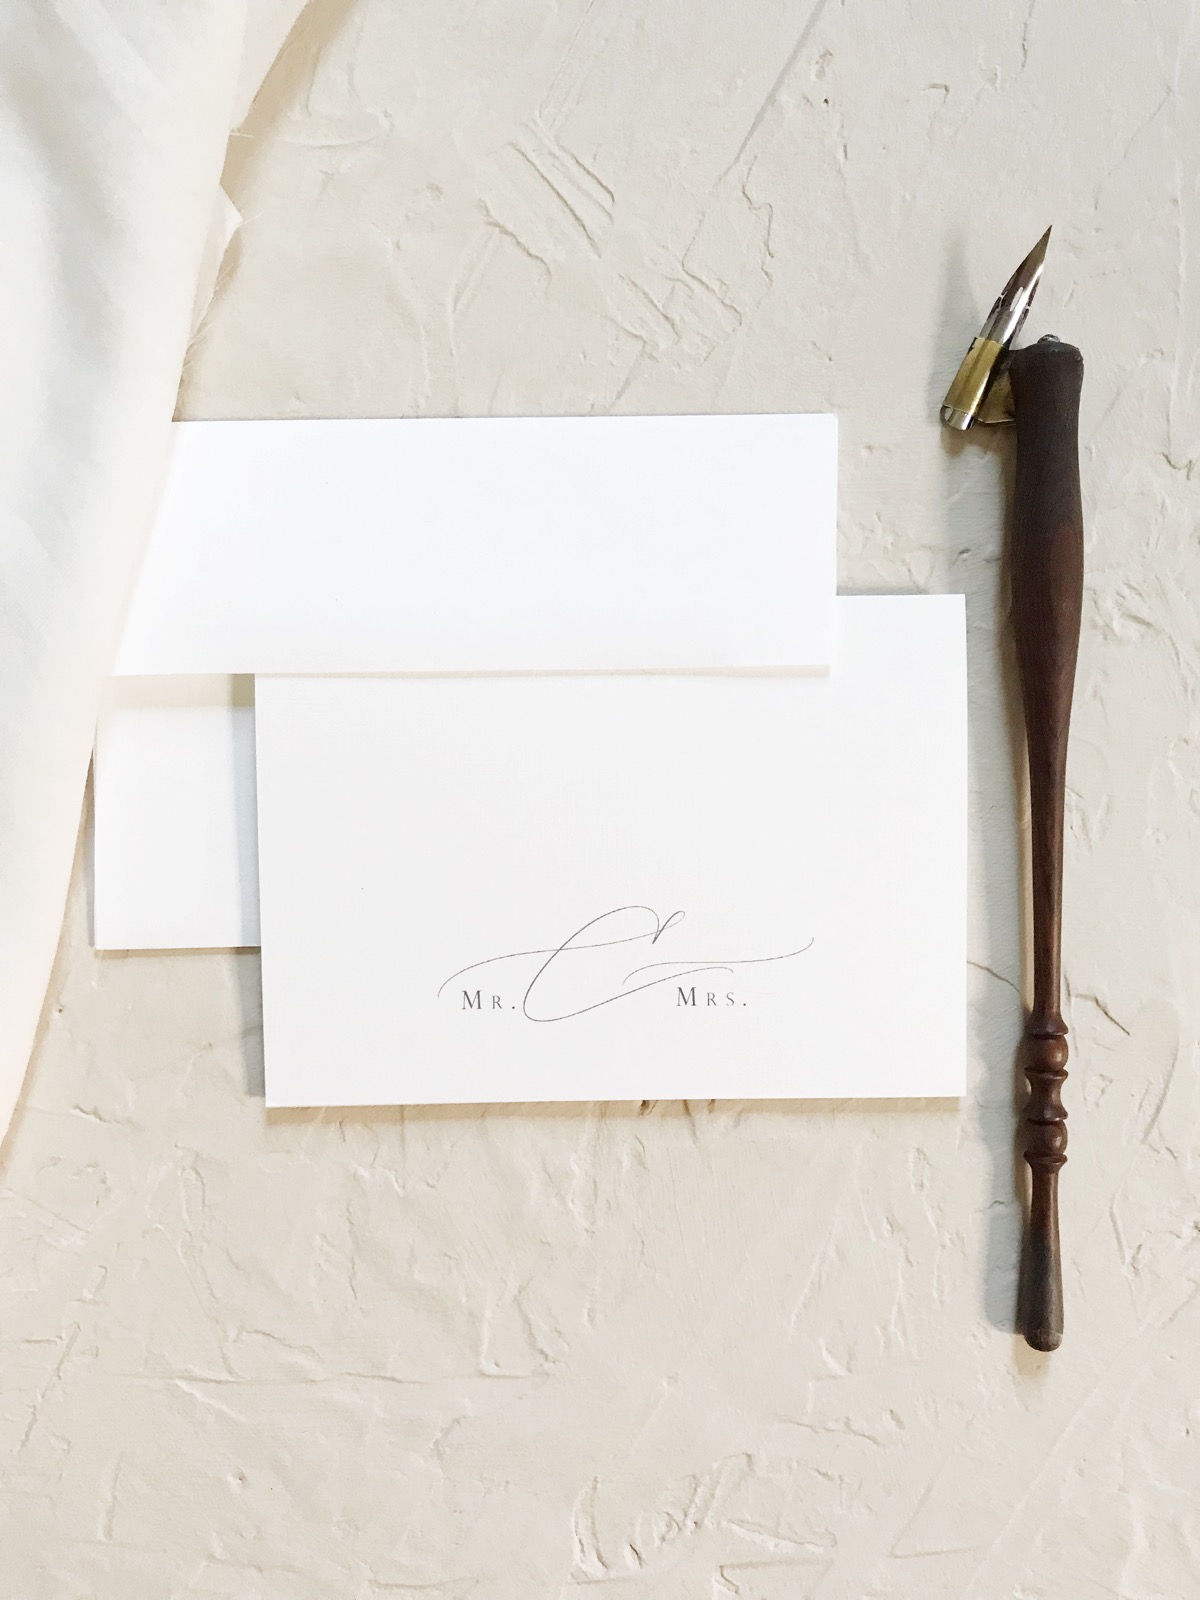
X- ‘Mr. & Mrs.’ Card and Envelope